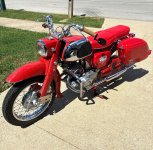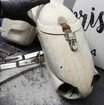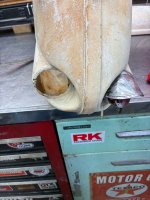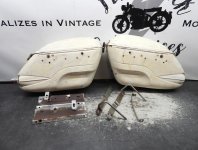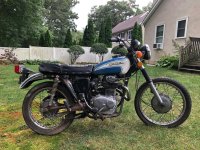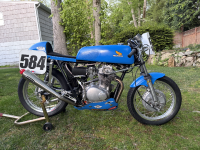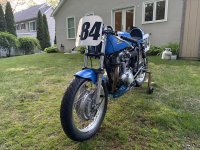

You DO remember you own a vintage bike... right??Dang you guys!
You are going to cost me money! LOL


You DO remember you own a vintage bike... right??Dang you guys!
You are going to cost me money! LOL

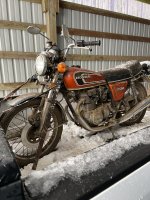
 “
“
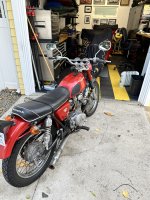
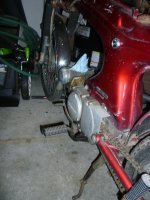
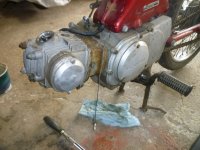
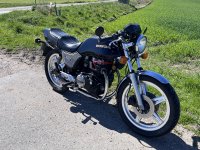
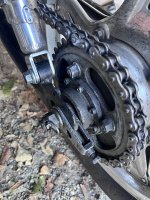
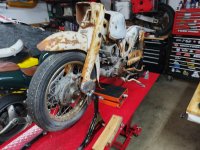
 Then 41 mm split collars for the flanges. Second project (in this photo) was getting the center stand mounted. Makes working on the bike a bit easier! Need to paint side stand silver now...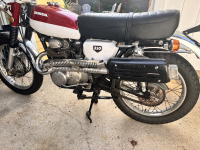

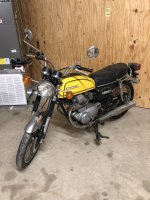
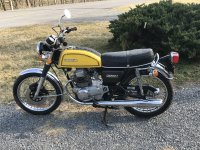

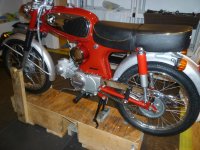
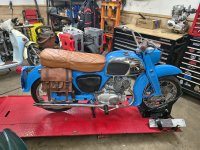
Two years later this is where I am at...But now the project is mine, as my future son-in-law was not the person we thought he was. He mutually agreed to give the bike back (was in my garage).
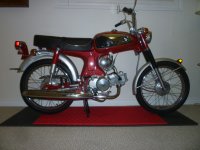
So, now added to my toy box. Going to keep bringing it back! Exhaust next and use the bike for running around town, old school style!View attachment 45931

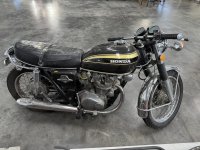
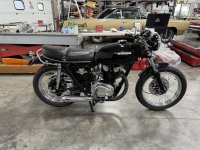

Yes, it is the stock fender but cut down! I cut a section out of each side of the fender and welded the original ends back on. This way I was able to maintain the lip around the edge of the fender and the hole for speedo cable grommet. I did the same thing for the rear fender too.Is that the stock front fender, just cut down? I’d like to do similar to mine, inorder to have the fork brace. But need to make sure it’ll fit over the slightly larger front tire I run. Your bike looks great!

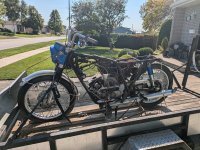
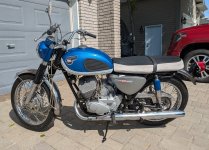
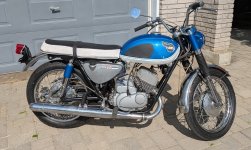


Post #254 aboveLooks great - but where is the "before" picture for the Before and After thread?
Of course - but unless you're the author of the original post, one might not realize (as I did not, I'm pretty busy around here) that you had previously posted a before and after pair above. Kinda kills the before and after vibe when the pics are separated. Now your original post is updated with all 3 pictures and text.Post #254 above
Should we not update here?
Then you should watch this one that is more site appropriate....I enjoyed your video. Nice job bringing it back to life. Very creative in the fabrication of NLA parts.



I had watched that video before, this is where I got the info for the candy red paint codes - thanks for that! I now have the link to your other restorations bookmarked which I will watch.Then you should watch this one that is more site appropriate....
Honda 450 Hellcat

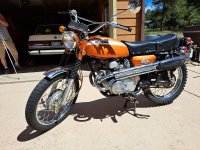
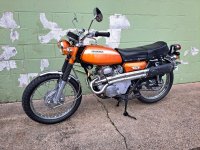


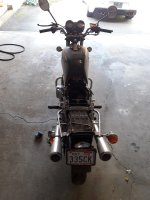
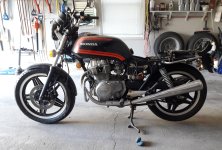
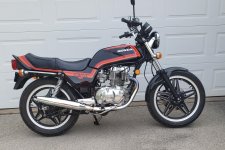

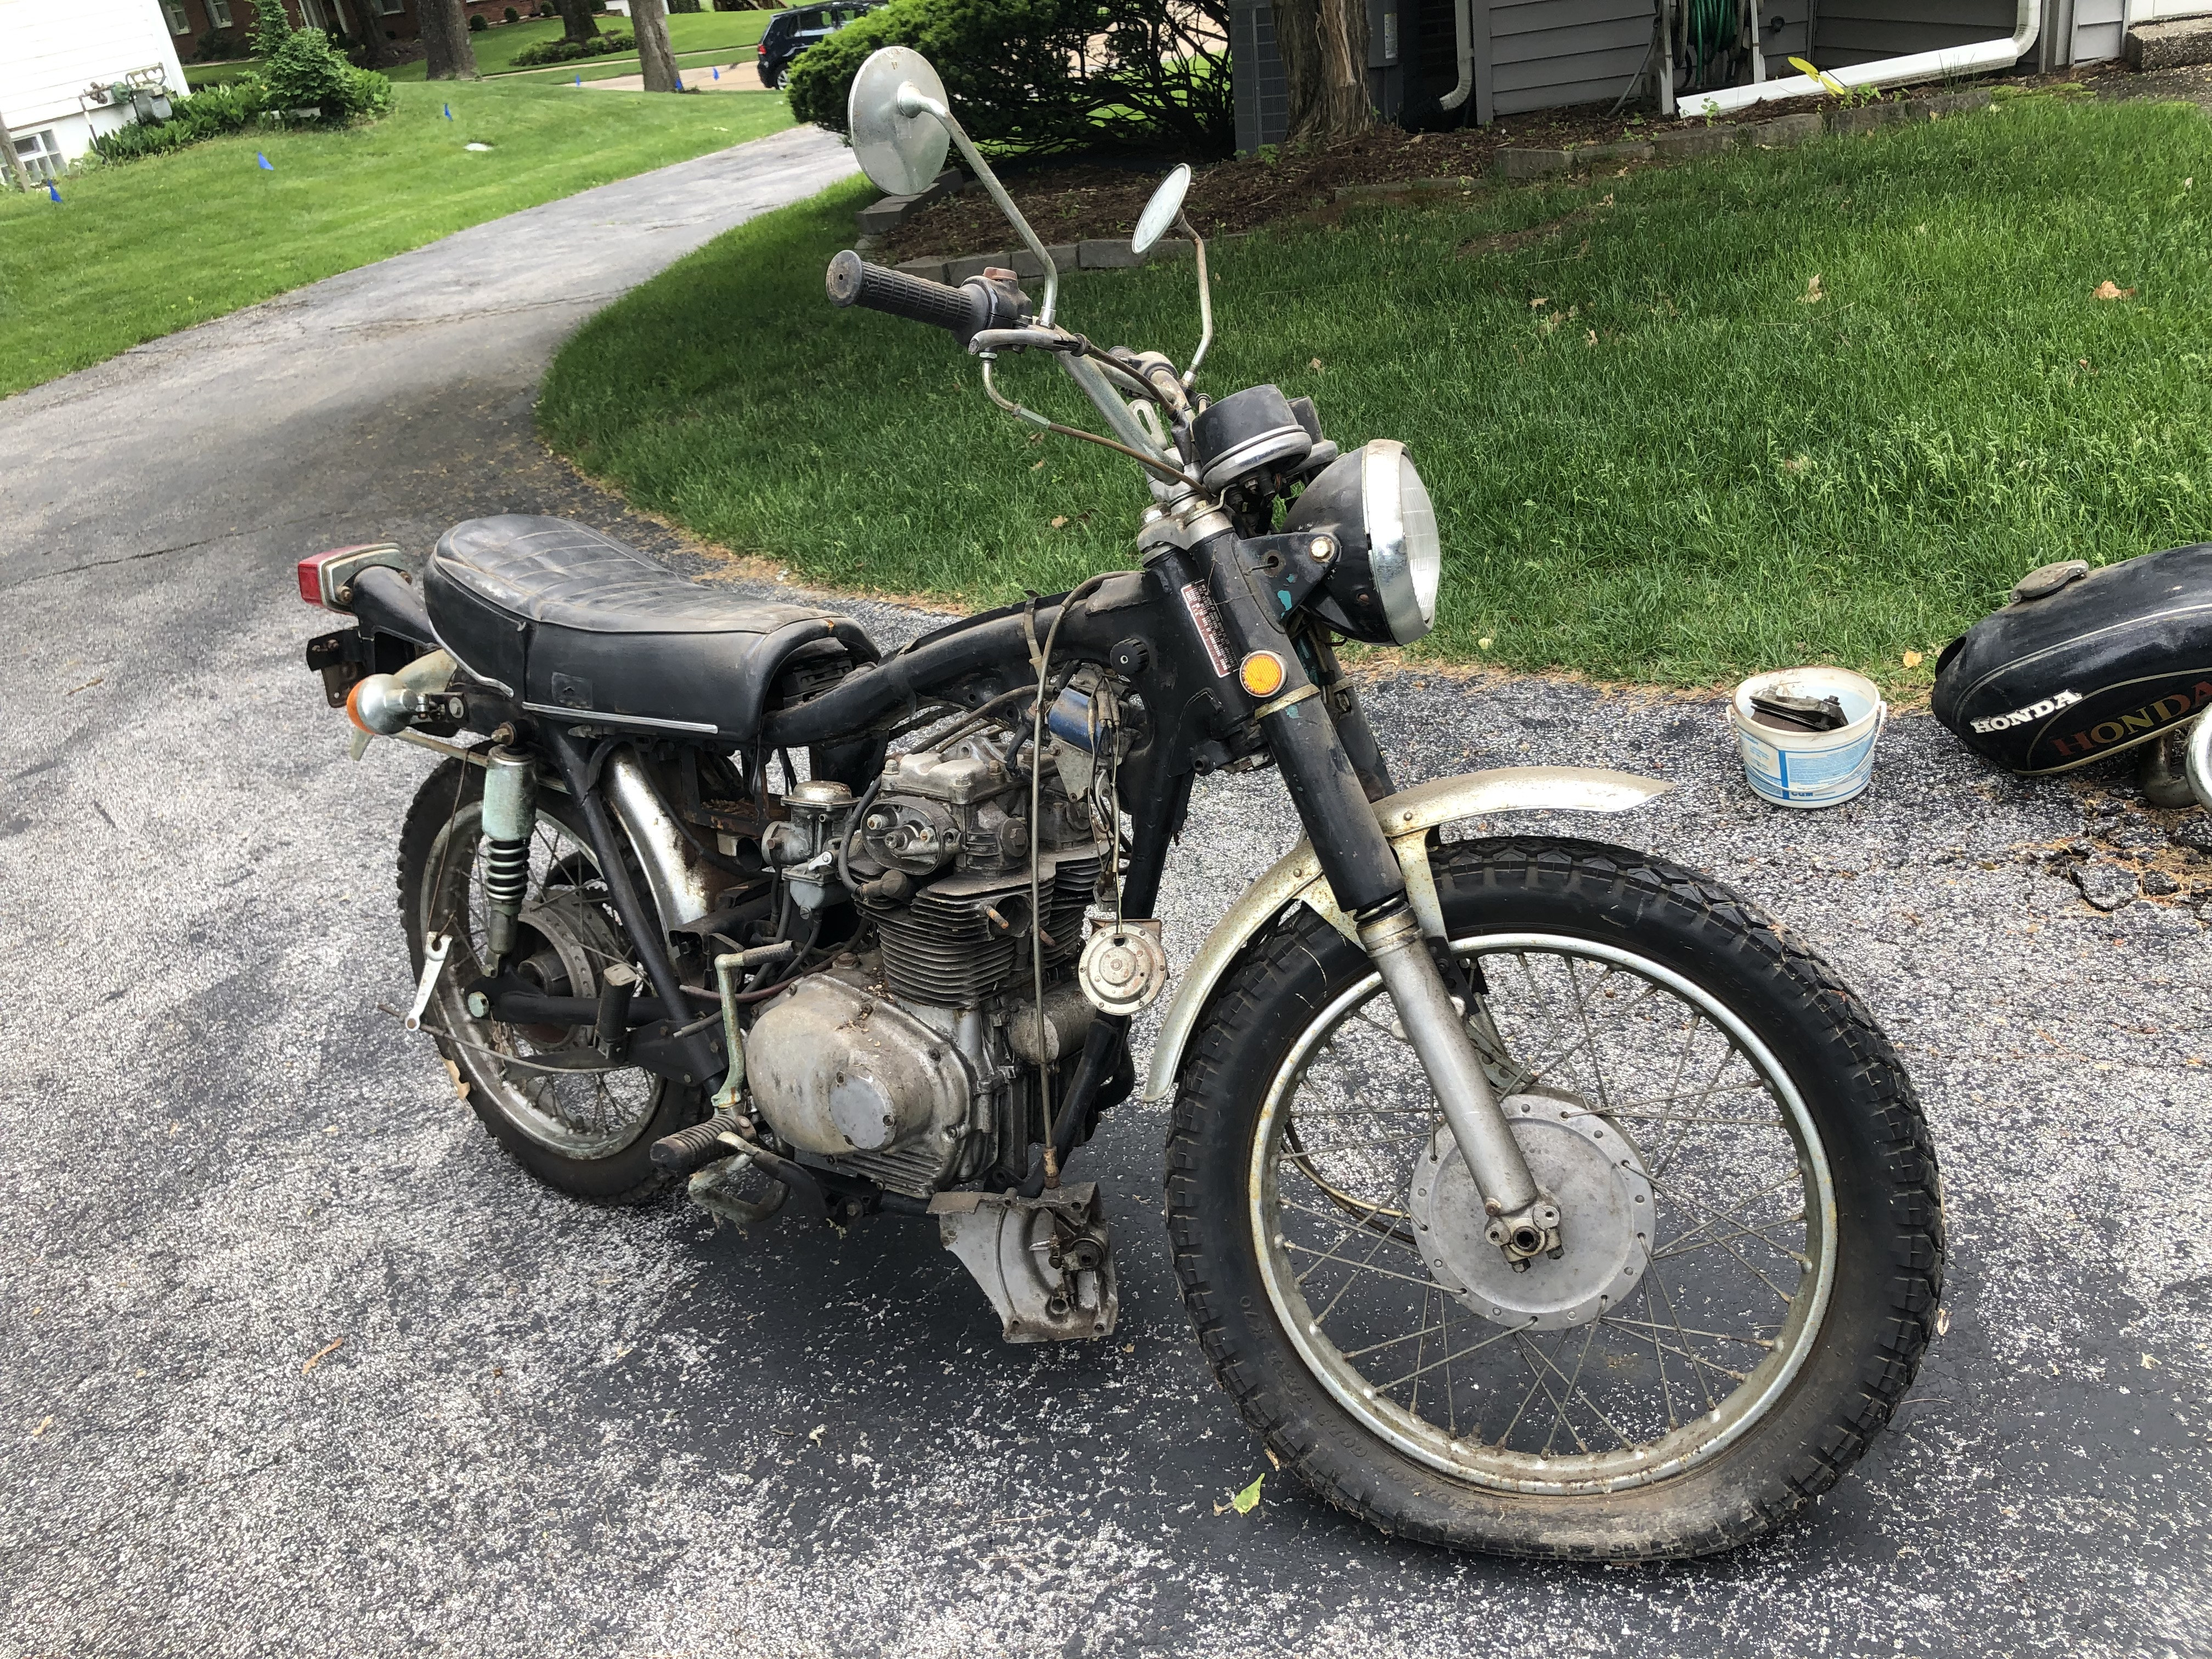

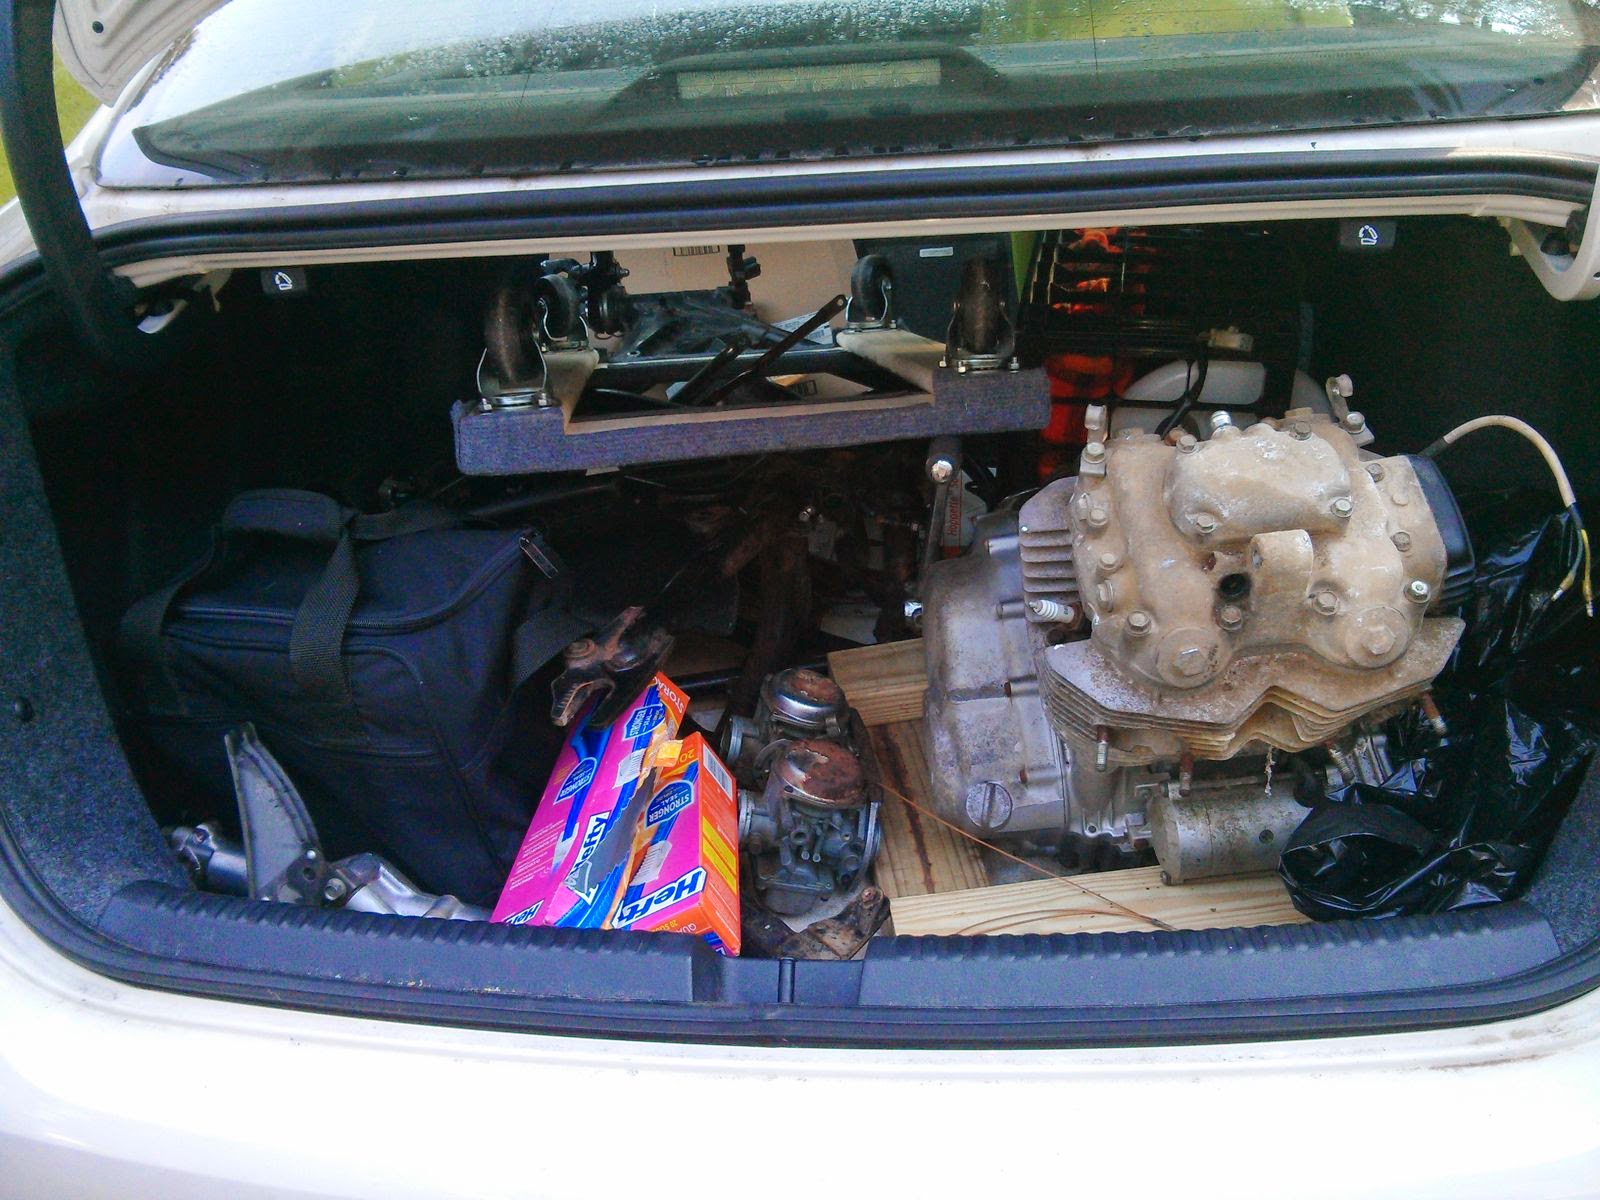
This is the closest I can come to that — hopefully my friend on the right will not mind me sharing the picture. The back seat folds down and everything fit there after disassembly. My only regret is that the motor had oil in it and no stator cover. Live and learn.Very nice, you wouldn't have a picture of it in the Golf would you, be interesting to see how you got it in there!

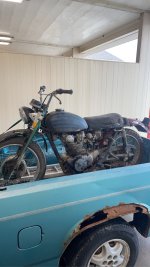
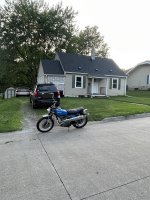
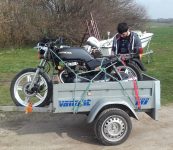
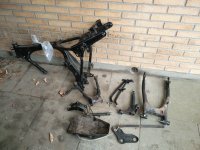
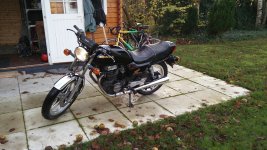
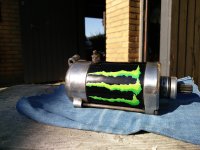
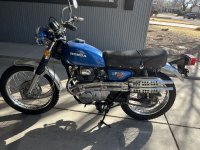
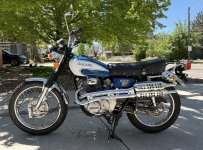
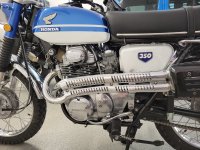
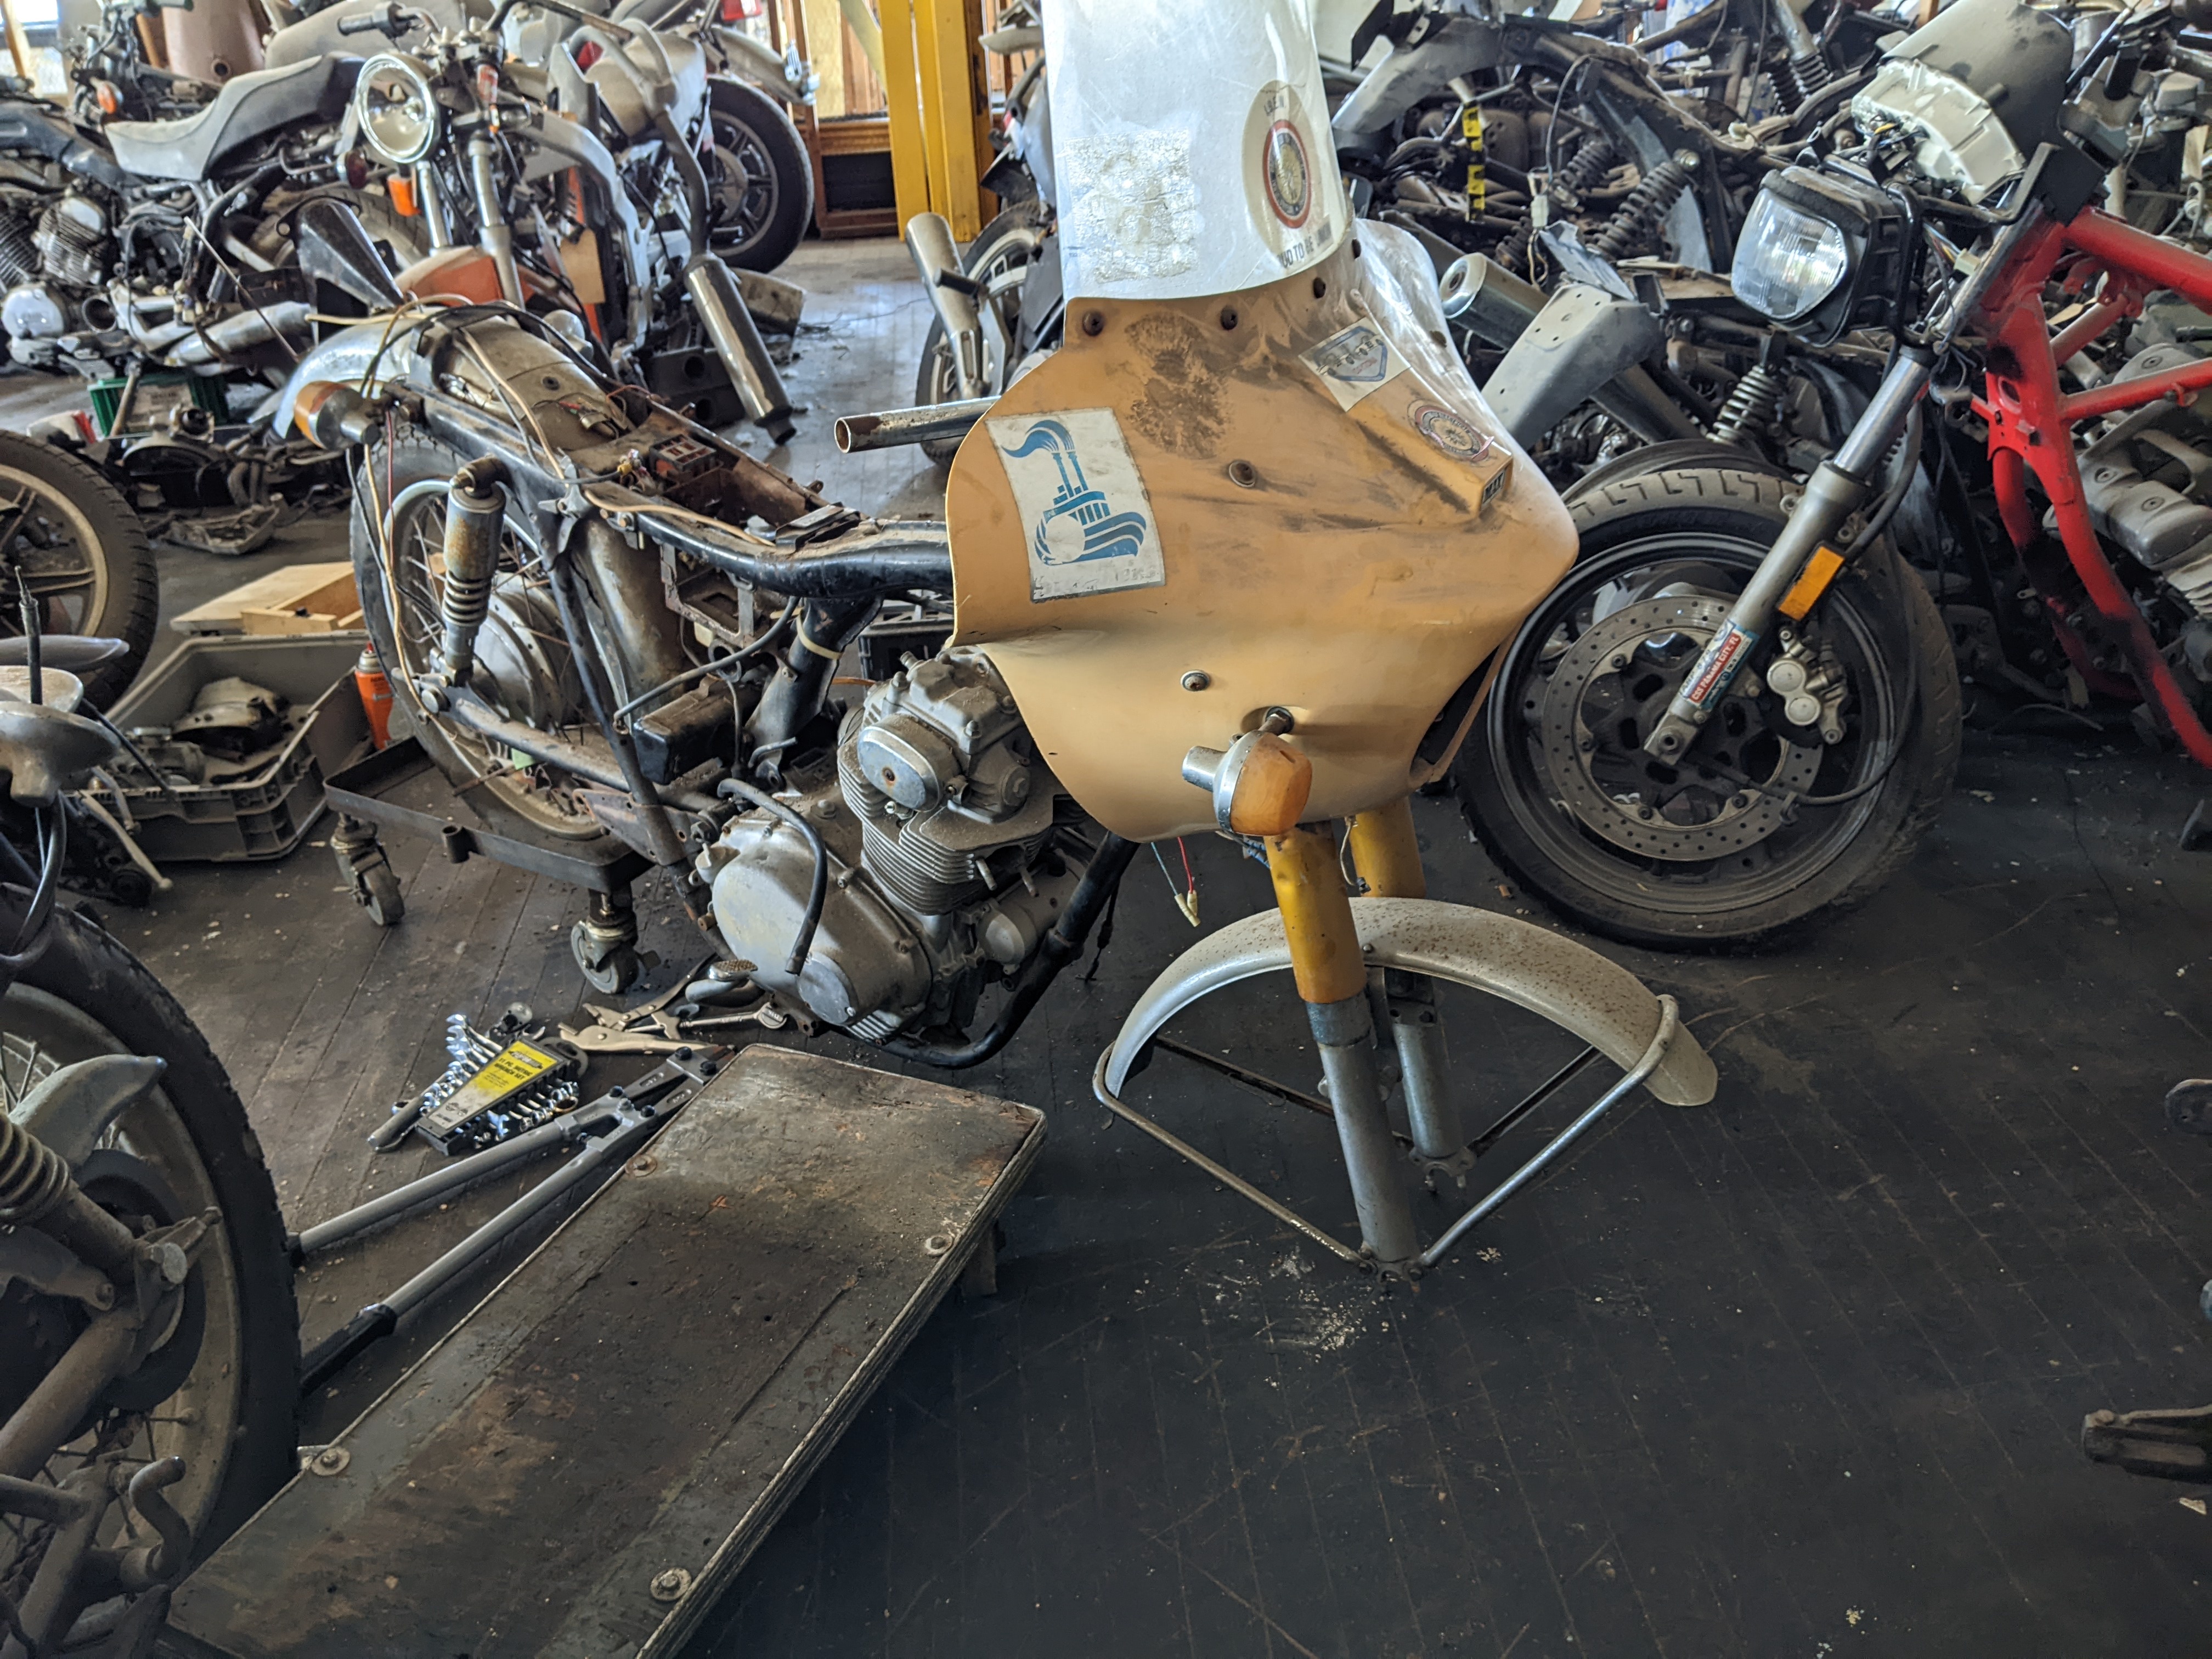
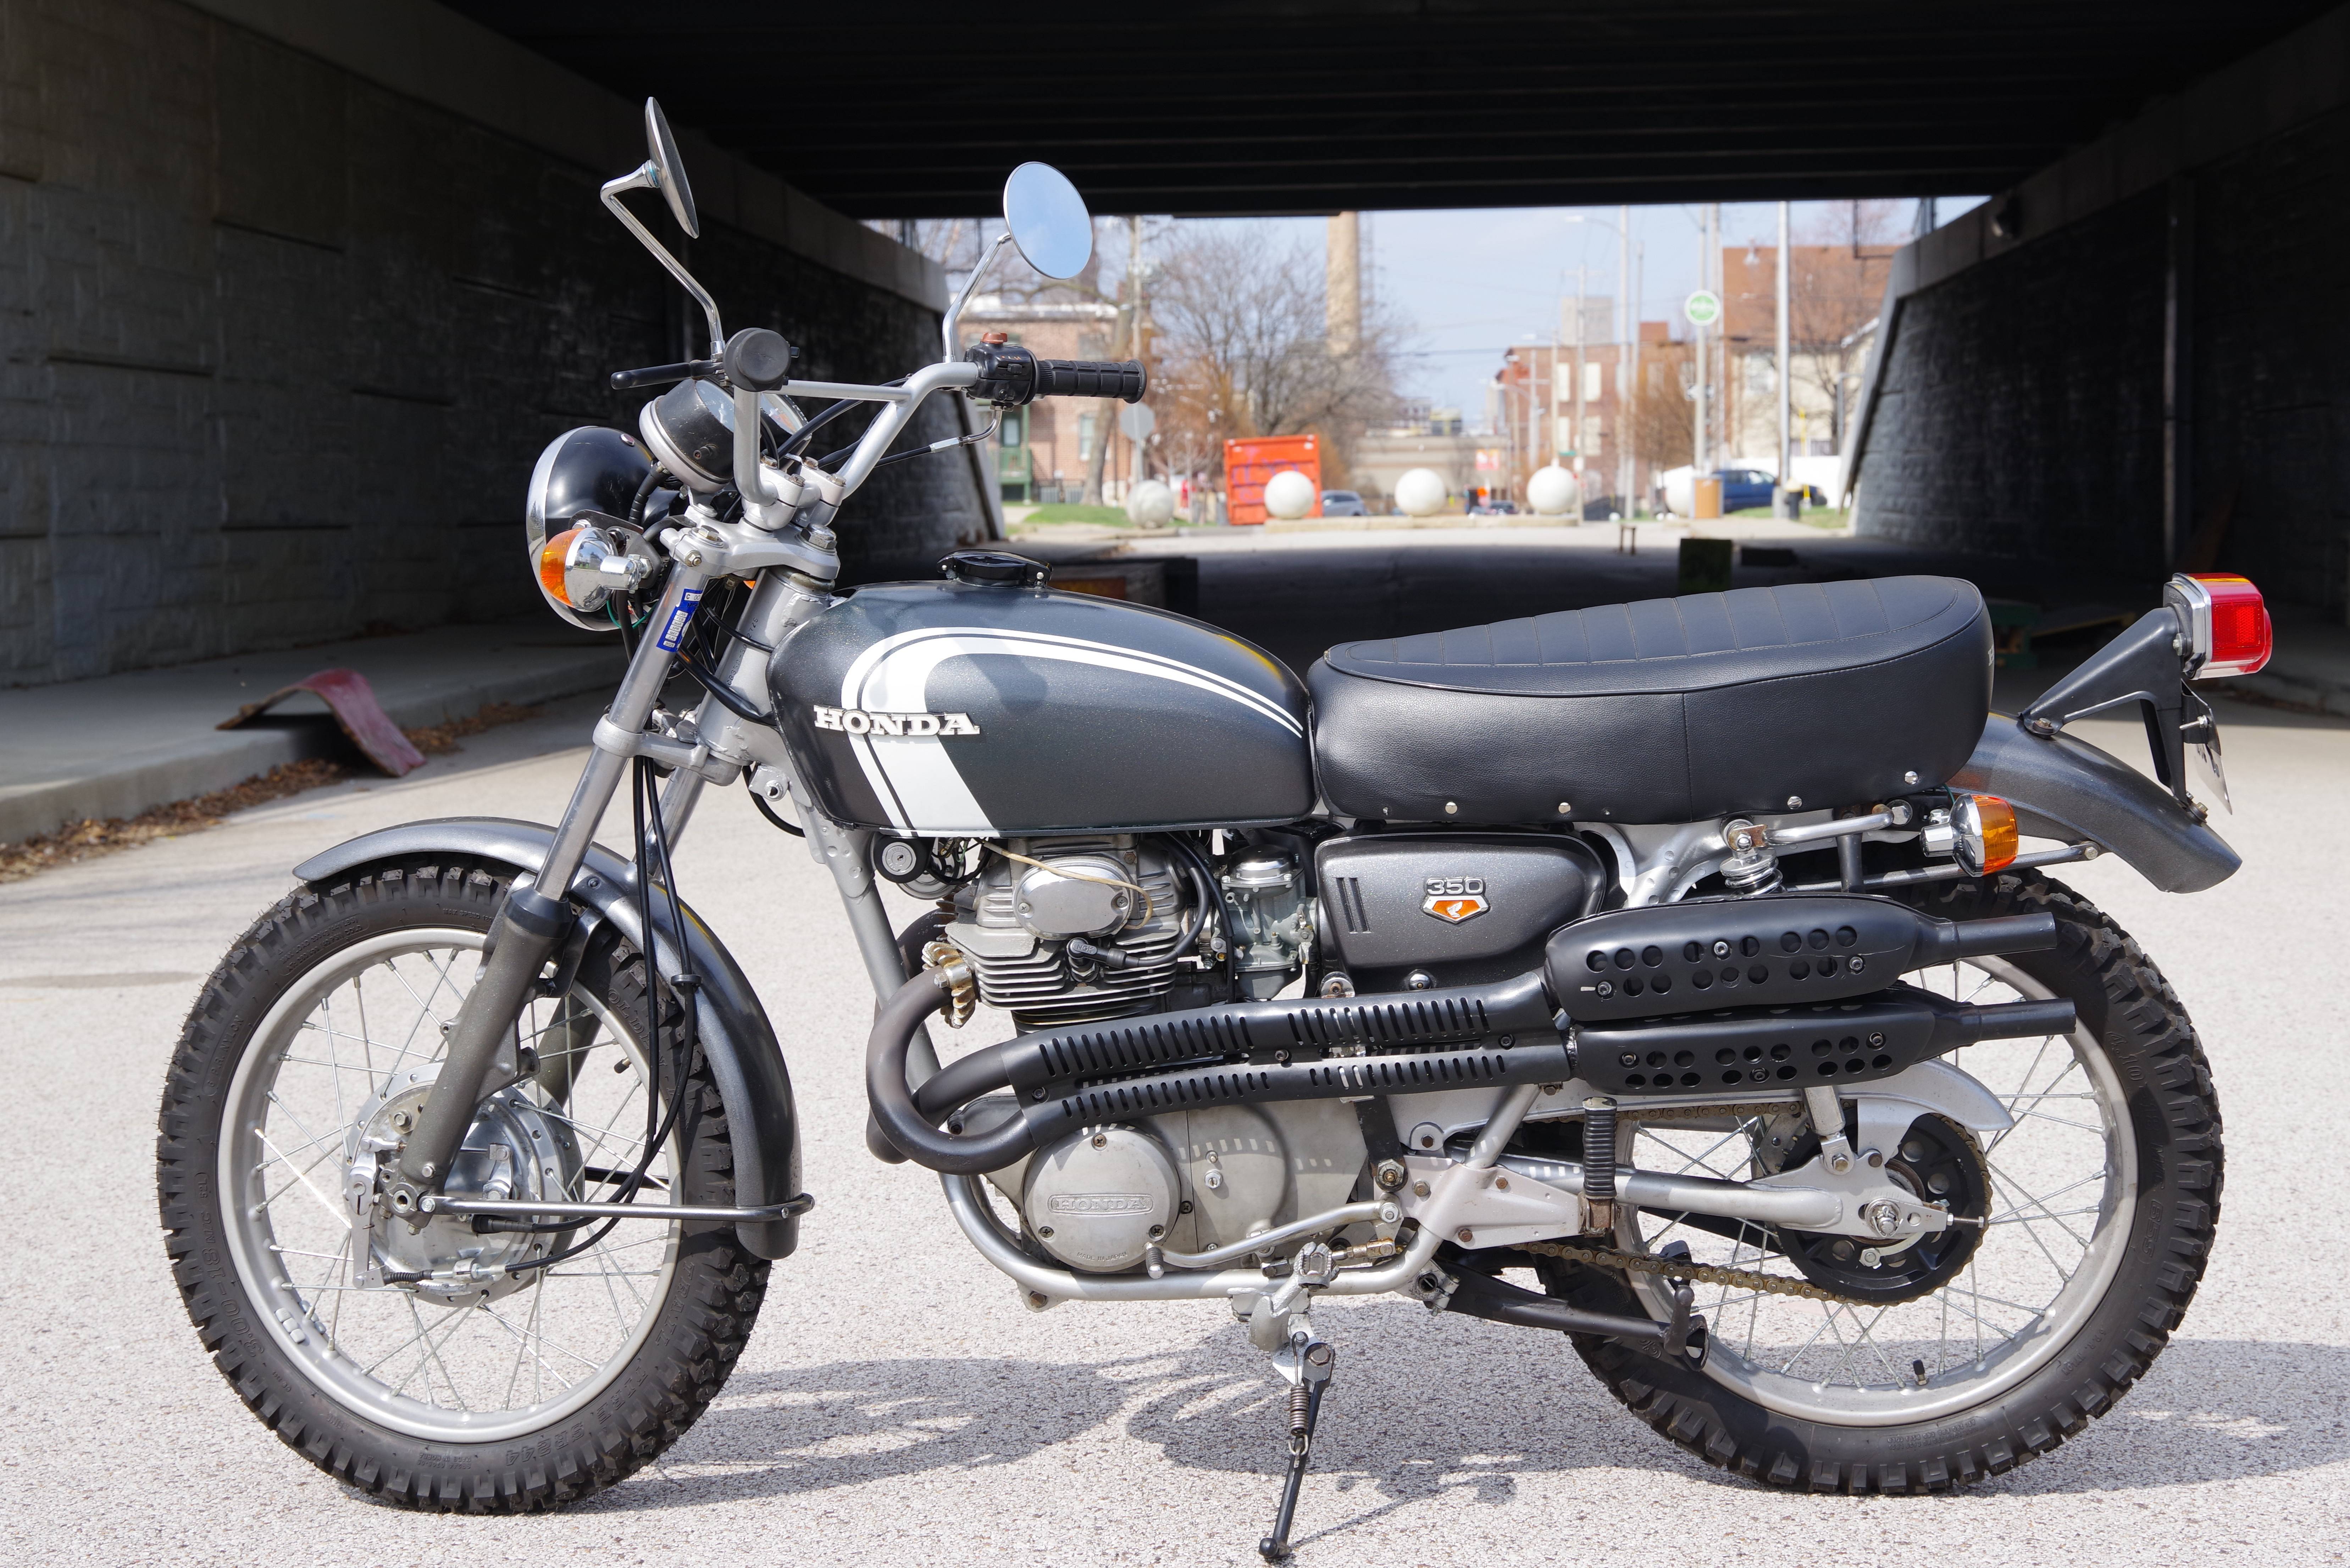
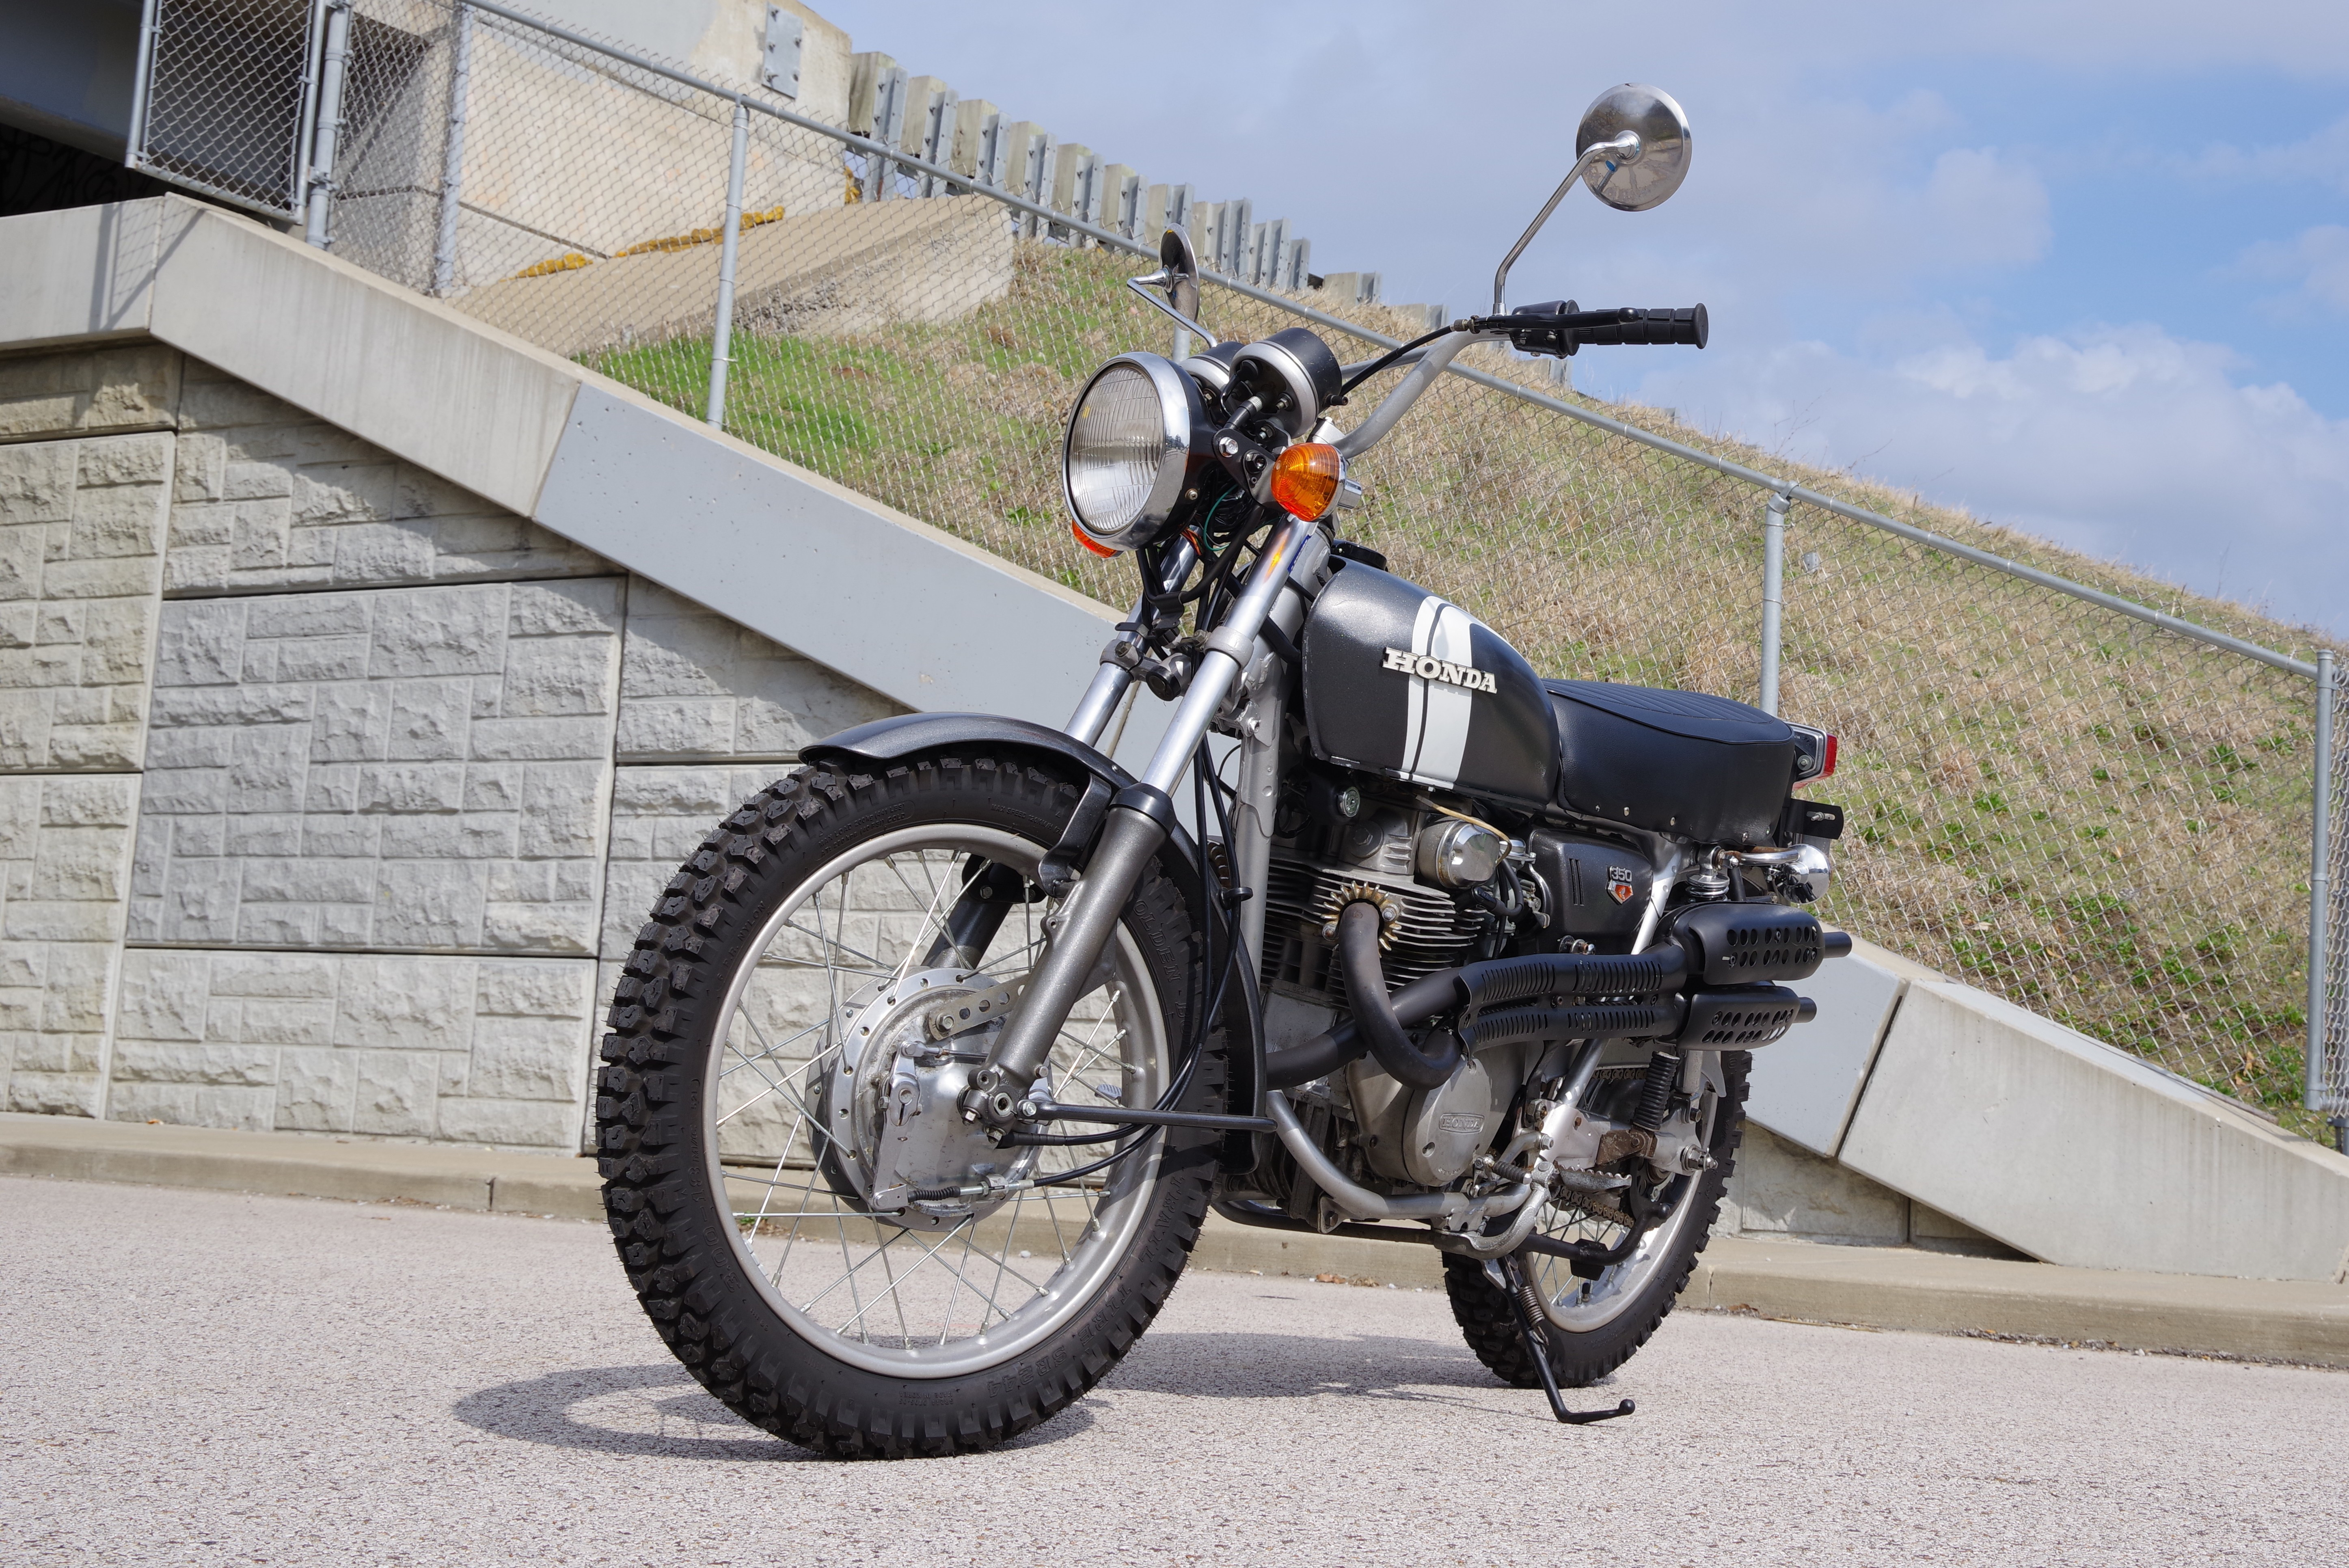
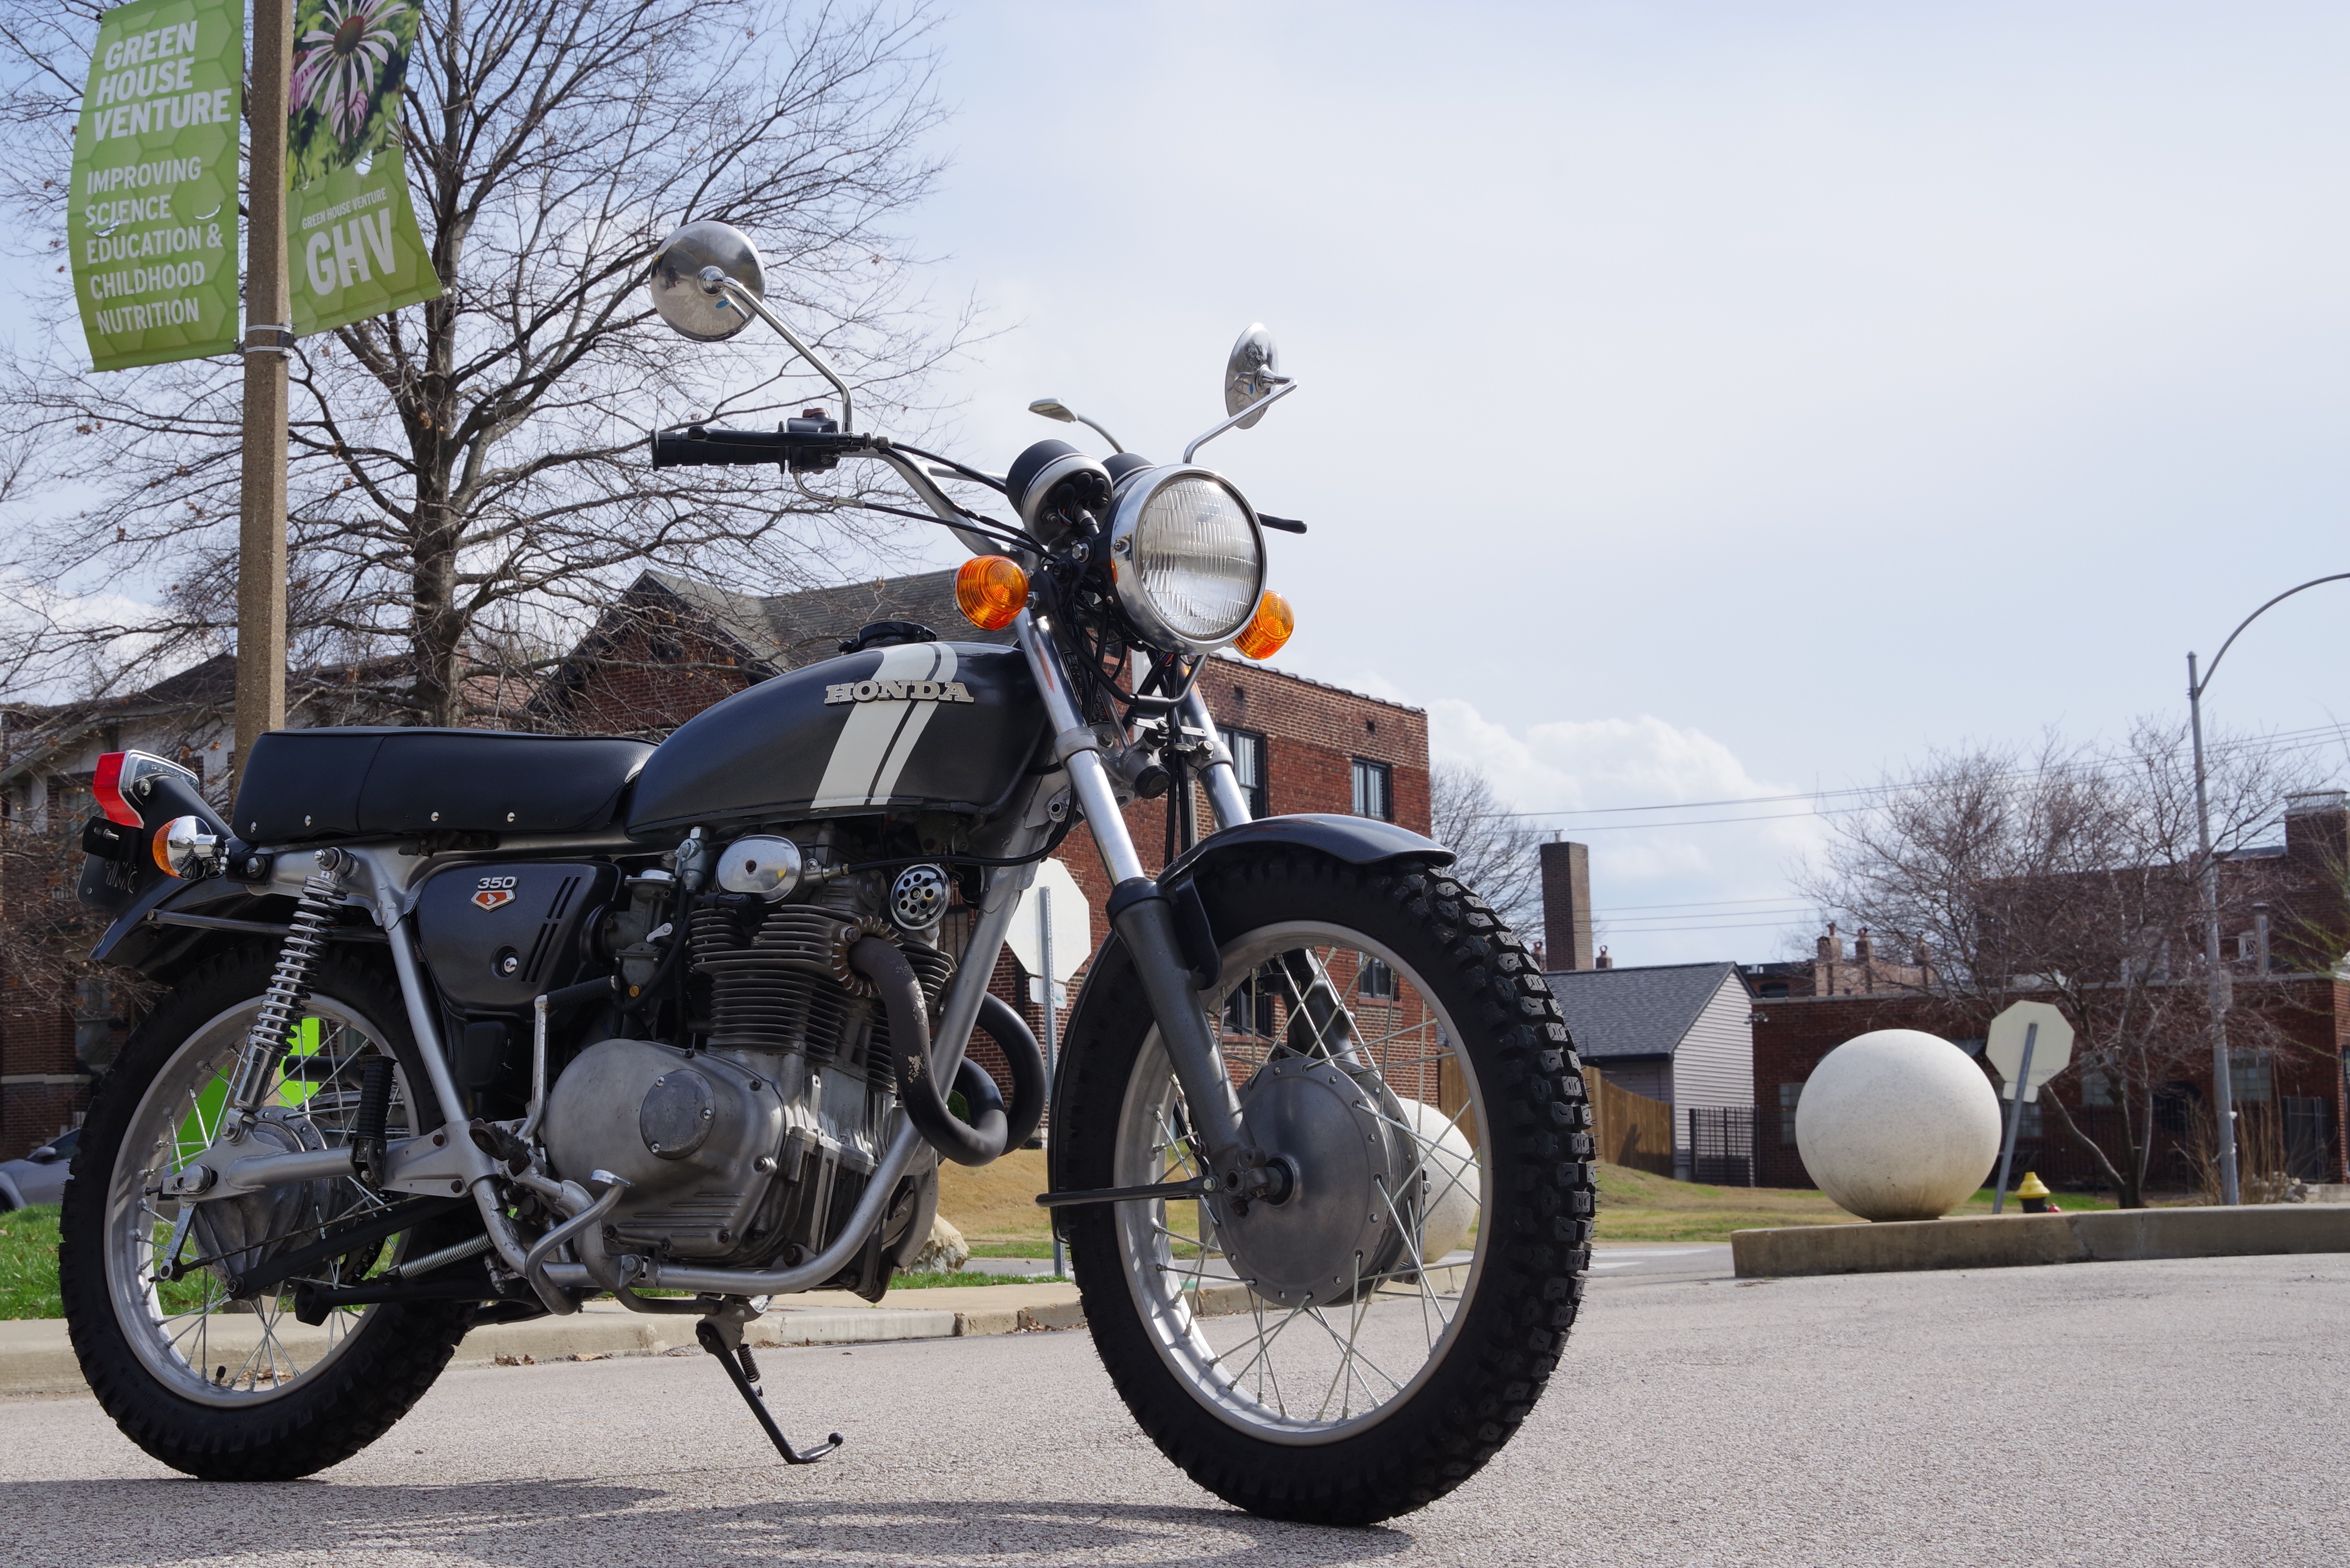
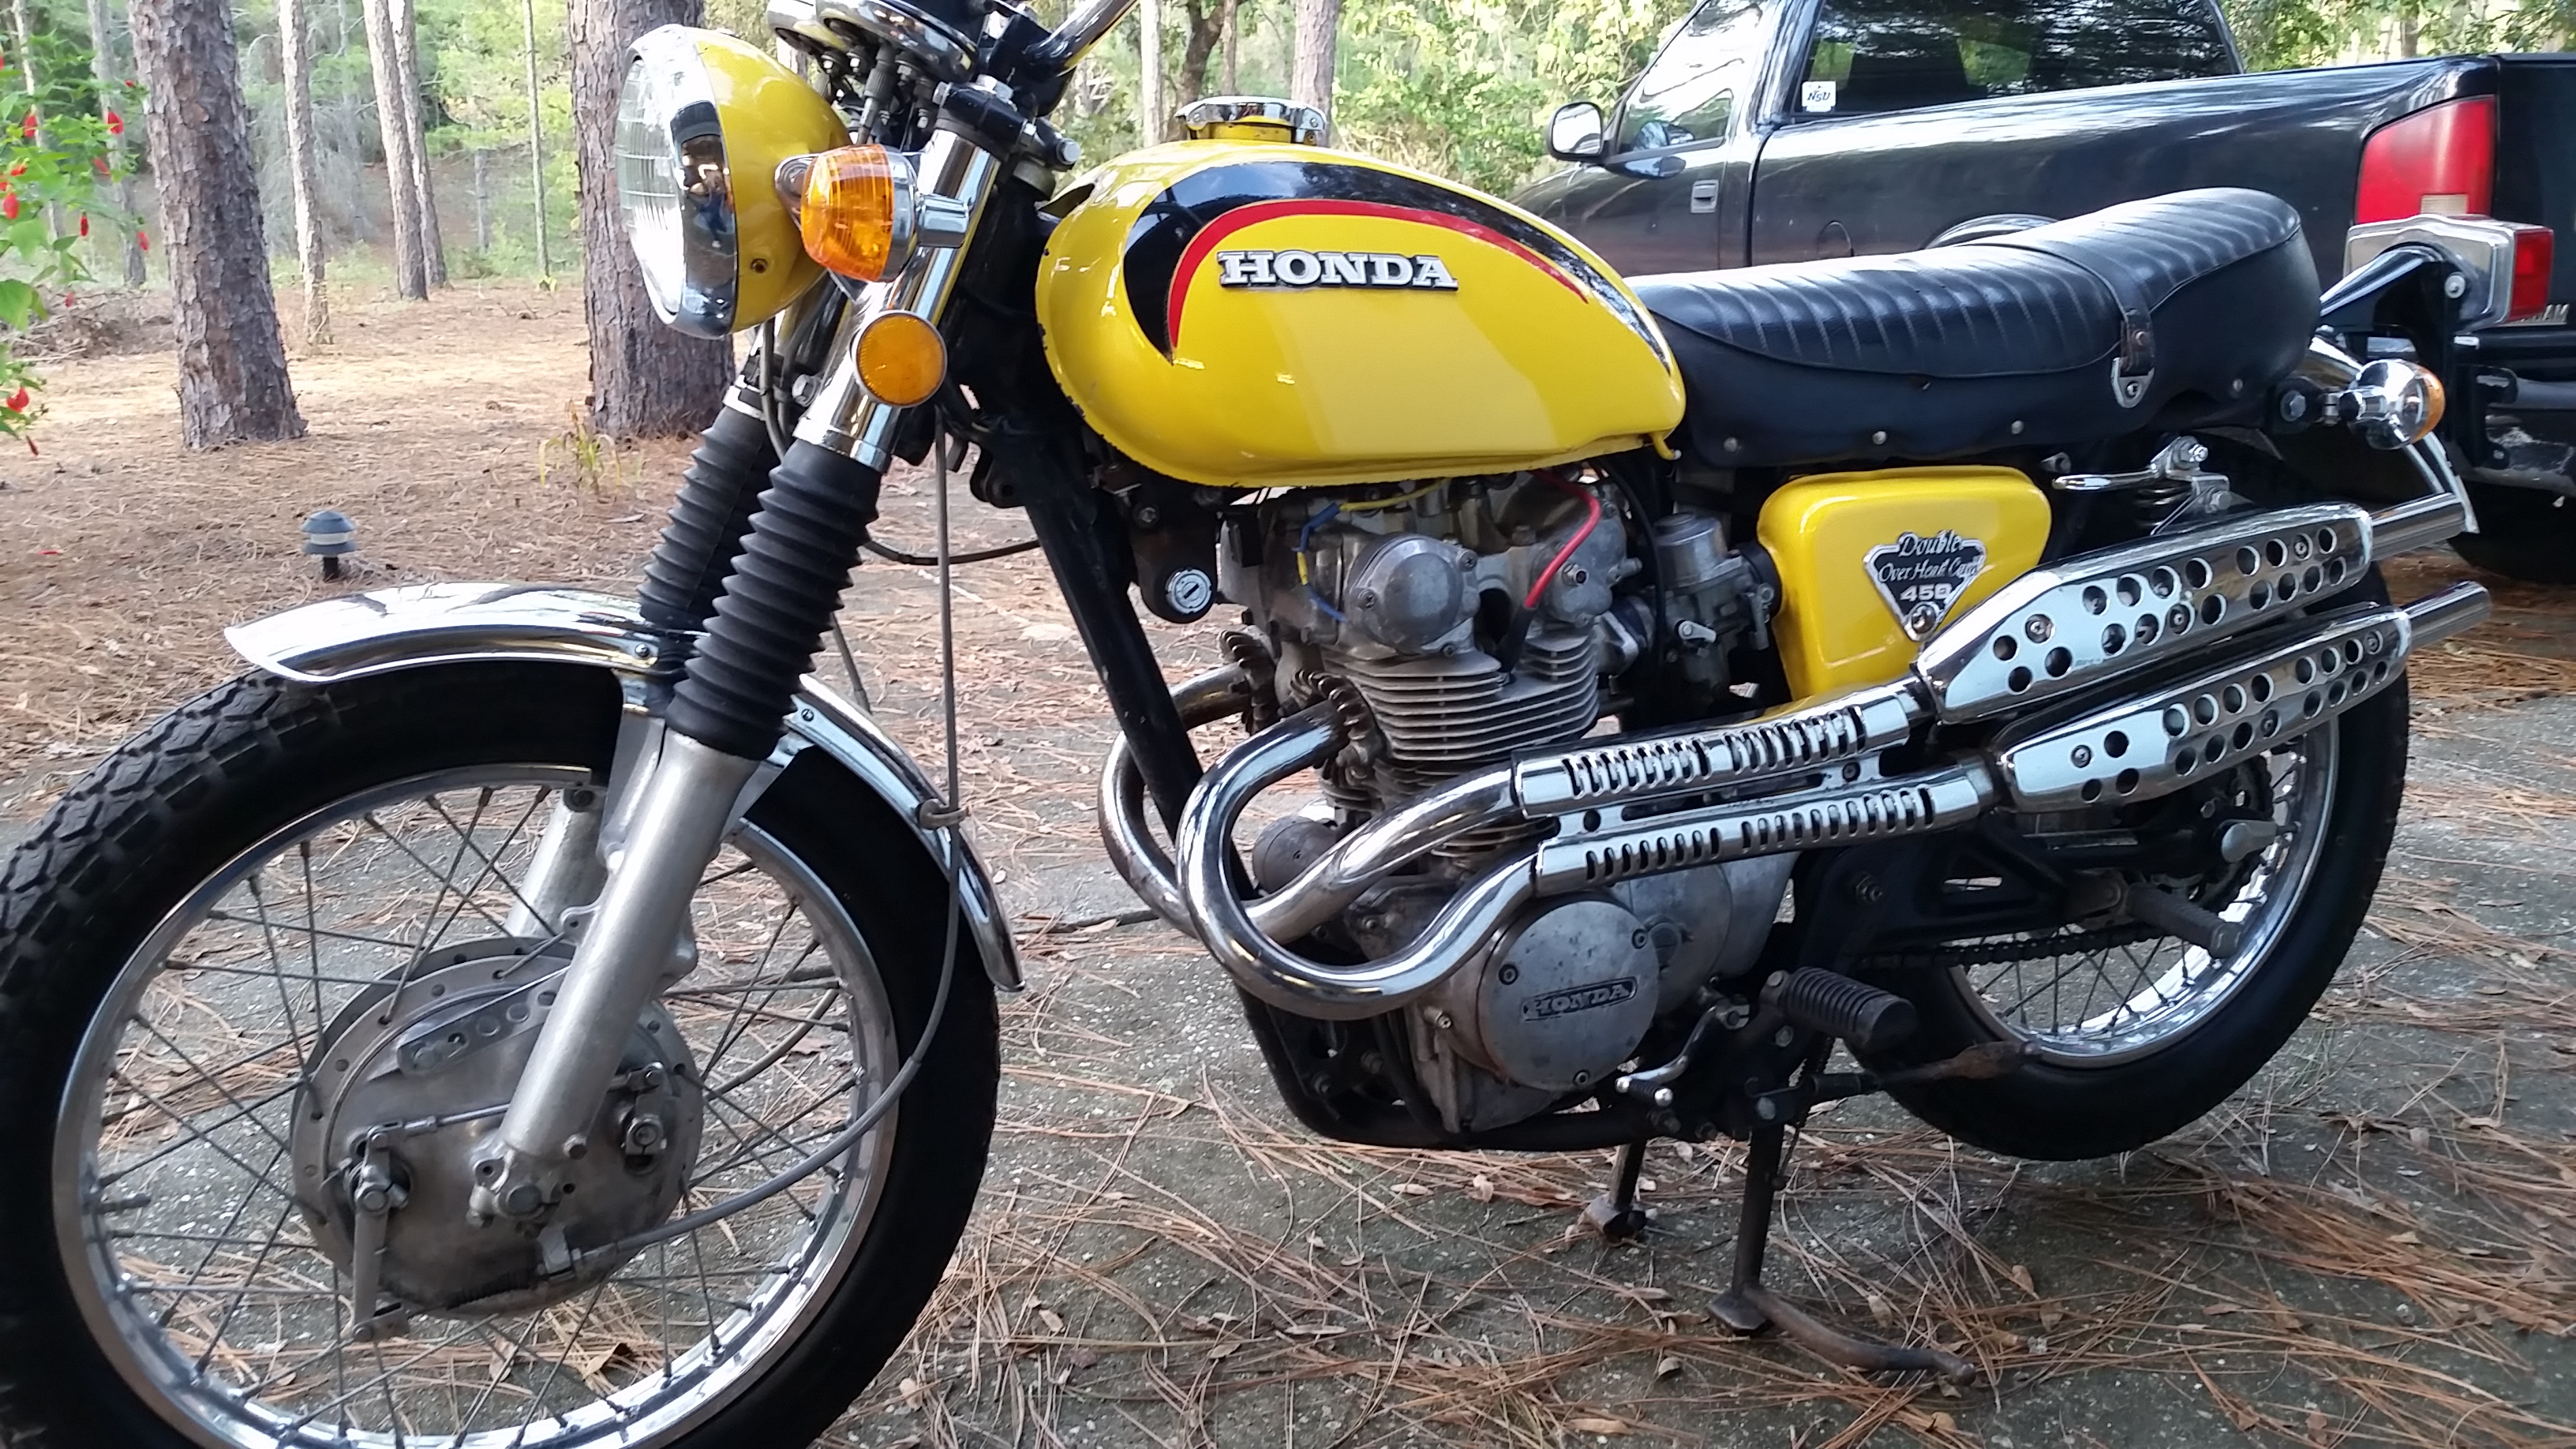
Congrats on the finished product, nice work and very nice paint from Eric. Beauty!1973 CL350 before and after. There are a few little cosmetic nickels and dimes to address but it's a beauty as is and runs better than I would imagine. The bike is shining like a new dime. Big, big BIG thanks to ericfreeman on this site who saw my post for tank and side cover painting and reached out. We had a great conversation over the phone he agreed to do the work and I couldn't be happier. Zoom in close on the tank under the Honda emblem on the "after" picture and you can even see my reflection squatting about 6 feet away! Amazing.
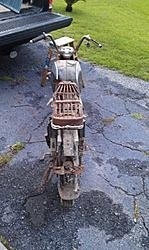
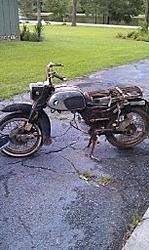
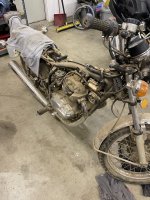
Here's the before:
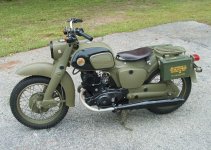
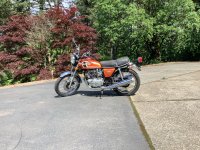
...and here's the after shot (lots of shining, new grips, new headlamp, new tach/speedo decals, welding work on the pipes, new seat cover, blinkers installed, new cables, rear grab rail install, new rubber for all the footpegs, removed air filter pods and installed new filters ad new (to me) filter housing), and lots more little things. Big thanks also to eBay and my local Ace hardware store.

 www.vintagehondatwins.com

Amazing transformation there.View attachment 58576
View attachment 58577
AD Edit: I'll add the project thread link for you:
CA95 project(s)
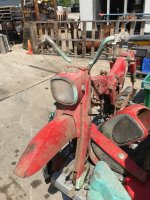
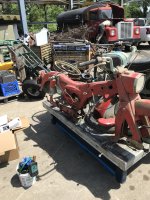
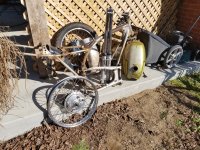
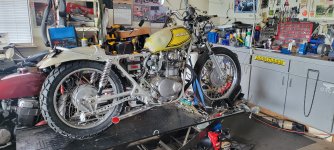
Picked up this whole pile of parts yesterday. Plan to make 1, maybe 2 bikes out of it and give away or sell the rest. 3 CA95 frames, 1 CA160 frame. 2 engines, 7? wheels including a couple new rims, one already laced up and the other the hub has been polished and the spoke kit came with. Need...

That looks sweet as... Love the stance I need to read more about the build well doneMany members have completed restoration/refresh projects or custom builds that were either finished prior to VHT's existence or done shortly after we opened. Since the Projects and Builds section has well over 200 threads and growing, some long and very detailed, this thread will give new members a look at the "before and after" results to use as inspiration, or as a guide to a more thorough effort.
So, in this section let's post 1 before and 1 after picture of your bike along with a link to the thread in the Projects and Builds section.
I'll start with before and after pictures of my 450 build. Since it was completed before VHT opened, the synopsis is here - CL450 project reboot, street-legal this time. If anyone wants to trudge through the long and sometimes even more painful original, it can be found at that other forum
Before (and don't be fooled, it needed plenty of work and was a 20 footer at best)
After
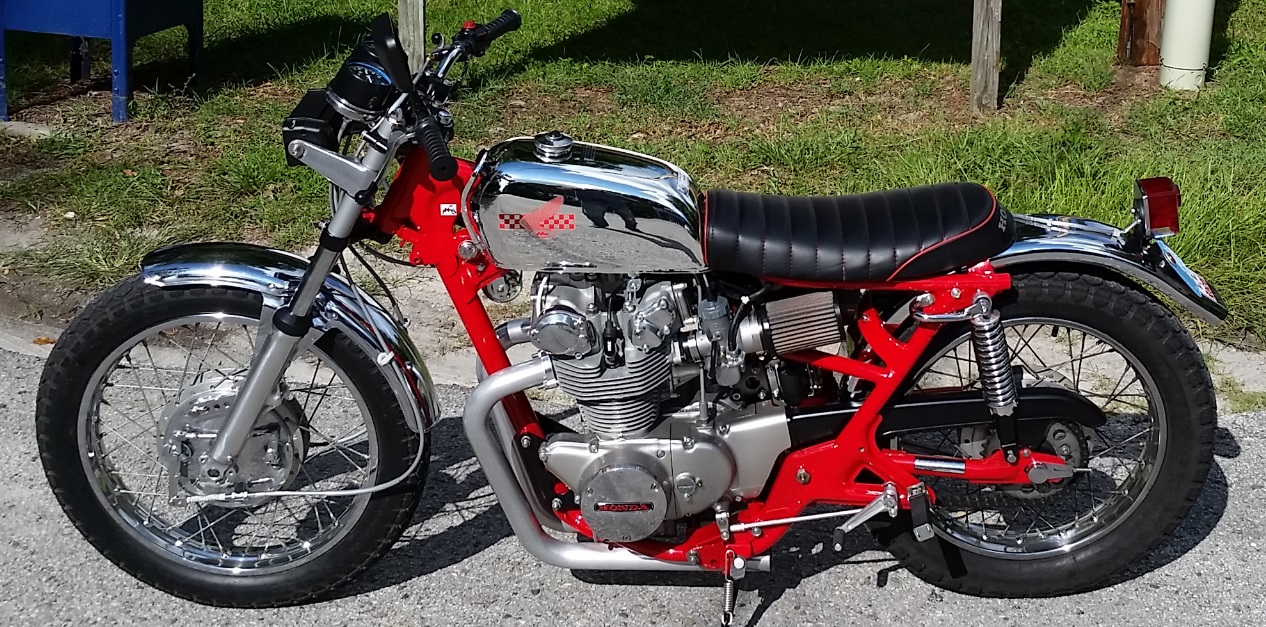

Thanks very much for the kind words, it's a fun little hotrod. If you'd like to read the long, sometimes sordid story (or the even longer original version where it all began, before VHT existed), here's the place to start.That looks sweet as... Love the stance I need to read more about the build well done
www.vintagehondatwins.com