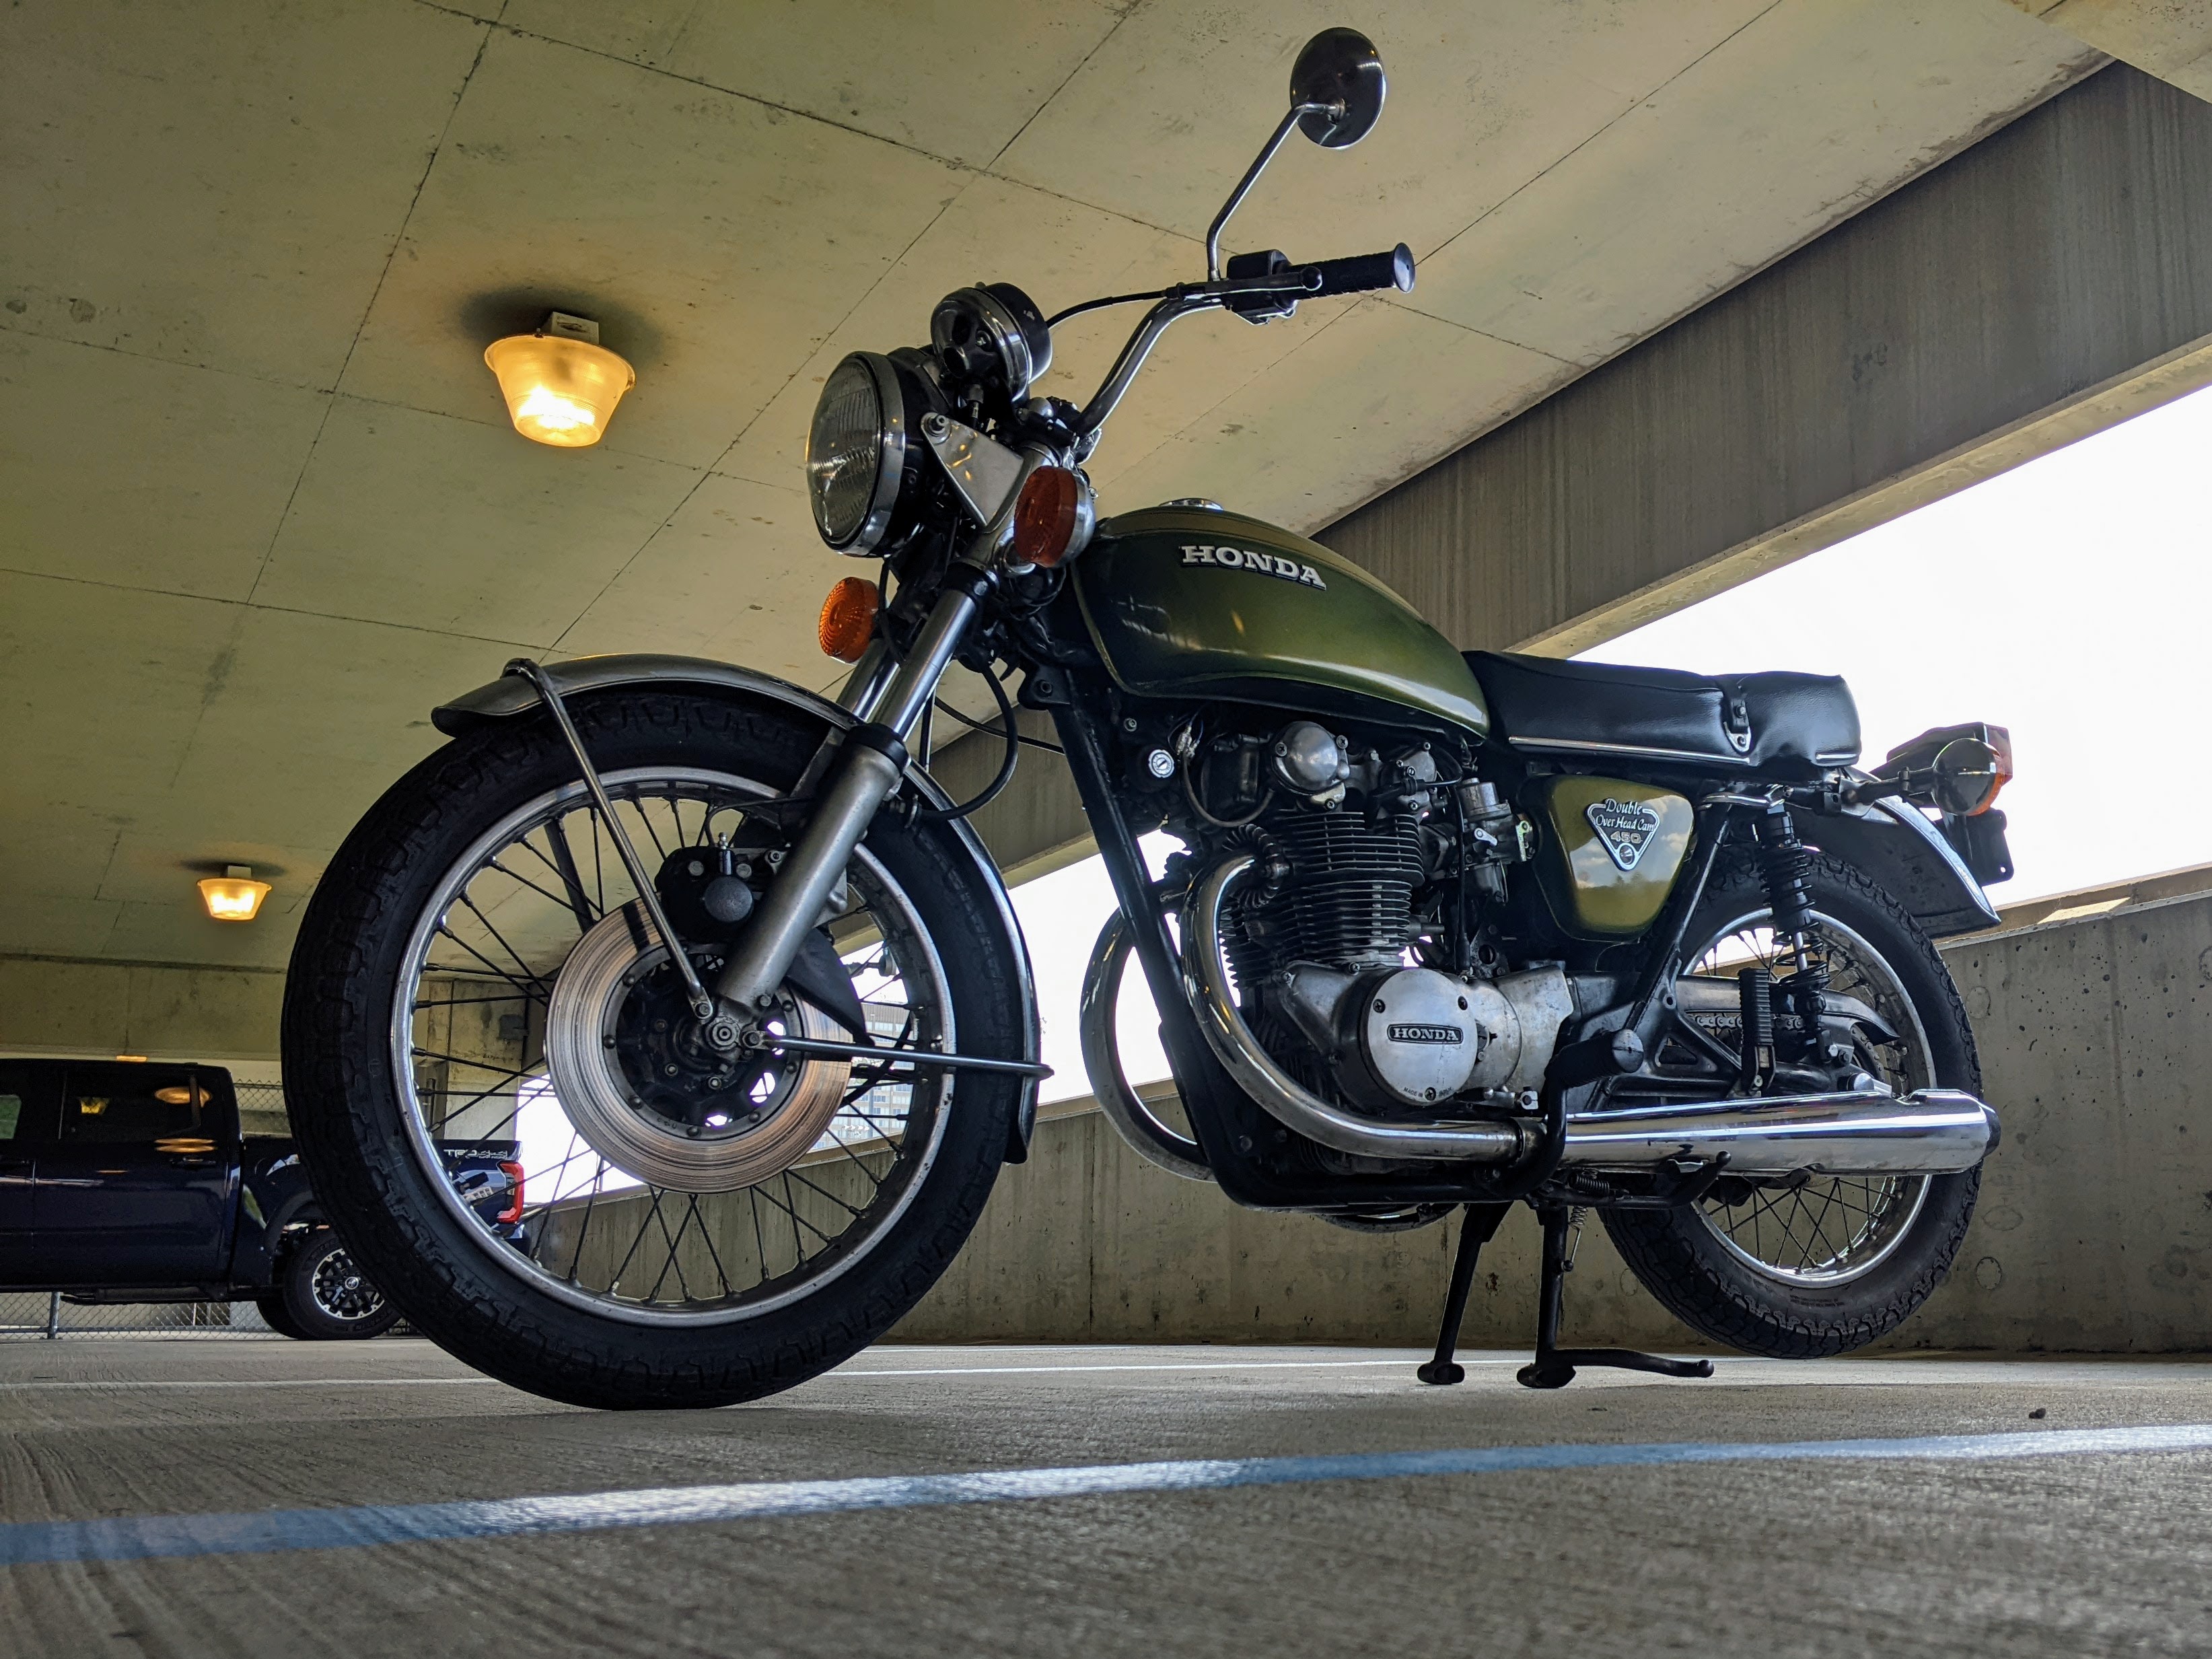
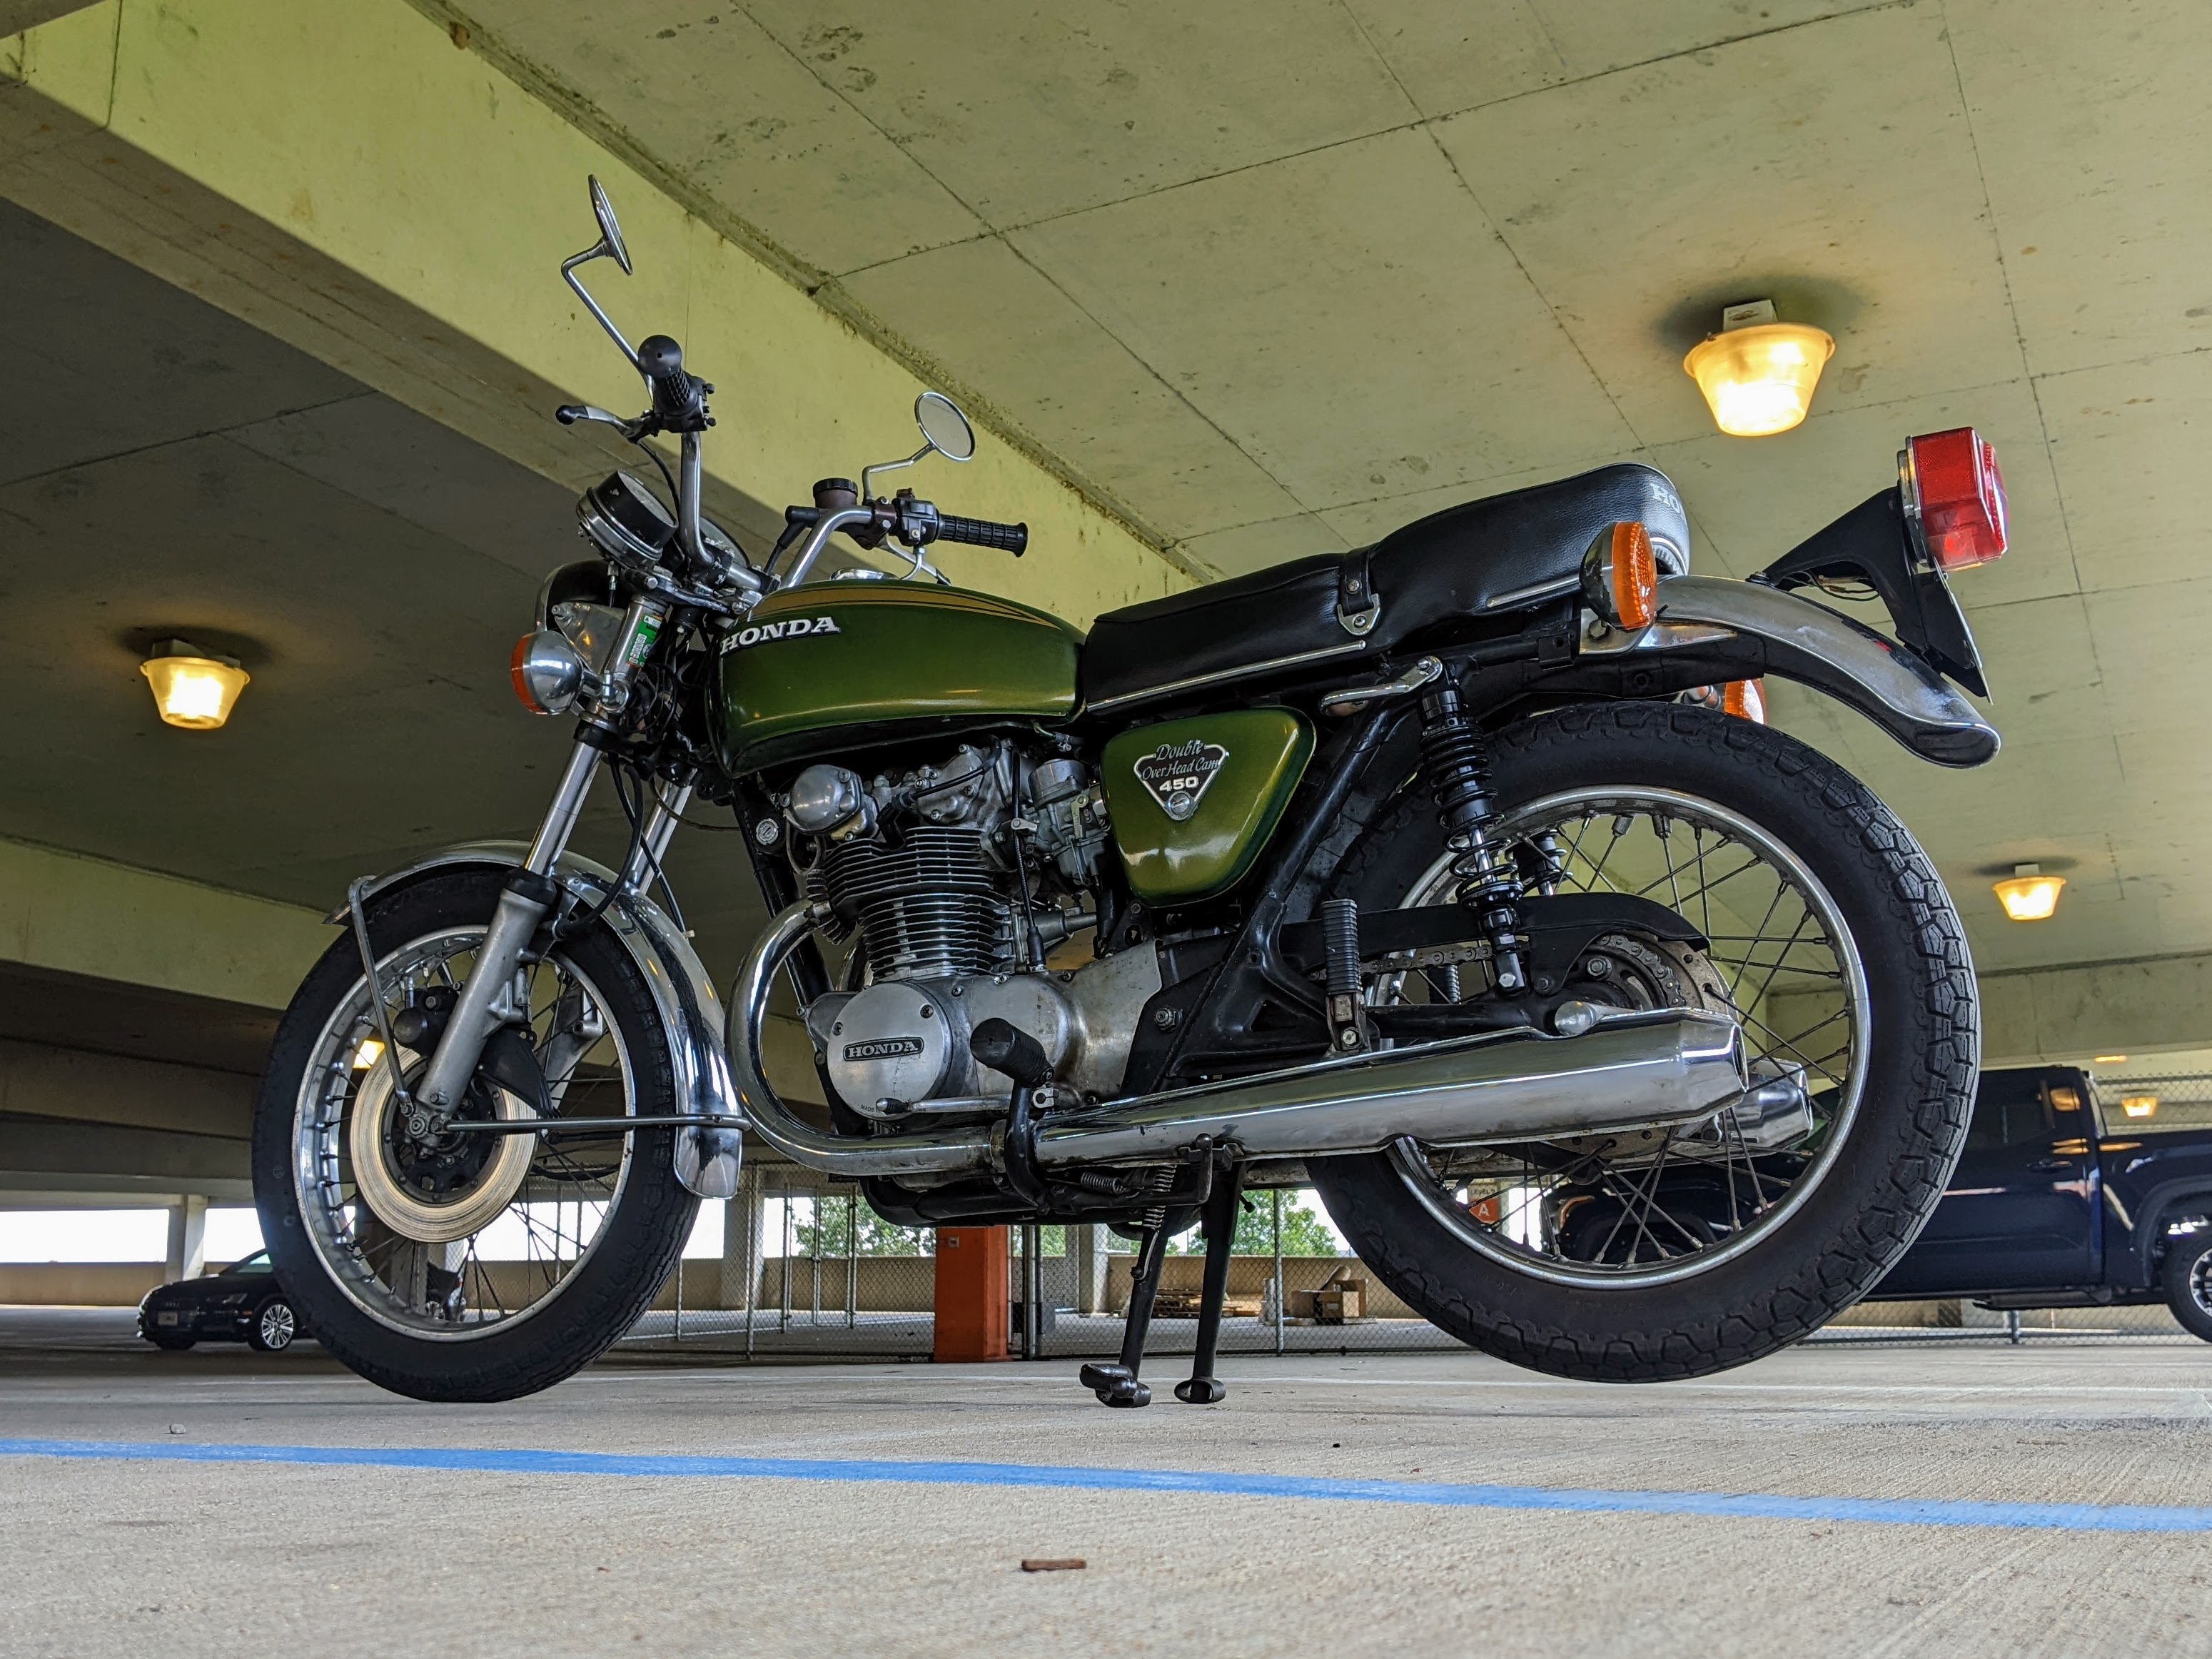
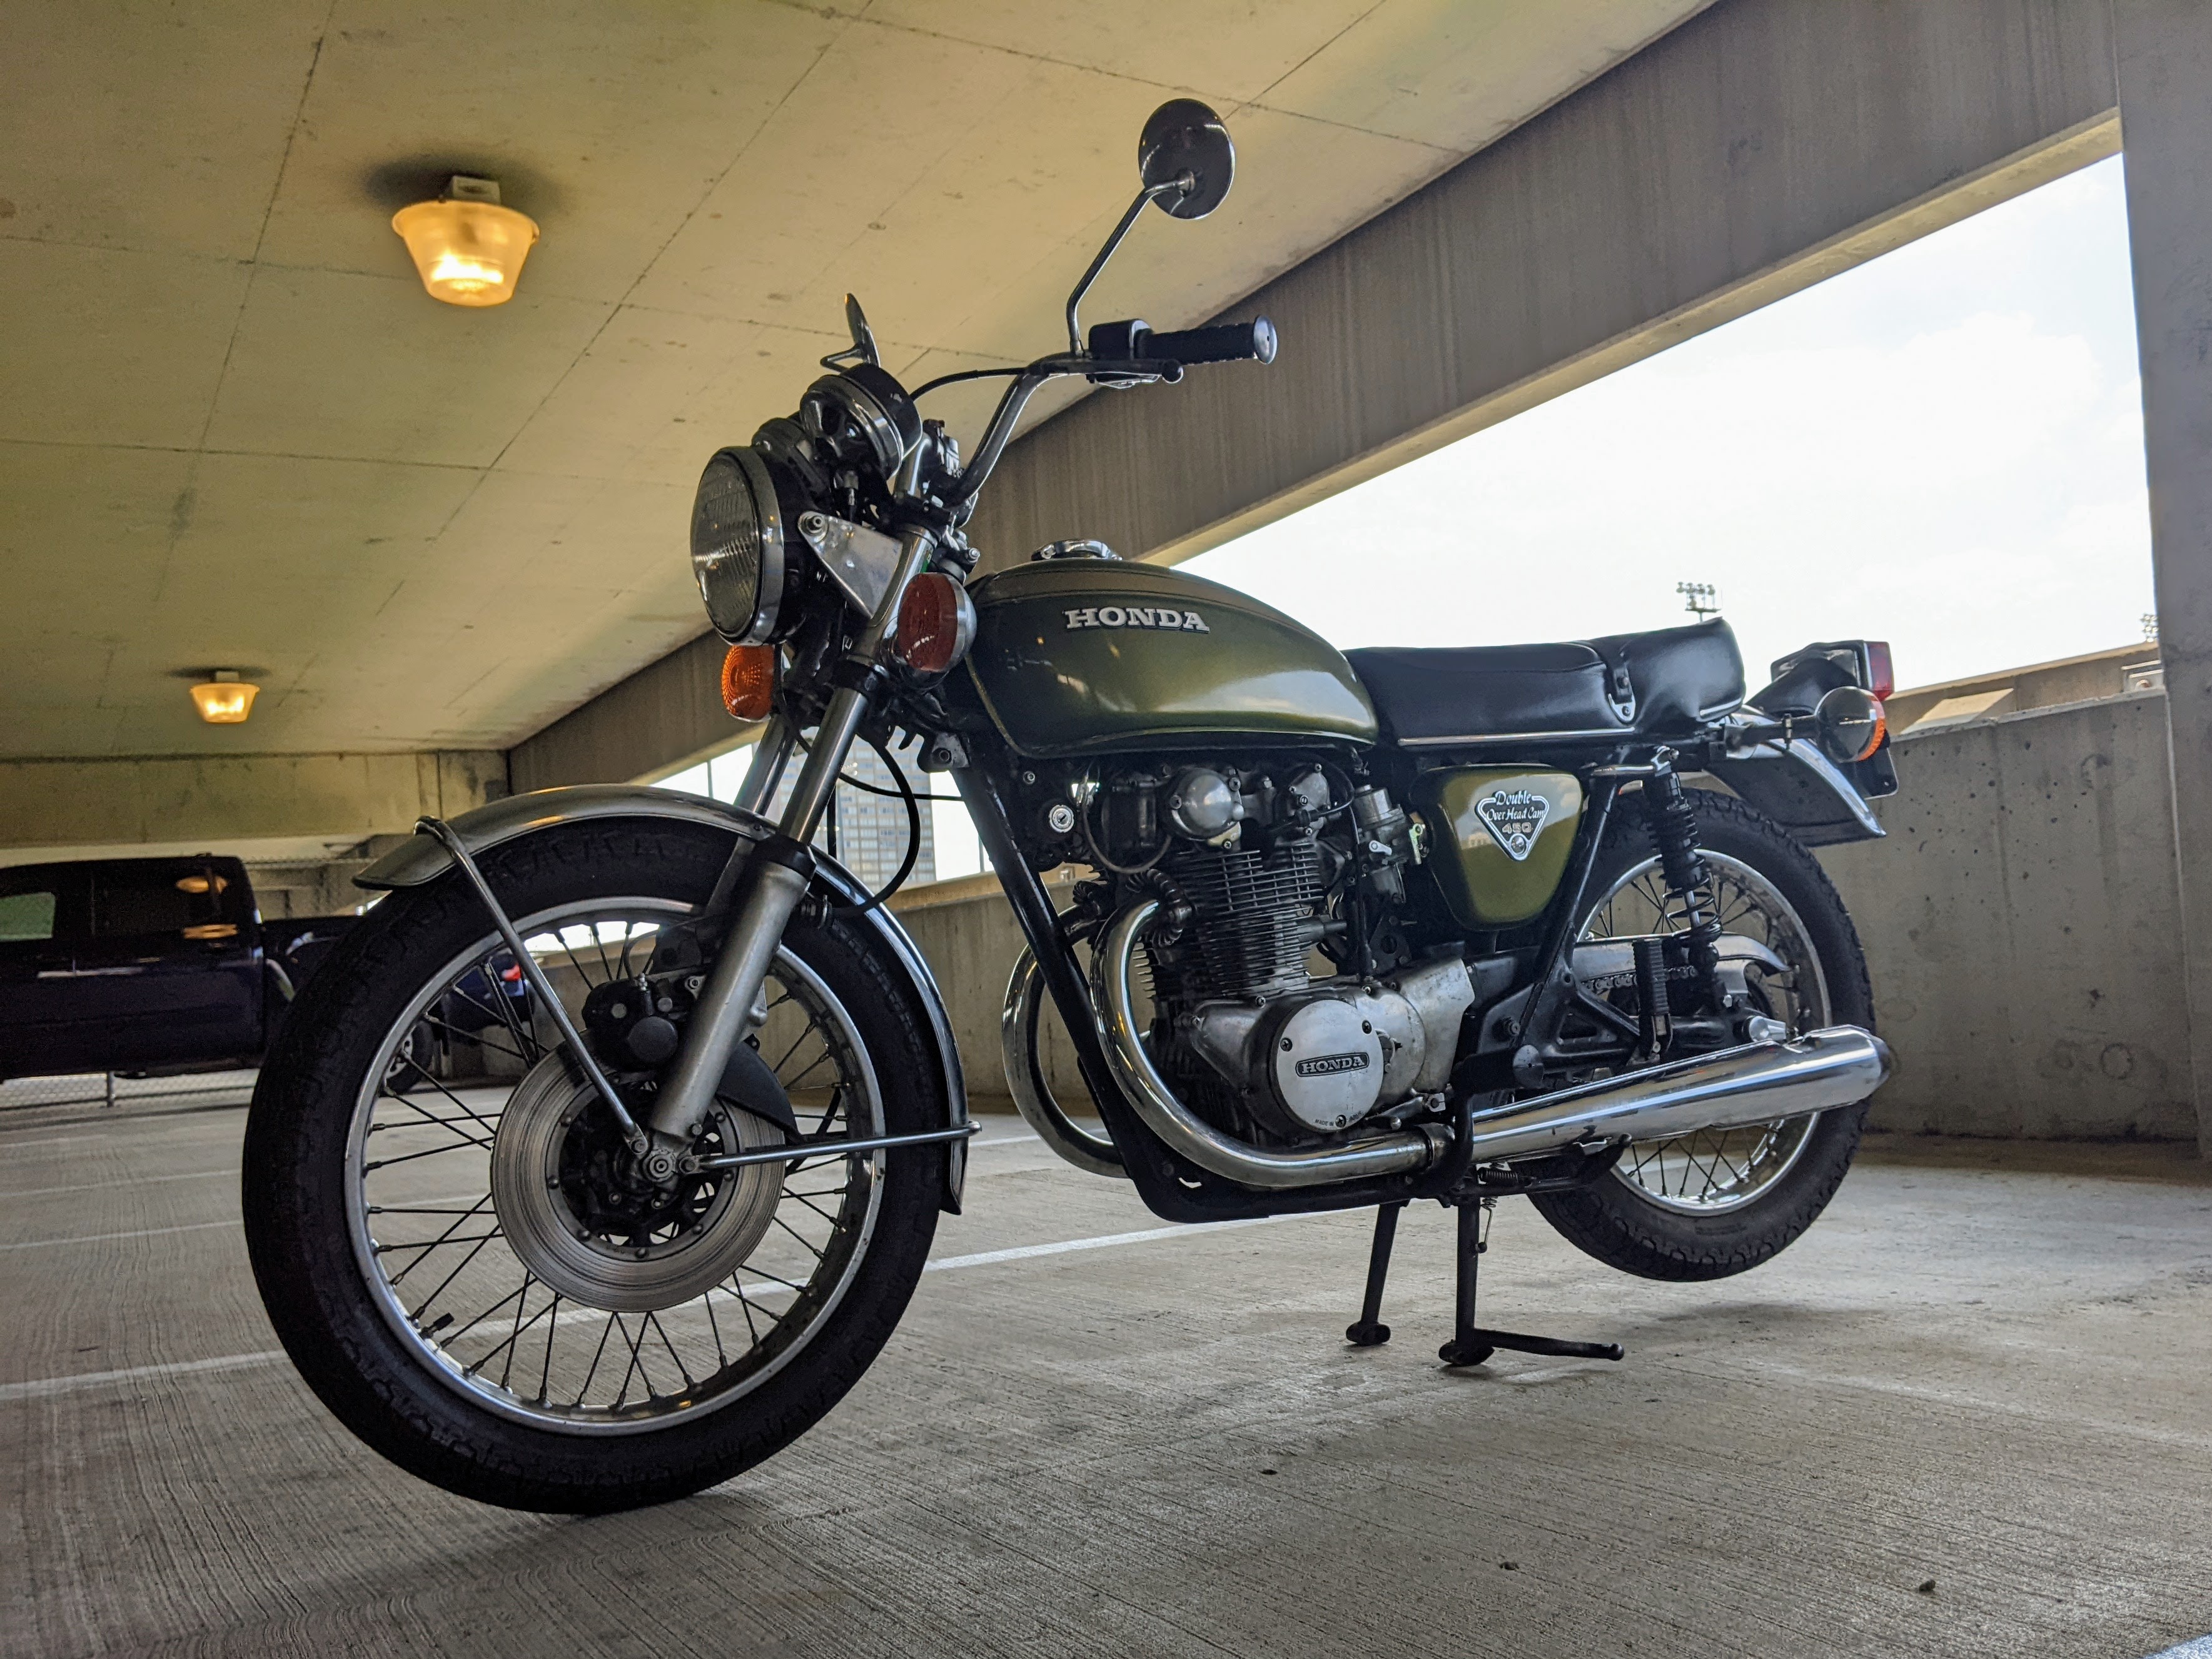
Last year I ended up swapping out the original spark advance mechanism with one from my 1972 CL450 parts bike. I had disassembled the original and was hoping to shorten or replace the springs and accidentally snapped the e-clips. The advance mechanism from the parts bike also seemed to have weak springs, so I shortened both springs slightly and I have been feeling that the timing was off at low RPM, especially before the motor has fully warmed up. It feels like the advance is reluctant to open and then opens suddenly at a certain point, rather than opening smoothly as shown in the manual.

So, this spring, I went through a mini-tuneup and adjusted the valves and static timing to see if the situation would improve. The timing was slightly advanced, but the cam/follower clearances were all at about 0.002", so no red flags there. Also no change in behavior after the adjustments. I then ordered an advance mechanism on eBay listed for 450/500T and realized after I got it that it was the TEC375 model for the 500T. Thanks to
@Jays100, who confirmed that the TEC375 is compatible with the CB450s, I just installed that advance mechanism and the bike is running much better — the engine speed increases smoothly from idle on up with no hesitation as the advance mechanism opens.
I am waiting on a small order of tension springs from eBay with the ultimate goal of finding suitable replacement springs for the 450 advance mechanism. I probably won't hit the bullseye on the first order, but I will try to keep at it until a suitable replacement is found. This time I more or less made guesses based on a few caliper measurements, but I'll try to be more scientific about it going forward.
I had the 723B carburetors off for the valve adjustment and thought I may as well document things here for later reference. The float heights were 22mm (left) and 21mm (right), so I reset them to 20mm.
- main jet: 145
- pilot jet: 38
- slow jet: 38
- float height: 20mm
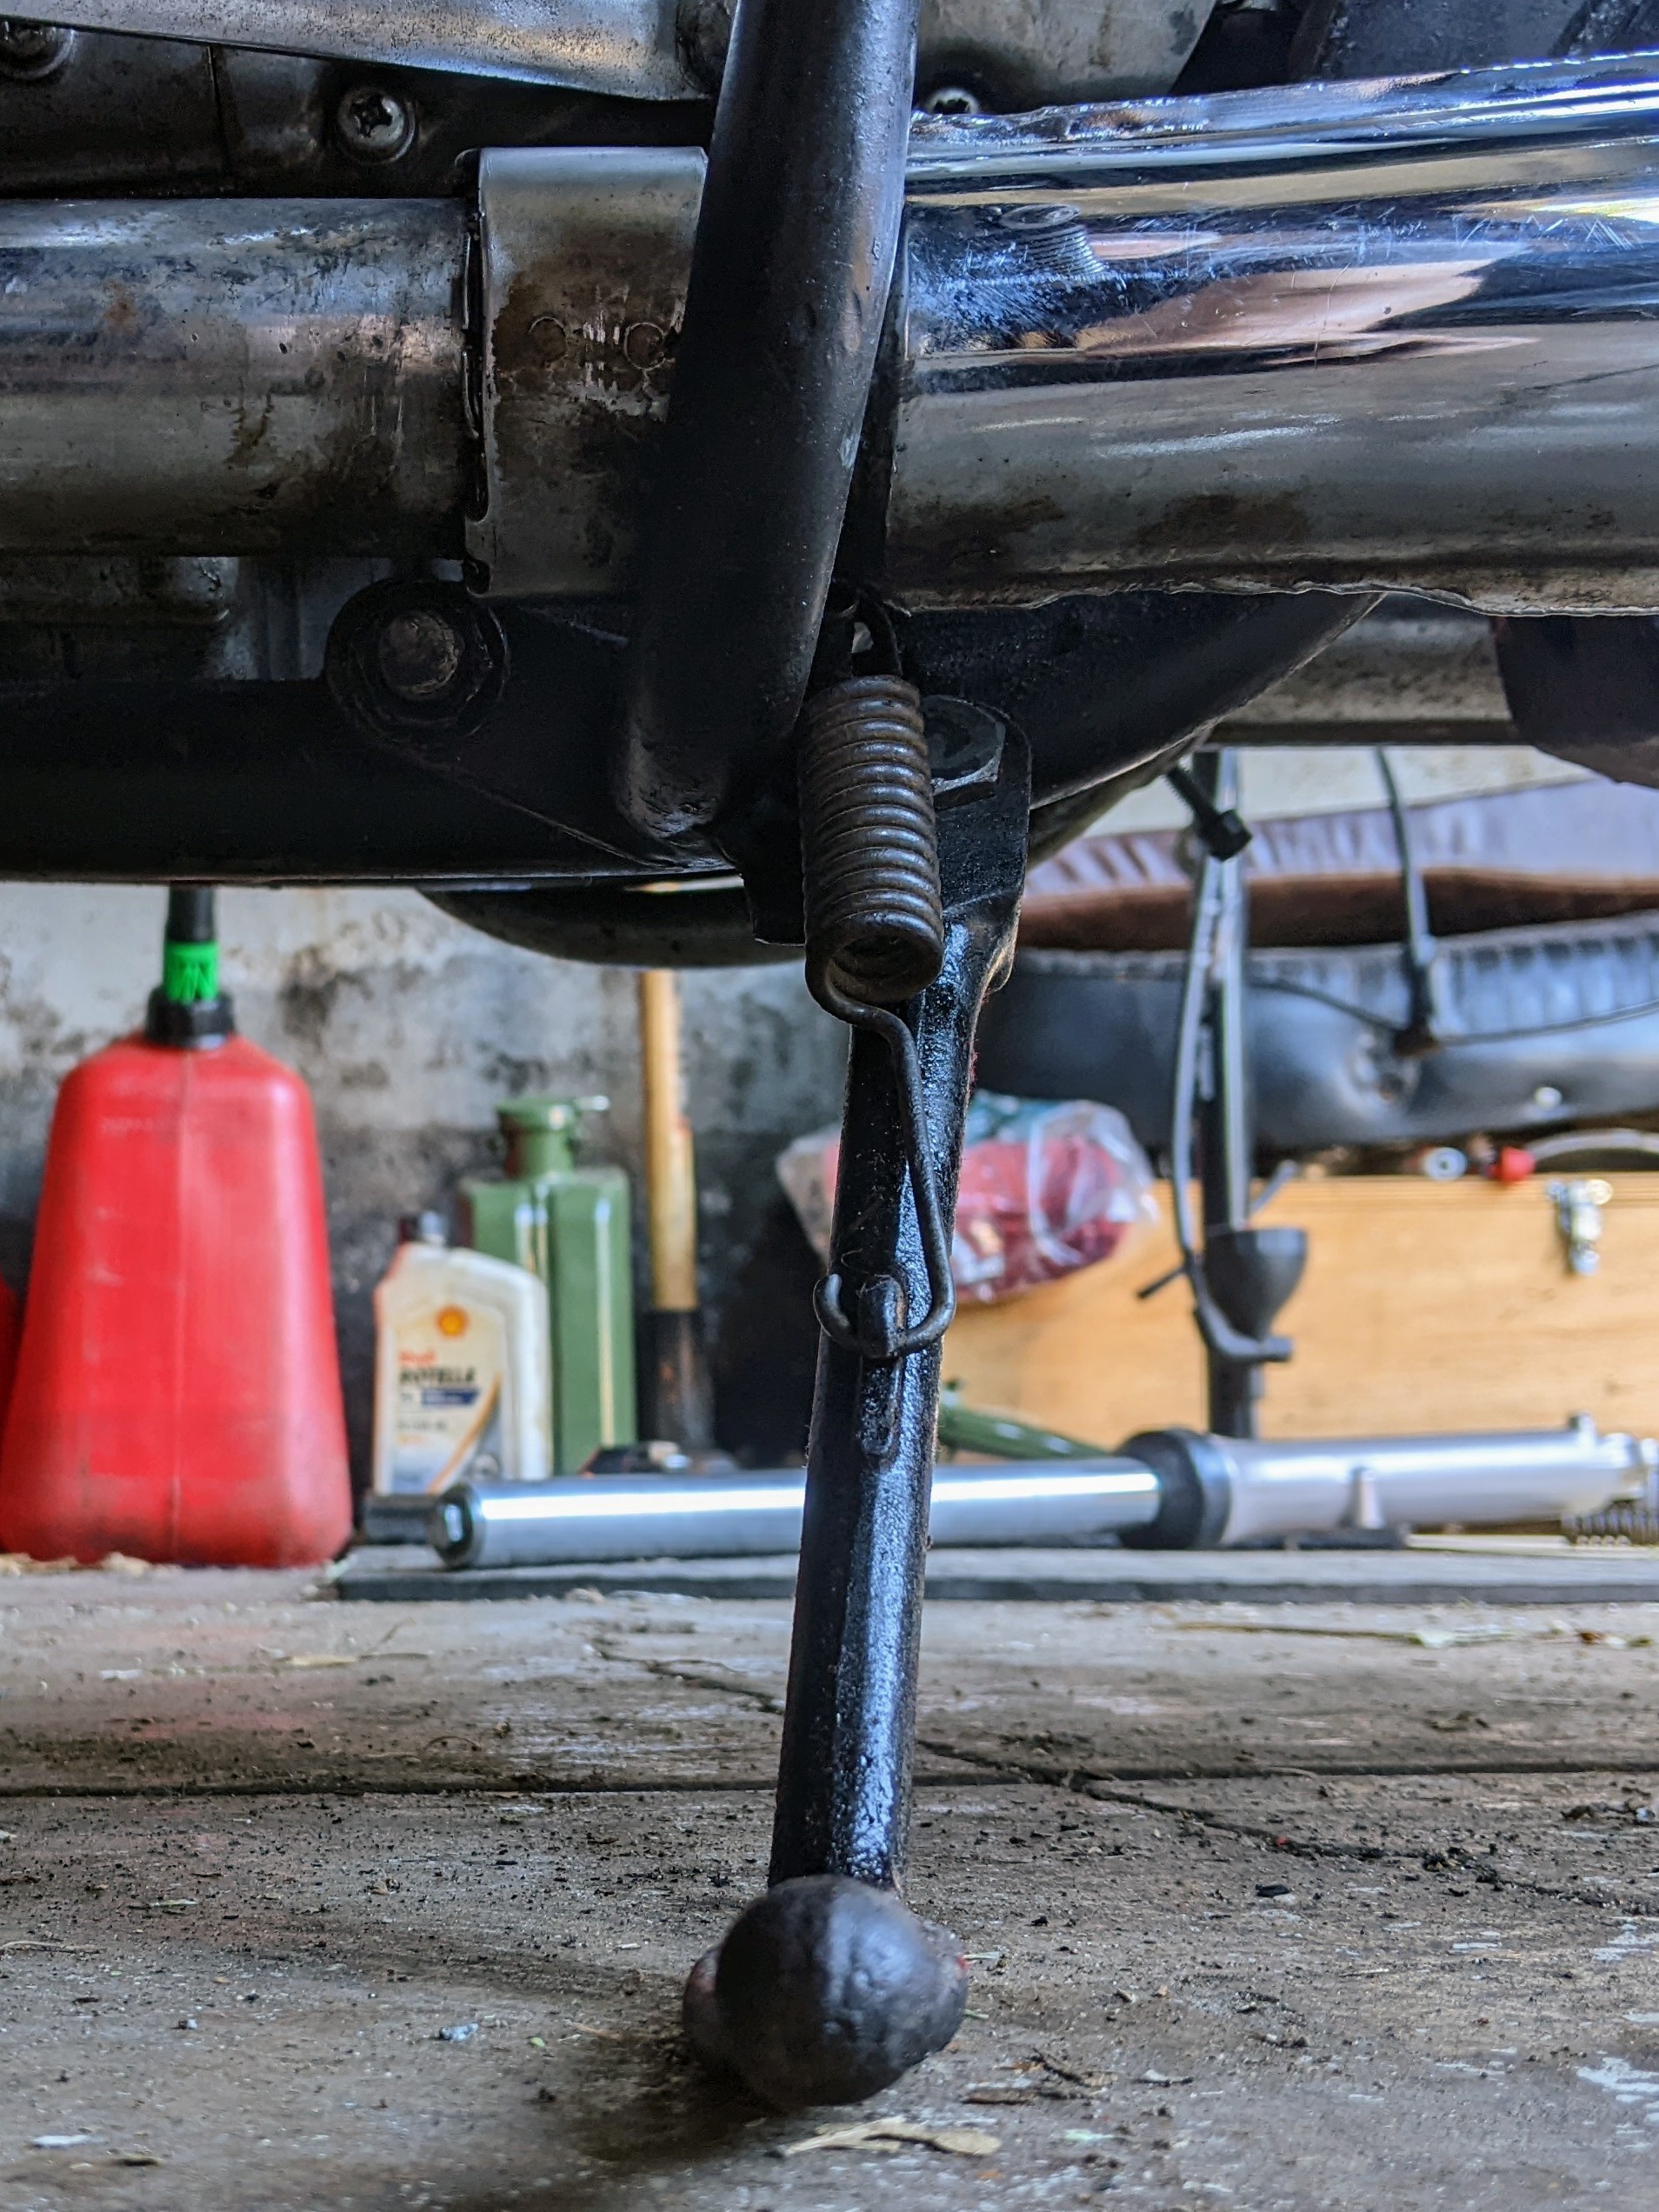
Another odd thing was that I noticed a slop in the shift lever while riding and found that the bolt on the back of the lever needed to be tightened. I checked my other bikes and it was still tight on my CB360G, but also needed to be tightened on my XL350. I should have paid more attention to that.