• Don't overlook our Welcome Package, it contains many links to important and helpful information about functions at VHT like posting pictures and sending PMs (private messages), as well as finding the parts you need.

    AD

74 360G.....My first project bike

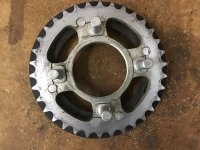
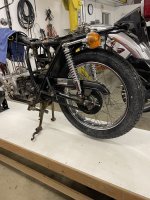
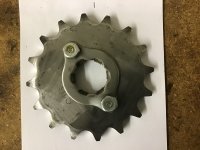
Bit of an update.....top end parts are at the machinists. While they're out, I tore the rear end apart so I could replace brake shoes, shocks tires wheel bearings etc. I plan on replacing the chain regardless, but after inspecting the sprockets, they look to be in really good shape to my untrained tired old eyes. I see in the FSM it shows where to measure for wear, but I cannot seem to find any values to go by.
IMG_0106.jpegIMG_0108.jpeg
 
New Year.....new parts! Want to replace rear wheel bearings. Bought the retainer tool and have it off.....FSM offers nothing for removal..only installation.......before I stick a brass punch in there and start beating the f#%*&=#@%&t out of things are there any helpful hints for me?
 
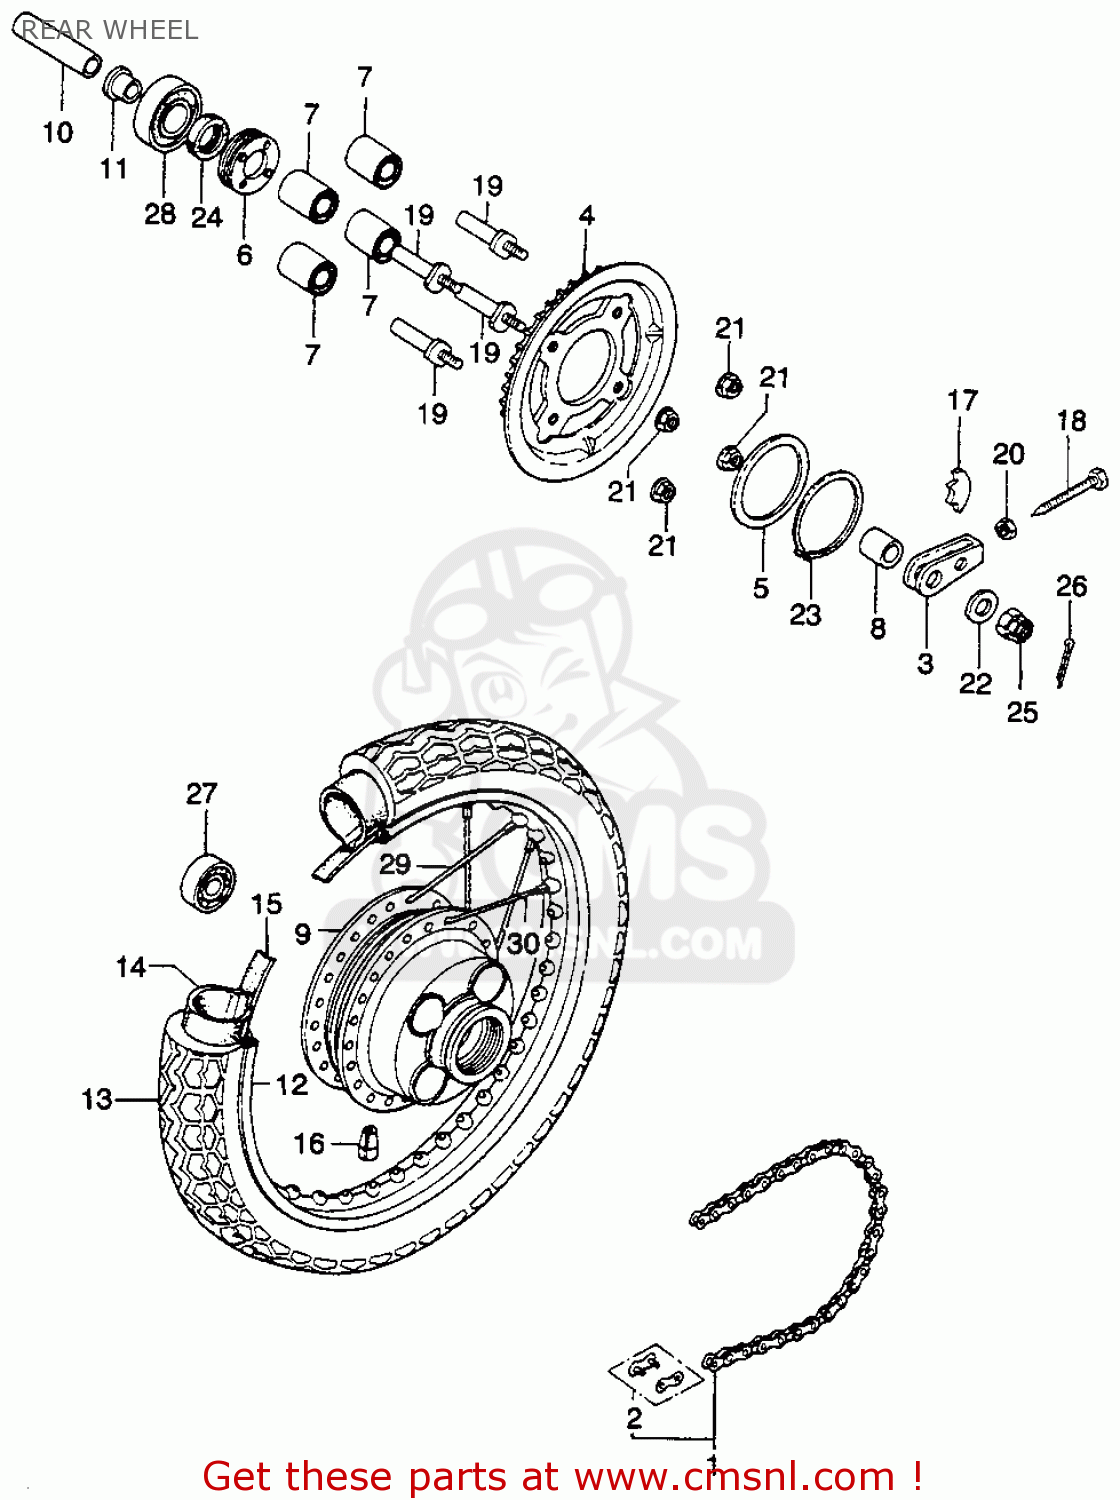
On the drive side (left side), you'll notice a thin sleeve, that is inserted from the inside, in that larger hole bearing. Pick a socket to use as a punch that fits to cover the sleeve but not the bearing inside hole. The opposite side bearing, long spacer tube and that short thin wall sleeve will fall out the other side.
 
...long spacer tube and that short thin wall sleeve will fall out the other side.
And to expound on above, do NOT lose the long spacer between the bearings (#10), they are unobtanium.

honda-cb360g-1974-usa-rear-wheel_bighu0231f9011_3acf.gif
 
Oh good, I got it right. I just did mine that way but thought I'd jump in so Grumpy could keep going. I count on you, AD to correct me, as you are the wisened silverback of this tribe.
 
New Year.....new parts! Want to replace rear wheel bearings. Bought the retainer tool and have it off.....FSM offers nothing for removal..only installation.......before I stick a brass punch in there and start beating the f#%*&=#@%&t out of things are there any helpful hints for me?
You have to run a 1/8" drill into the stake marks.
About 2mm deep is enough in my experience
It is in the service manual but I think kinda 'hidden'
 
Silly question time. Is it a good idea to pull the starter and clean and inspect while the bike is in its current state? I know it works.......how well I can't say. I only tried it once to see if it did. The one time I had the bike running, I used the kick start because I didn't want to take a chance of burning it up. I was thinking before I start reassembling the top end, it might be easier ?
 
If you pull the starter you will have to remove alternator cover, the drive sprocket won't stay in position.
It doesn't matter when you pull starter, it's only two bolts holding it to crankcase although the o-ring may be quite tight?
I just remove them as it saves around 15lbs by the time you remove everything connected (chain, sprockets, starter clutch, starter solenoid, heavy cables, etc) and use a 8 or 9 A/Hr battery
 
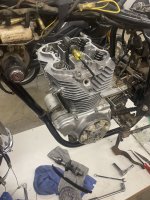
Cylinder and head back from the machinest and beginning reassembly. Looking for a torque value for the threaded rocker arm shaft…… if there is one?
 
Also while Im thinking about it……I ordered a repop clutch cable from DSS because I couldnt find NOS and it looked really close to stock. But its about 3 inches longer than my stock cable. Will it be usable or should I return it and keep looking? The stock cable feels like its full of molasses……..
 
Im ready to set the barrel back on the motor. I have Honda ring compressors. What is the best method for for getting pistons lined up and held in position for setting the barrel? I'm a bit perplexed........common sense tells me something under the pistons to hold them but it doesn't look possible. not with both pistons clearing the crankcase. FSM not a lot of help here
 
You can turn the crankshaft until both pistons are the same height, which is what I've done many times, but I'm not sure you can get something under both piston skirts at the same time with the 360's shorter stroke. Or you could put wood blocks under one piston and get it into the cylinder, then go to the other piston.
 
You're right....they wont clear the crankcase. I assume to block one, I want one to be at TDC? setting as low as possible then rotate crank for the other side?
 
Or just turn the crankshaft so both are even in stroke height and work on both at the same time. Remember, TDC means nothing at this point (in case you were concerned about it at all)
 
I was thinking I might want one at highest point possible....I was thinking I needed to keep them upright and not flopping around.........maybe I'm over thinking this?
 
...keep them upright and not flopping around.....
Not sure what you mean there, but either way can be a little tricky if you're not used to the process. What I've done in the past sometimes is get the pistons into the cylinders prior to slipping the cylinder on the studs, then slipping the wristpins in place and the outer wristpin clips afterward (obviously put the inner wristpin clips in first) - but that can be tricky as well, since the wristpin holes are really close to the oil ring.
 
Sorry AD.....I can be clear as mud. I thought the pistons were to be held in position somehow so they wouldn't be moving around as I'm trying to set the barrel. Here's where I'm at now

IMG_4997.jpeg
 
You should really have an easy time with doing both at once because you have the best ring compressors made for these engines. I'm used to struggling with only the taper in the bottom of the cylinder, and one piston can tip during the process as the cylinders move around a bit. The taper on the top of the Honda ring compressors will help with the entry into the cylinders and should help keep the pistons stable as you work the cylinder down.
 
Ok. "Quit frettin and get your ass to work". Gotcha. 😉. Thanks AD
Jjust a little worried about doin things the wrong way.
 
Ok. "Quit frettin and get your ass to work". Gotcha. 😉. Thanks AD
Jjust a little worried about doin things the wrong way.
I hear you, and you're rightfully cautious since these parts aren't dime store items... just be careful, keep your patience (easy to say for a guy like me, much harder to do - I'm sure my neighbors have heard me yelling about my 900 airbox inside my closed garage in recent days) and walk away if it starts to feel like it's going sideways.
 
Also while Im thinking about it……I ordered a repop clutch cable from DSS because I couldnt find NOS and it looked really close to stock. But its about 3 inches longer than my stock cable. Will it be usable or should I return it and keep looking? The stock cable feels like its full of molasses……..
I've saved some 'molasses' ones by hanging up and drizzling gas between inner wire and housing while working it in and out. The gas will remove the petrified grease and let it drip and dry out then just oil it. Always look for any busted inner wire strands or kinked coils in the outer housing, that's a no go.
 
I've saved some 'molasses' ones by hanging up and drizzling gas between inner wire and housing while working it in and out. The gas will remove the petrified grease and let it drip and dry out then just oil it. Always look for any busted inner wire strands or kinked coils in the outer housing, that's a no go.

Great tip. I've got it hanging now after working it for a while. Thank you
 
Made some progress today....but not as much as I hoped. I got the head on and torqued. Trying to get the cam and sprocket installed. I finally had to walk away after futzing with it for an hour. FSM says install cam chain guide and slipper next step. Then cam chain..sprocket..and camshaft next. Ya right......I wasn't able to put the chain on the sprocket even without the cam in place. So I removed the slipper and guide. Gave me a little more slack but not nearly enough. There is no mention of doing anything with the tensioner adjustment bolts during removal or assembly. Although when I did disassemble the cam and sprocket, I remember it going fairly smooth. I've tried reversing my steps with no luck. And I'm getting tired of chasing that thrust washer for the cam around my garage😡
On a side note, I did make great progress on that clutch cable @ballbearian👍

IMG_5007.jpeg
 
I wish I could be of some help, but I've personally never had a 360 engine apart. I only owned one and it was bought new, so it never needed any work. And less than a couple years later I started working on '70s Harleys. Did you hold up the cam chain and turn the crankshaft back and forth a bit to be sure the chain isn't doubled over a bit on the crank sprocket?
 
I wish I could be of some help, but I've personally never had a 360 engine apart. I only owned one and it was bought new, so it never needed any work. And less than a couple years later I started working on '70s Harleys. Did you hold up the cam chain and turn the crankshaft back and forth a bit to be sure the chain isn't doubled over a bit on the crank sprocket?
I did. Any time I moved the crank, I was sure to hold the chain so it wouldnt bind. And I still managed to get it bound a couple times. Even dropped it into the case.....once with the sprocket.....hence my frustration I'm just not doing things in the correct order.......I can't seem to figure this puzzle out. FSM isnt helping either.........Thanks AD
 
FSM isnt helping either....
Yes, sadly for us now decades later, the FSM was more intended for the Honda mechanics of the day who were already familiar with most procedures and simply needed them for reference material, so they're not written for beginners. Add to that the occasional muddled translation and this is what we have today, aside from the memories of many here who worked on them for a living.
 
Sure you got all the slack up top? Doesn't look like it from the pic with the screwdriver. My 350 took me awhile.
 
Yes, sadly for us now decades later, the FSM was more intended for the Honda mechanics of the day who were already familiar with most procedures and simply needed them for reference material, so they're not written for beginners. Add to that the occasional muddled translation and this is what we have today, aside from the memories of many here who worked on them for a living.

I get that AD.....I do. Unfortunately for me, I learn a lot faster/easier visually......which is ironic given the thickness of my glasses😂.......
 
Sure you got all the slack up top? Doesn't look like it from the pic with the screwdriver. My 350 took me awhile.
It sure feels like it. I can hold the chain tight as I roll the crank and it seems like all slack is out. I keep thinking I'm trying to do things in the wrong order maybe. Just wait.....it'll be something really simple.......Uncle Murphys screwin with me again😏
 
Sure, it feels right but what you can't see on the bottom of the sprocket is an extra link or two still loose. A loooong screwdriver can hold one side of the chain away from the teeth while you pull up and ..... engage.
 
Sure, it feels right but what you can't see on the bottom of the sprocket is an extra link or two still loose. A loooong screwdriver can hold one side of the chain away from the teeth while you pull up and ..... engage.
I will give that a try. Thank you
 
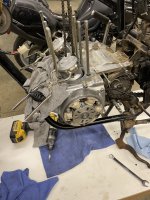
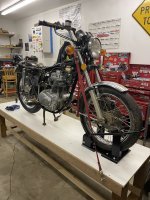
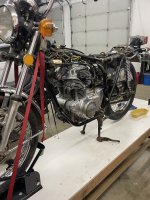
Made another run at my nemesis today. Not sure exactly what the issue was, but I strung two rubber bands from the cam chain to the frame to hold the chain up but still give me some flexibility. Worked well. A bit of fiddling and everything came together. Adjusted cam chain, tappets, and set point gap. Stopped short of using the test light as I have no battery for the bike yet. I've decided to send the carbs off and have them professionally done. I've got too much invested not to. I'll start working on the front end in the mean time.

IMG_5017.jpegIMG_5018.jpeg
 
Back
Top Bottom