1965(ish?) Honda CA77 Dream

Mikey G

Well-known Member
Joined
Apr 16, 2022
Total Posts
77
Total likes
57
Location
Adrian, Michigan, United States
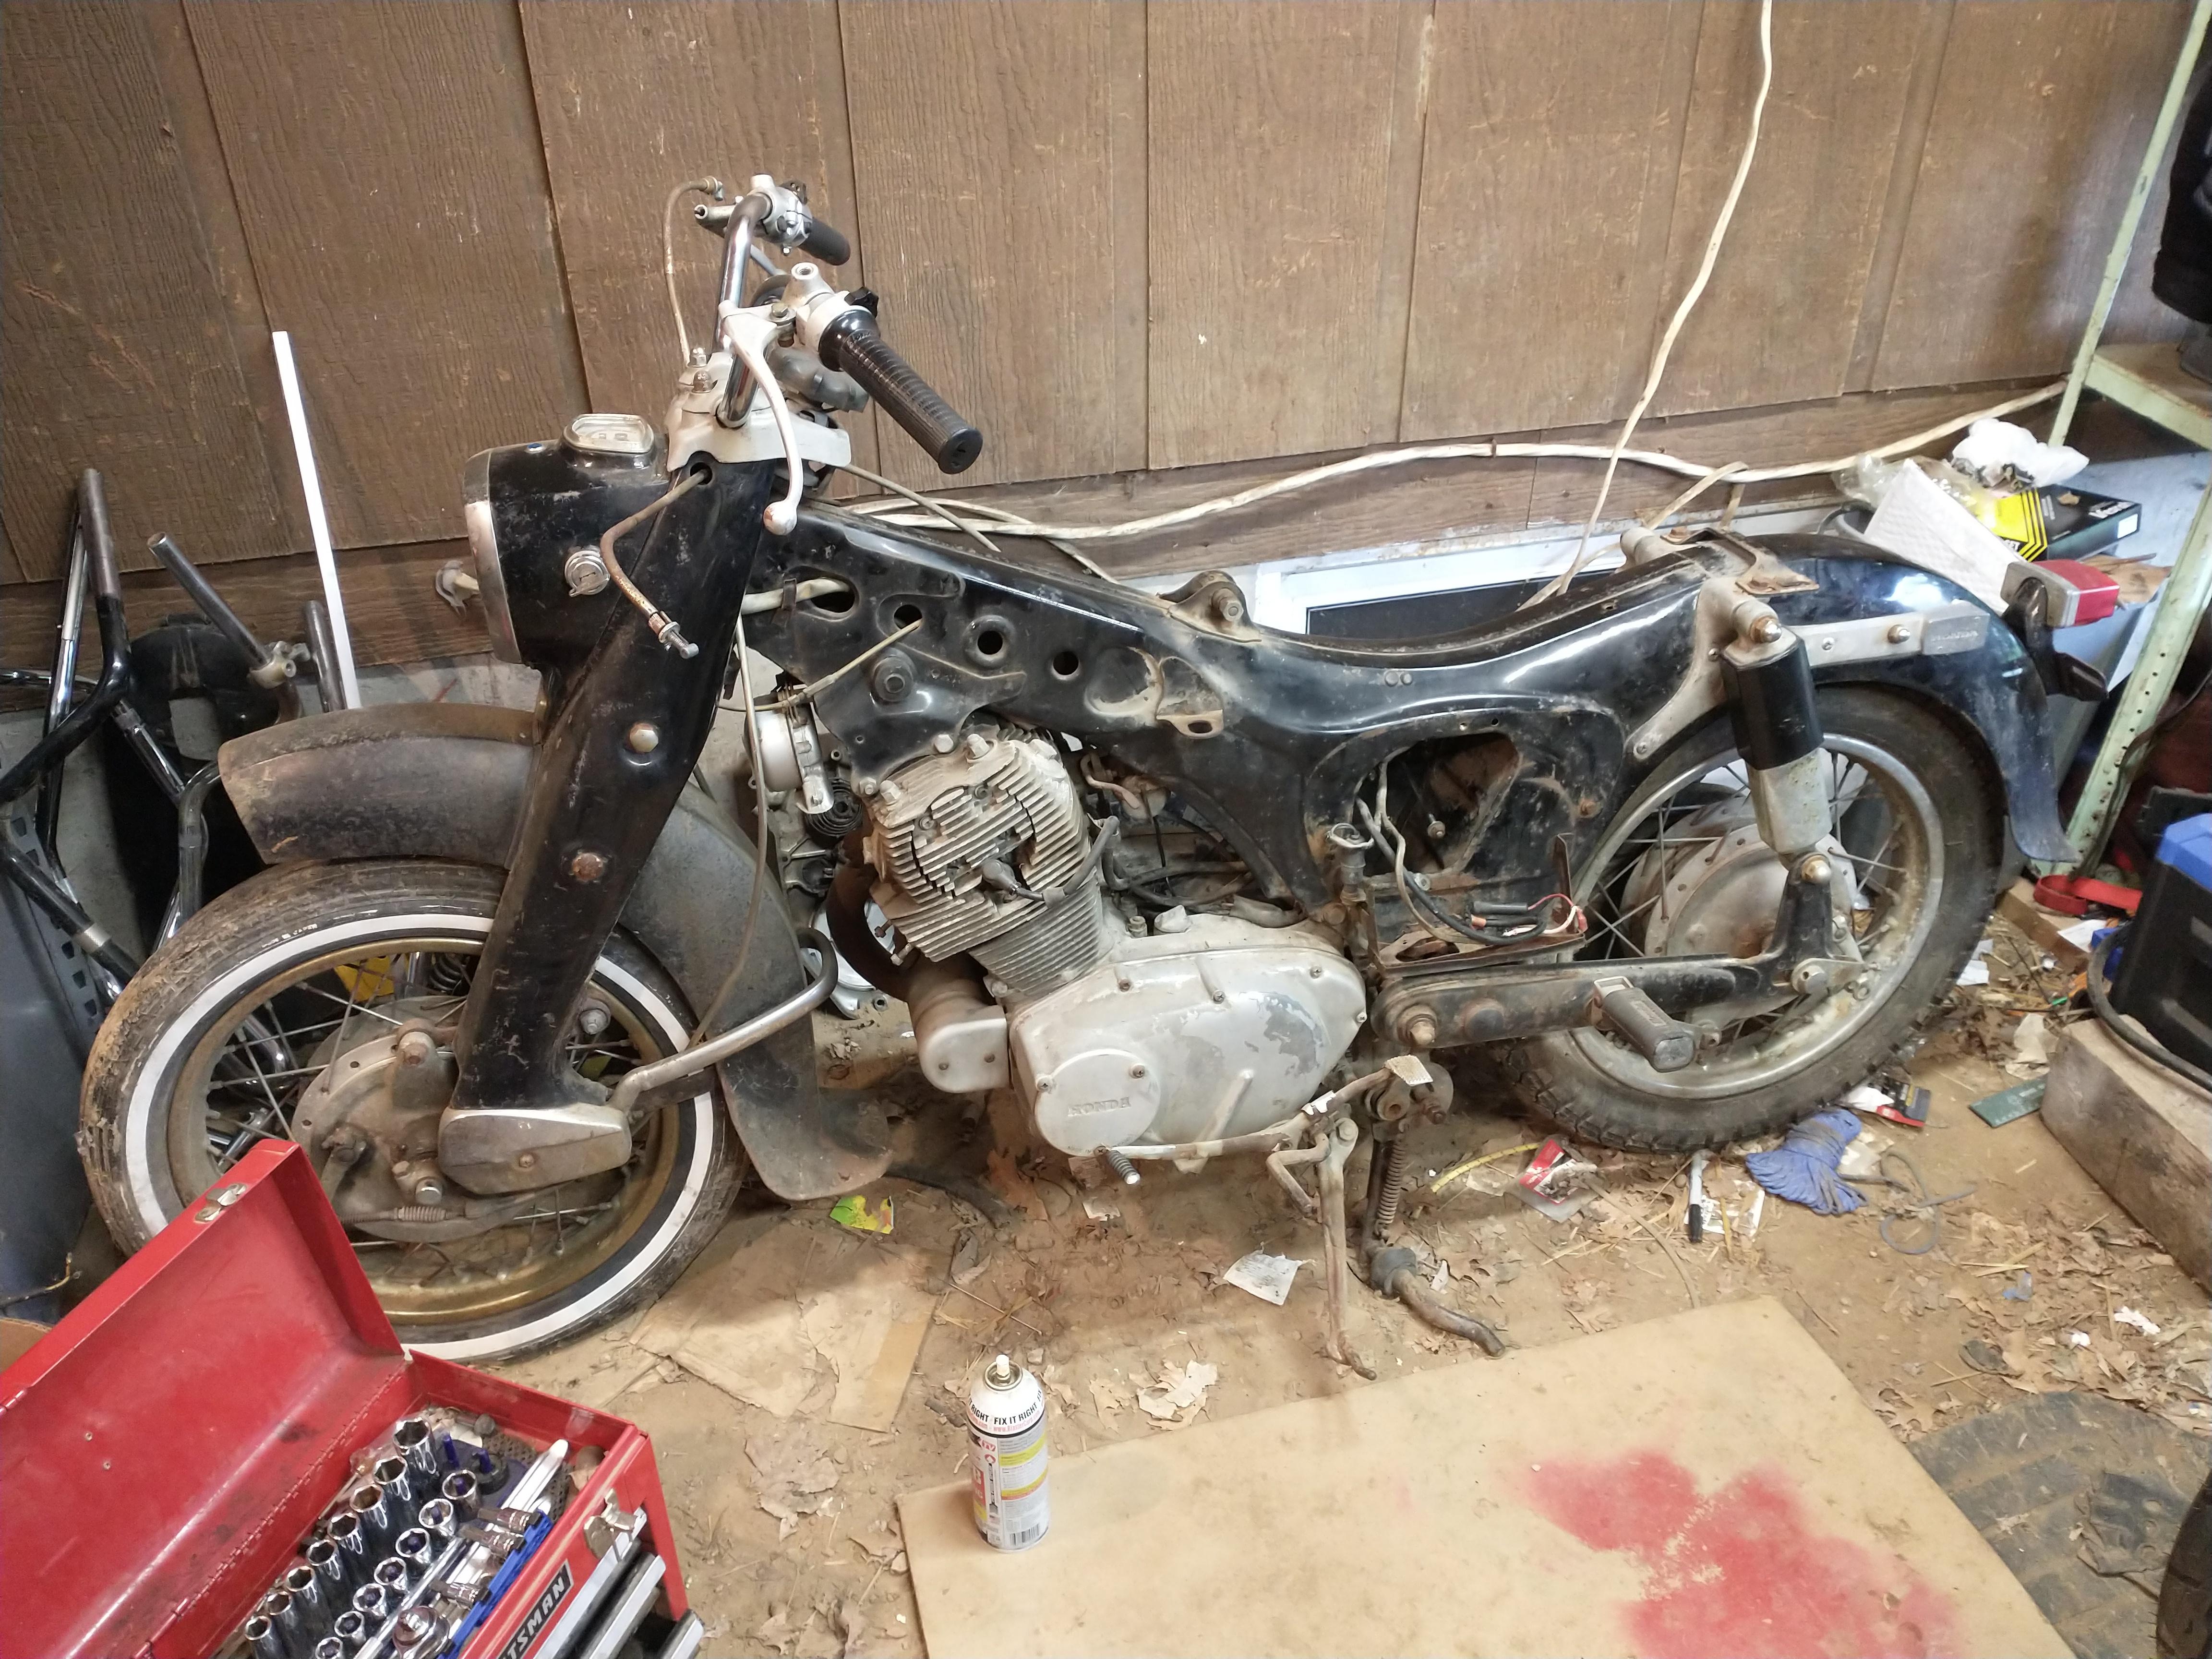
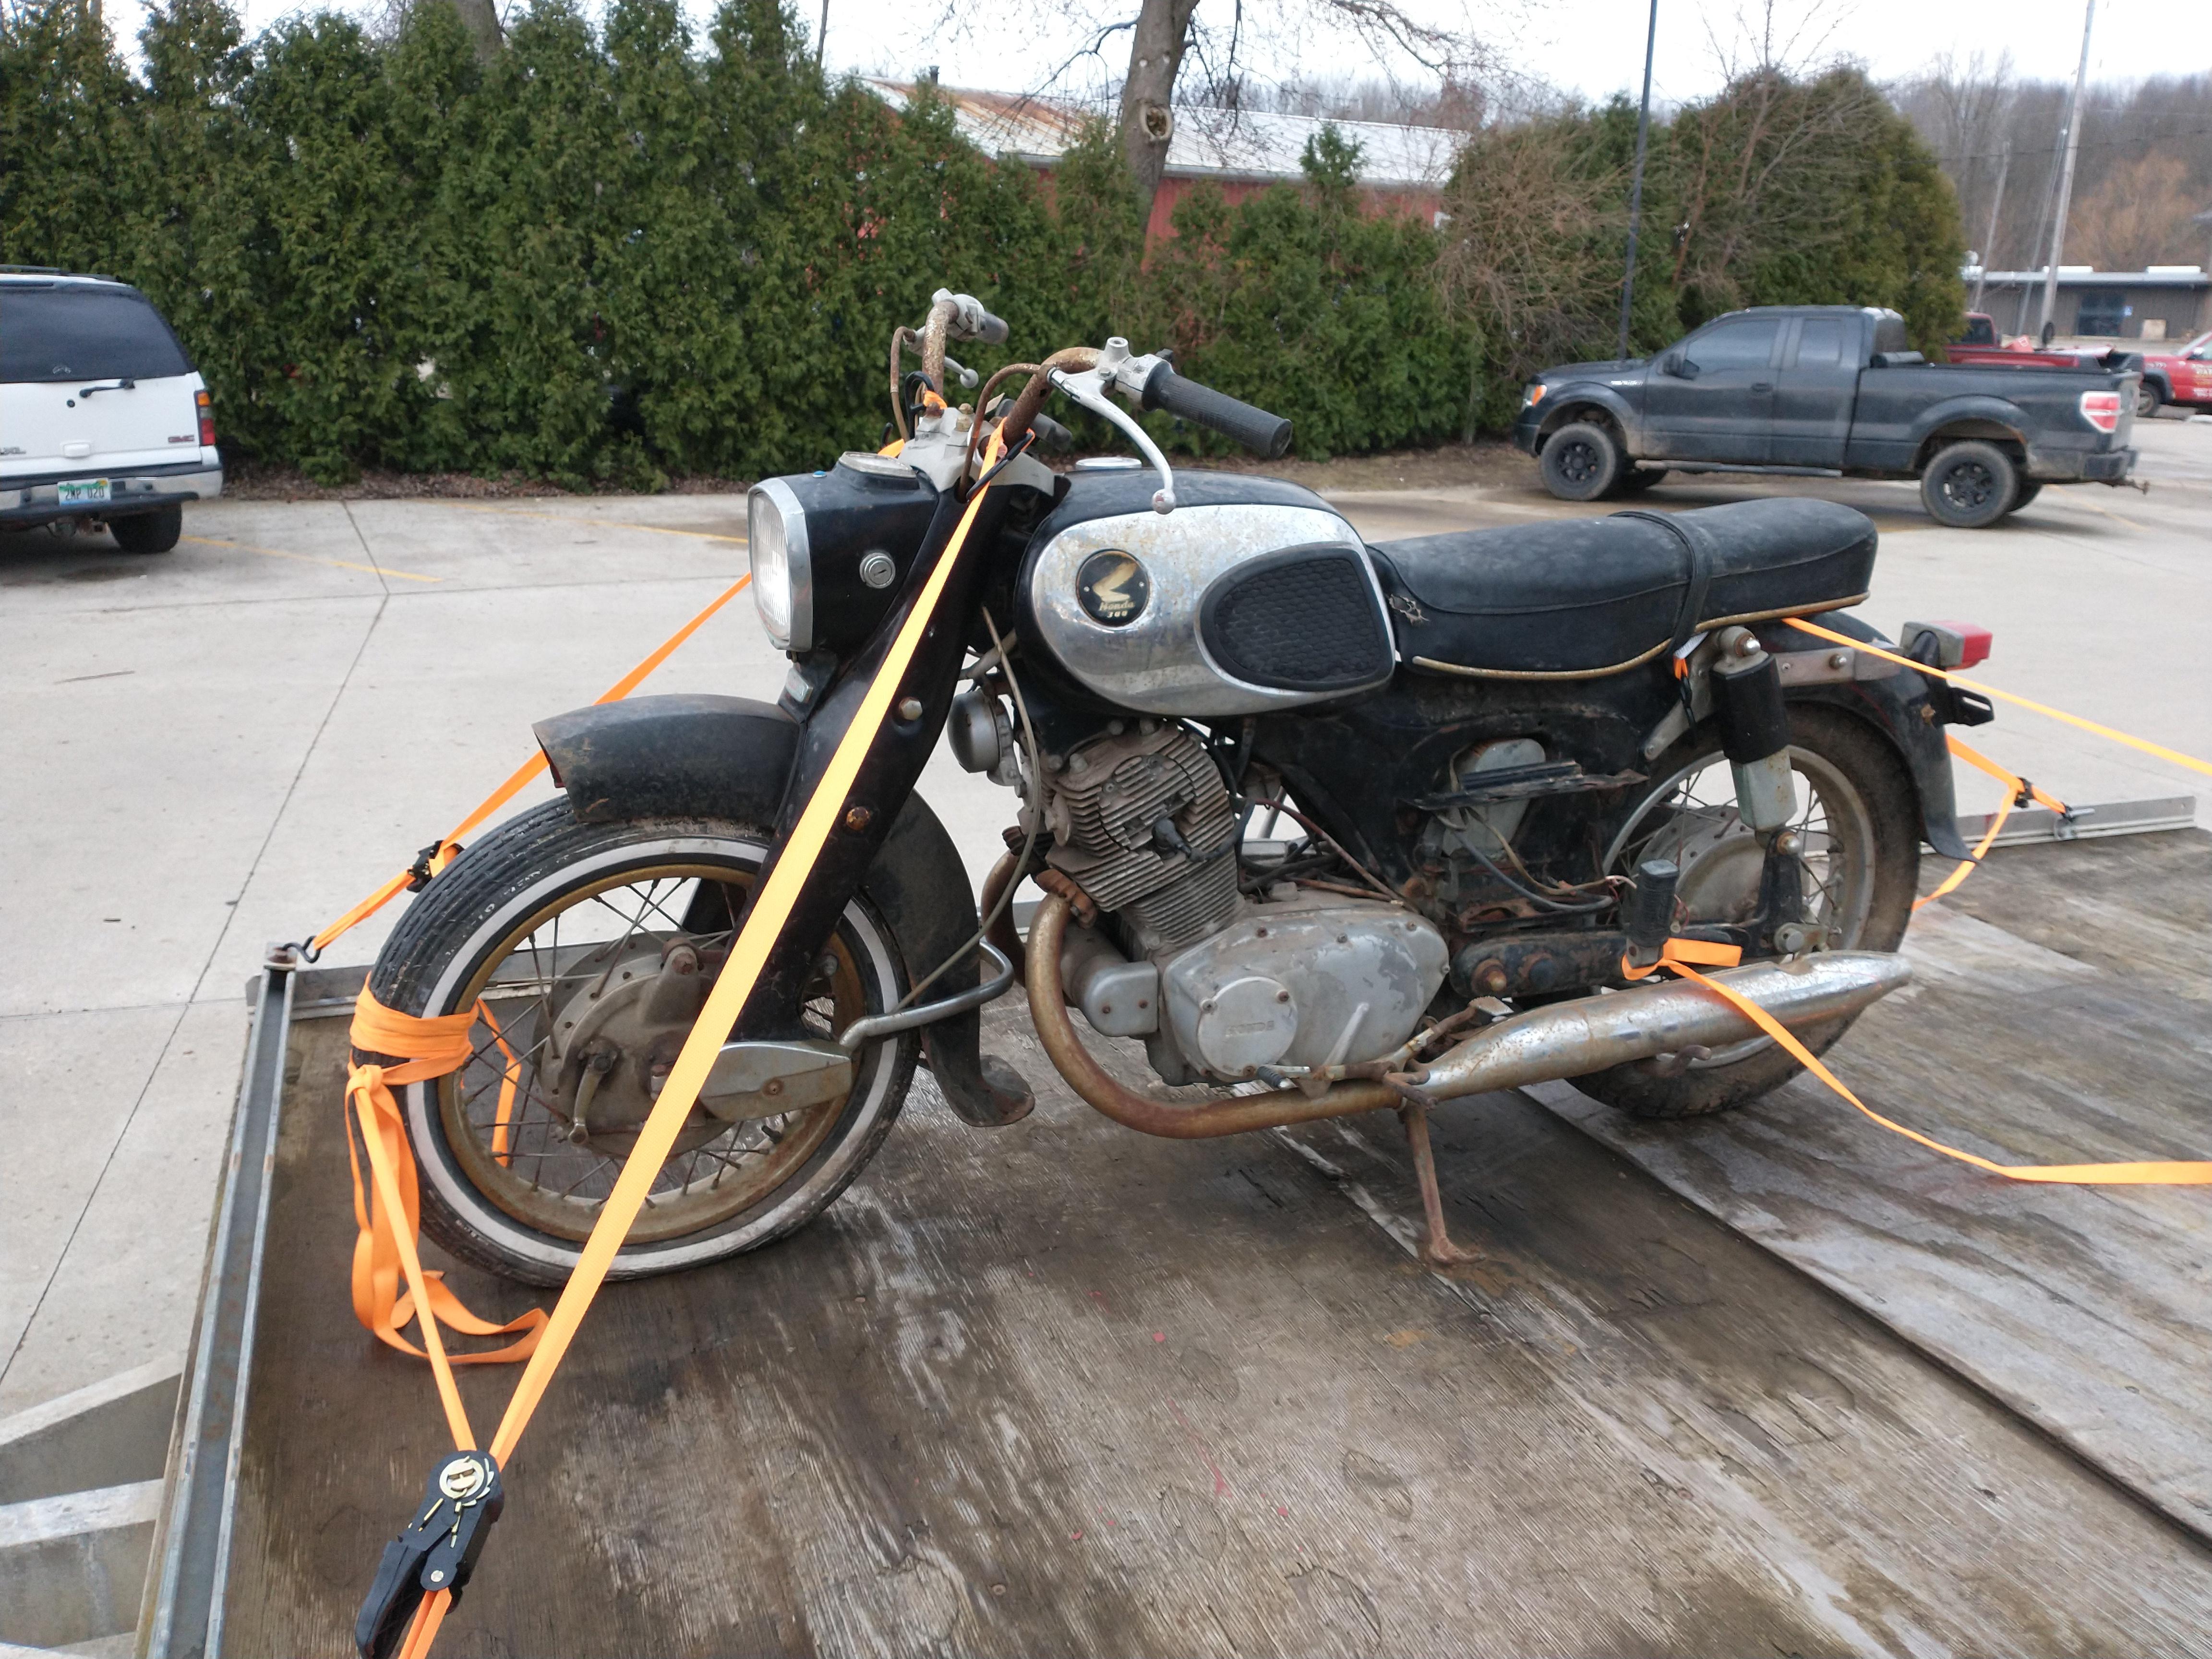
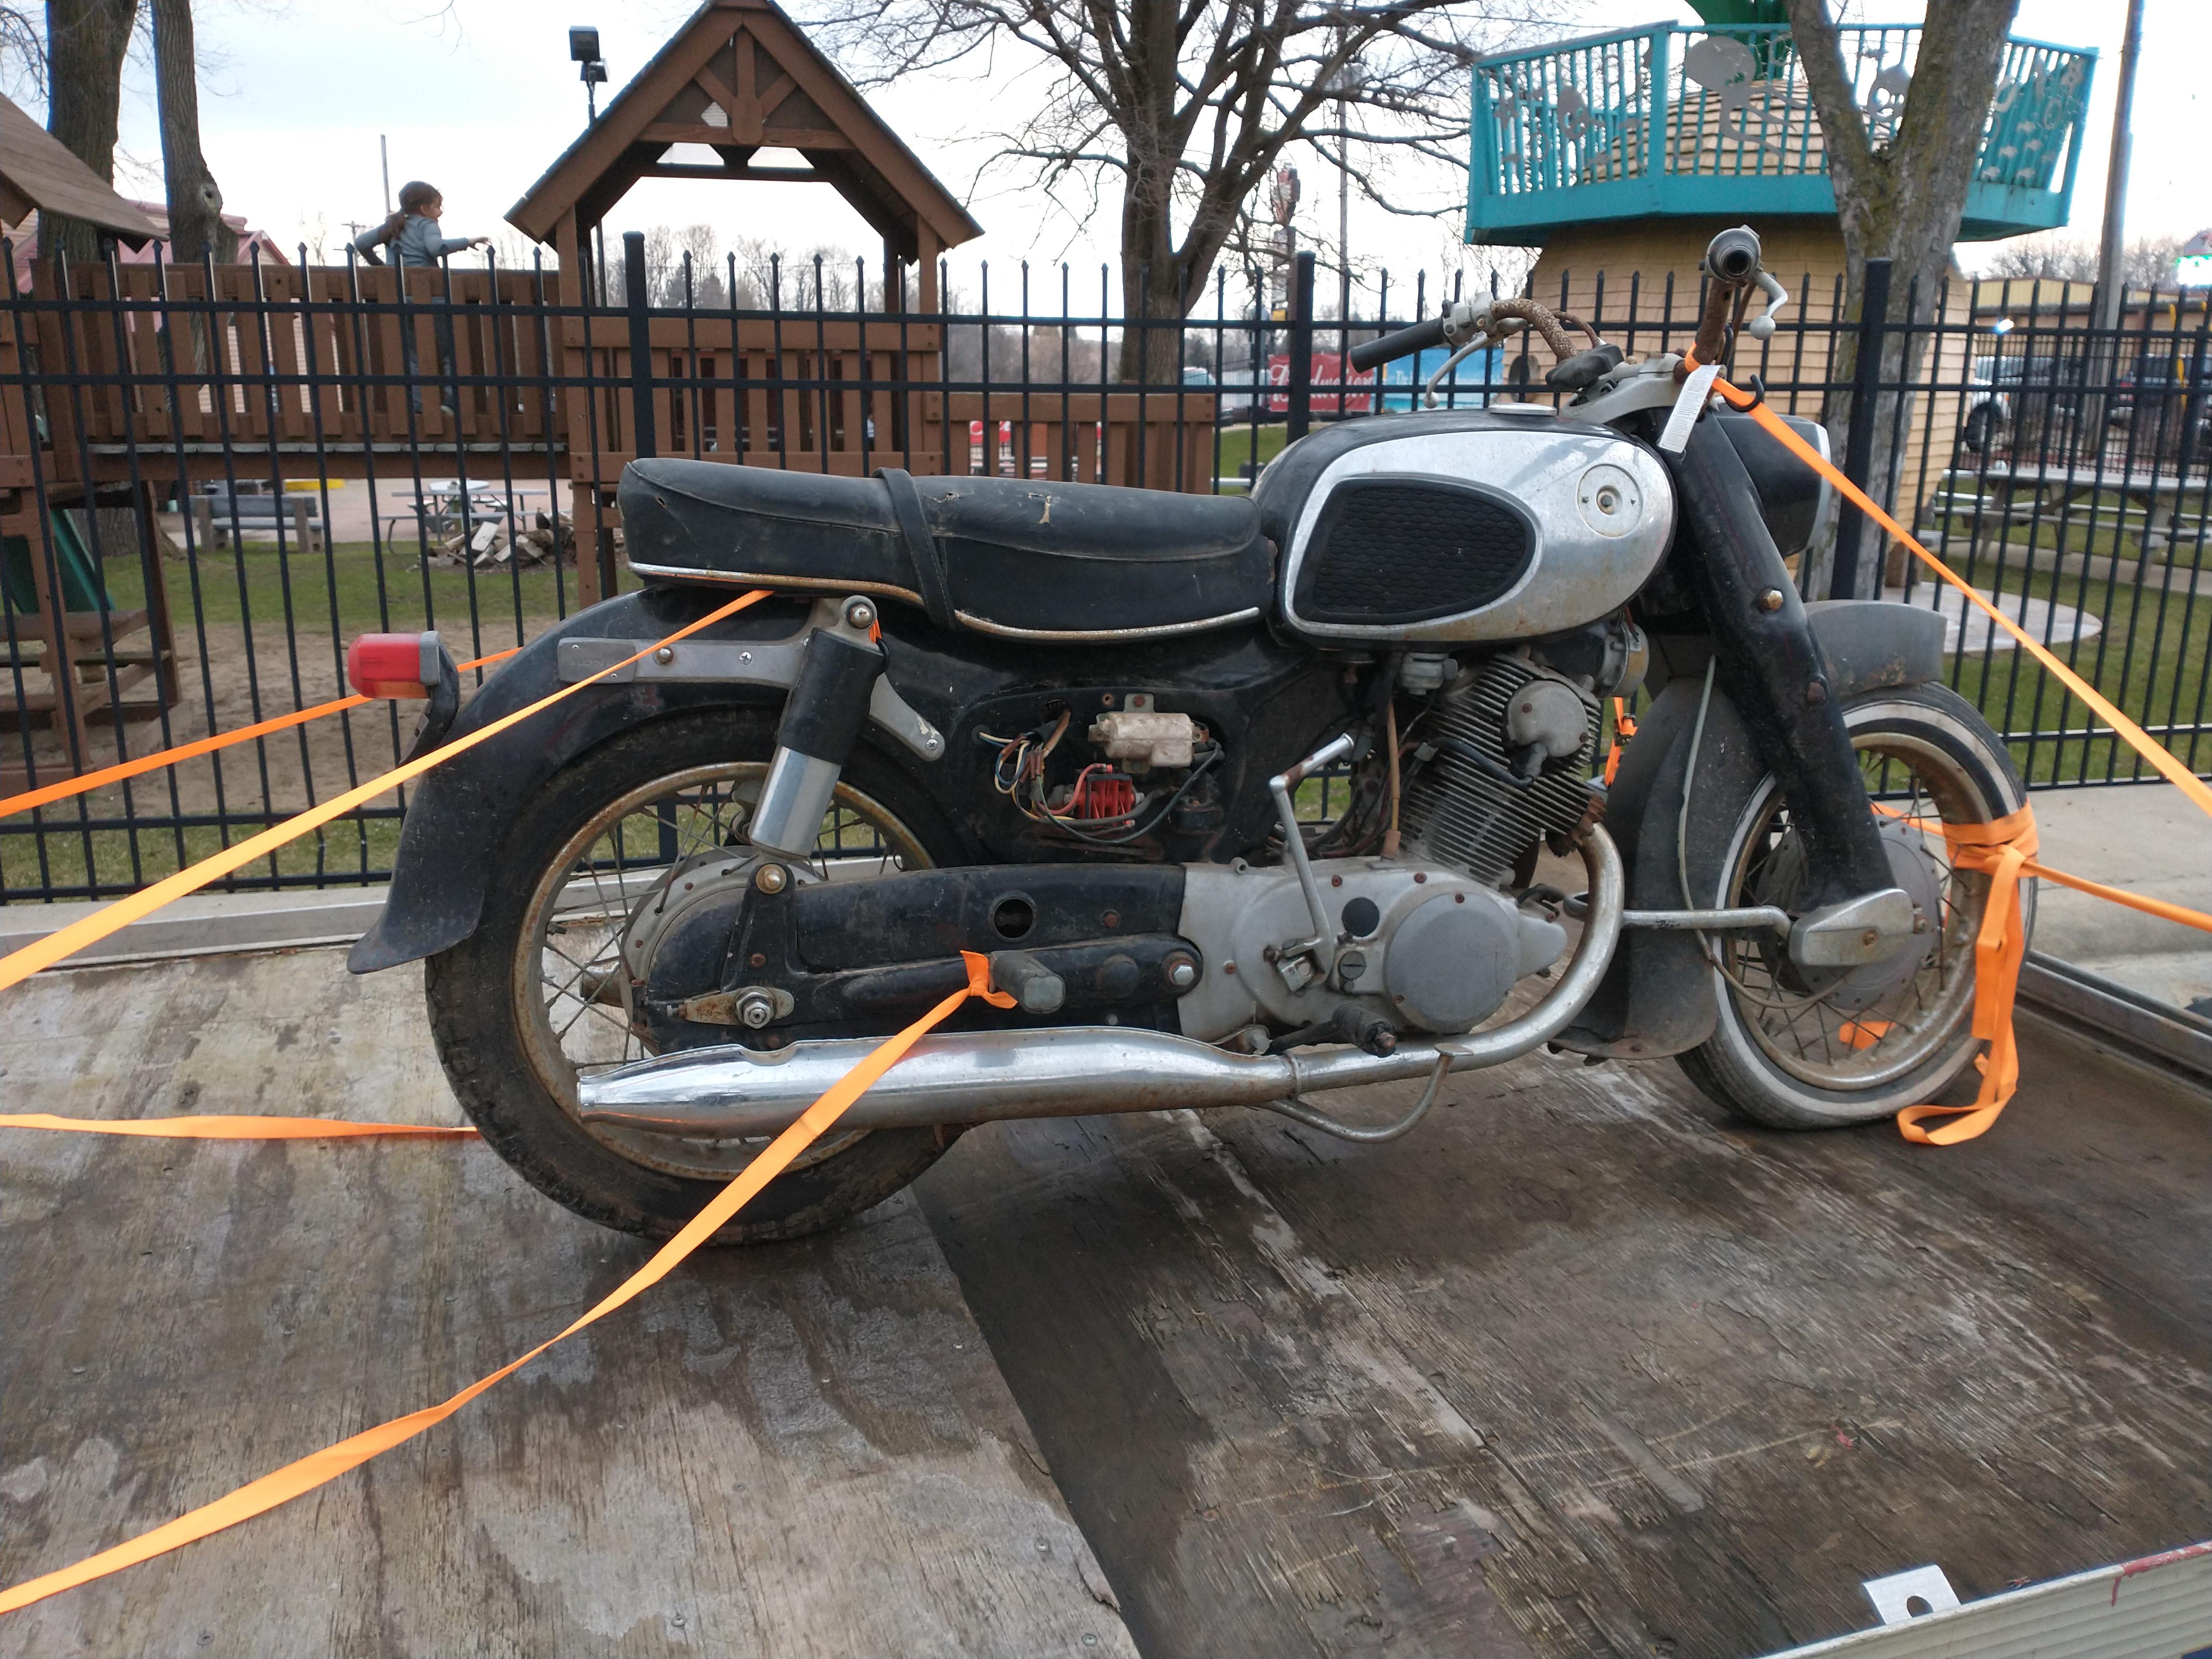
Hey all. I've built/restored a couple bikes in my day, and as I was shopping around for something a bit smaller than my usual fare, Honda Dreams kept coming up. Now, they were a bit older and smaller than what I was used to, but I fell in love with the look, and well, one day one followed me home.
0PGiMGA.jpg

tzOWAy7.jpg


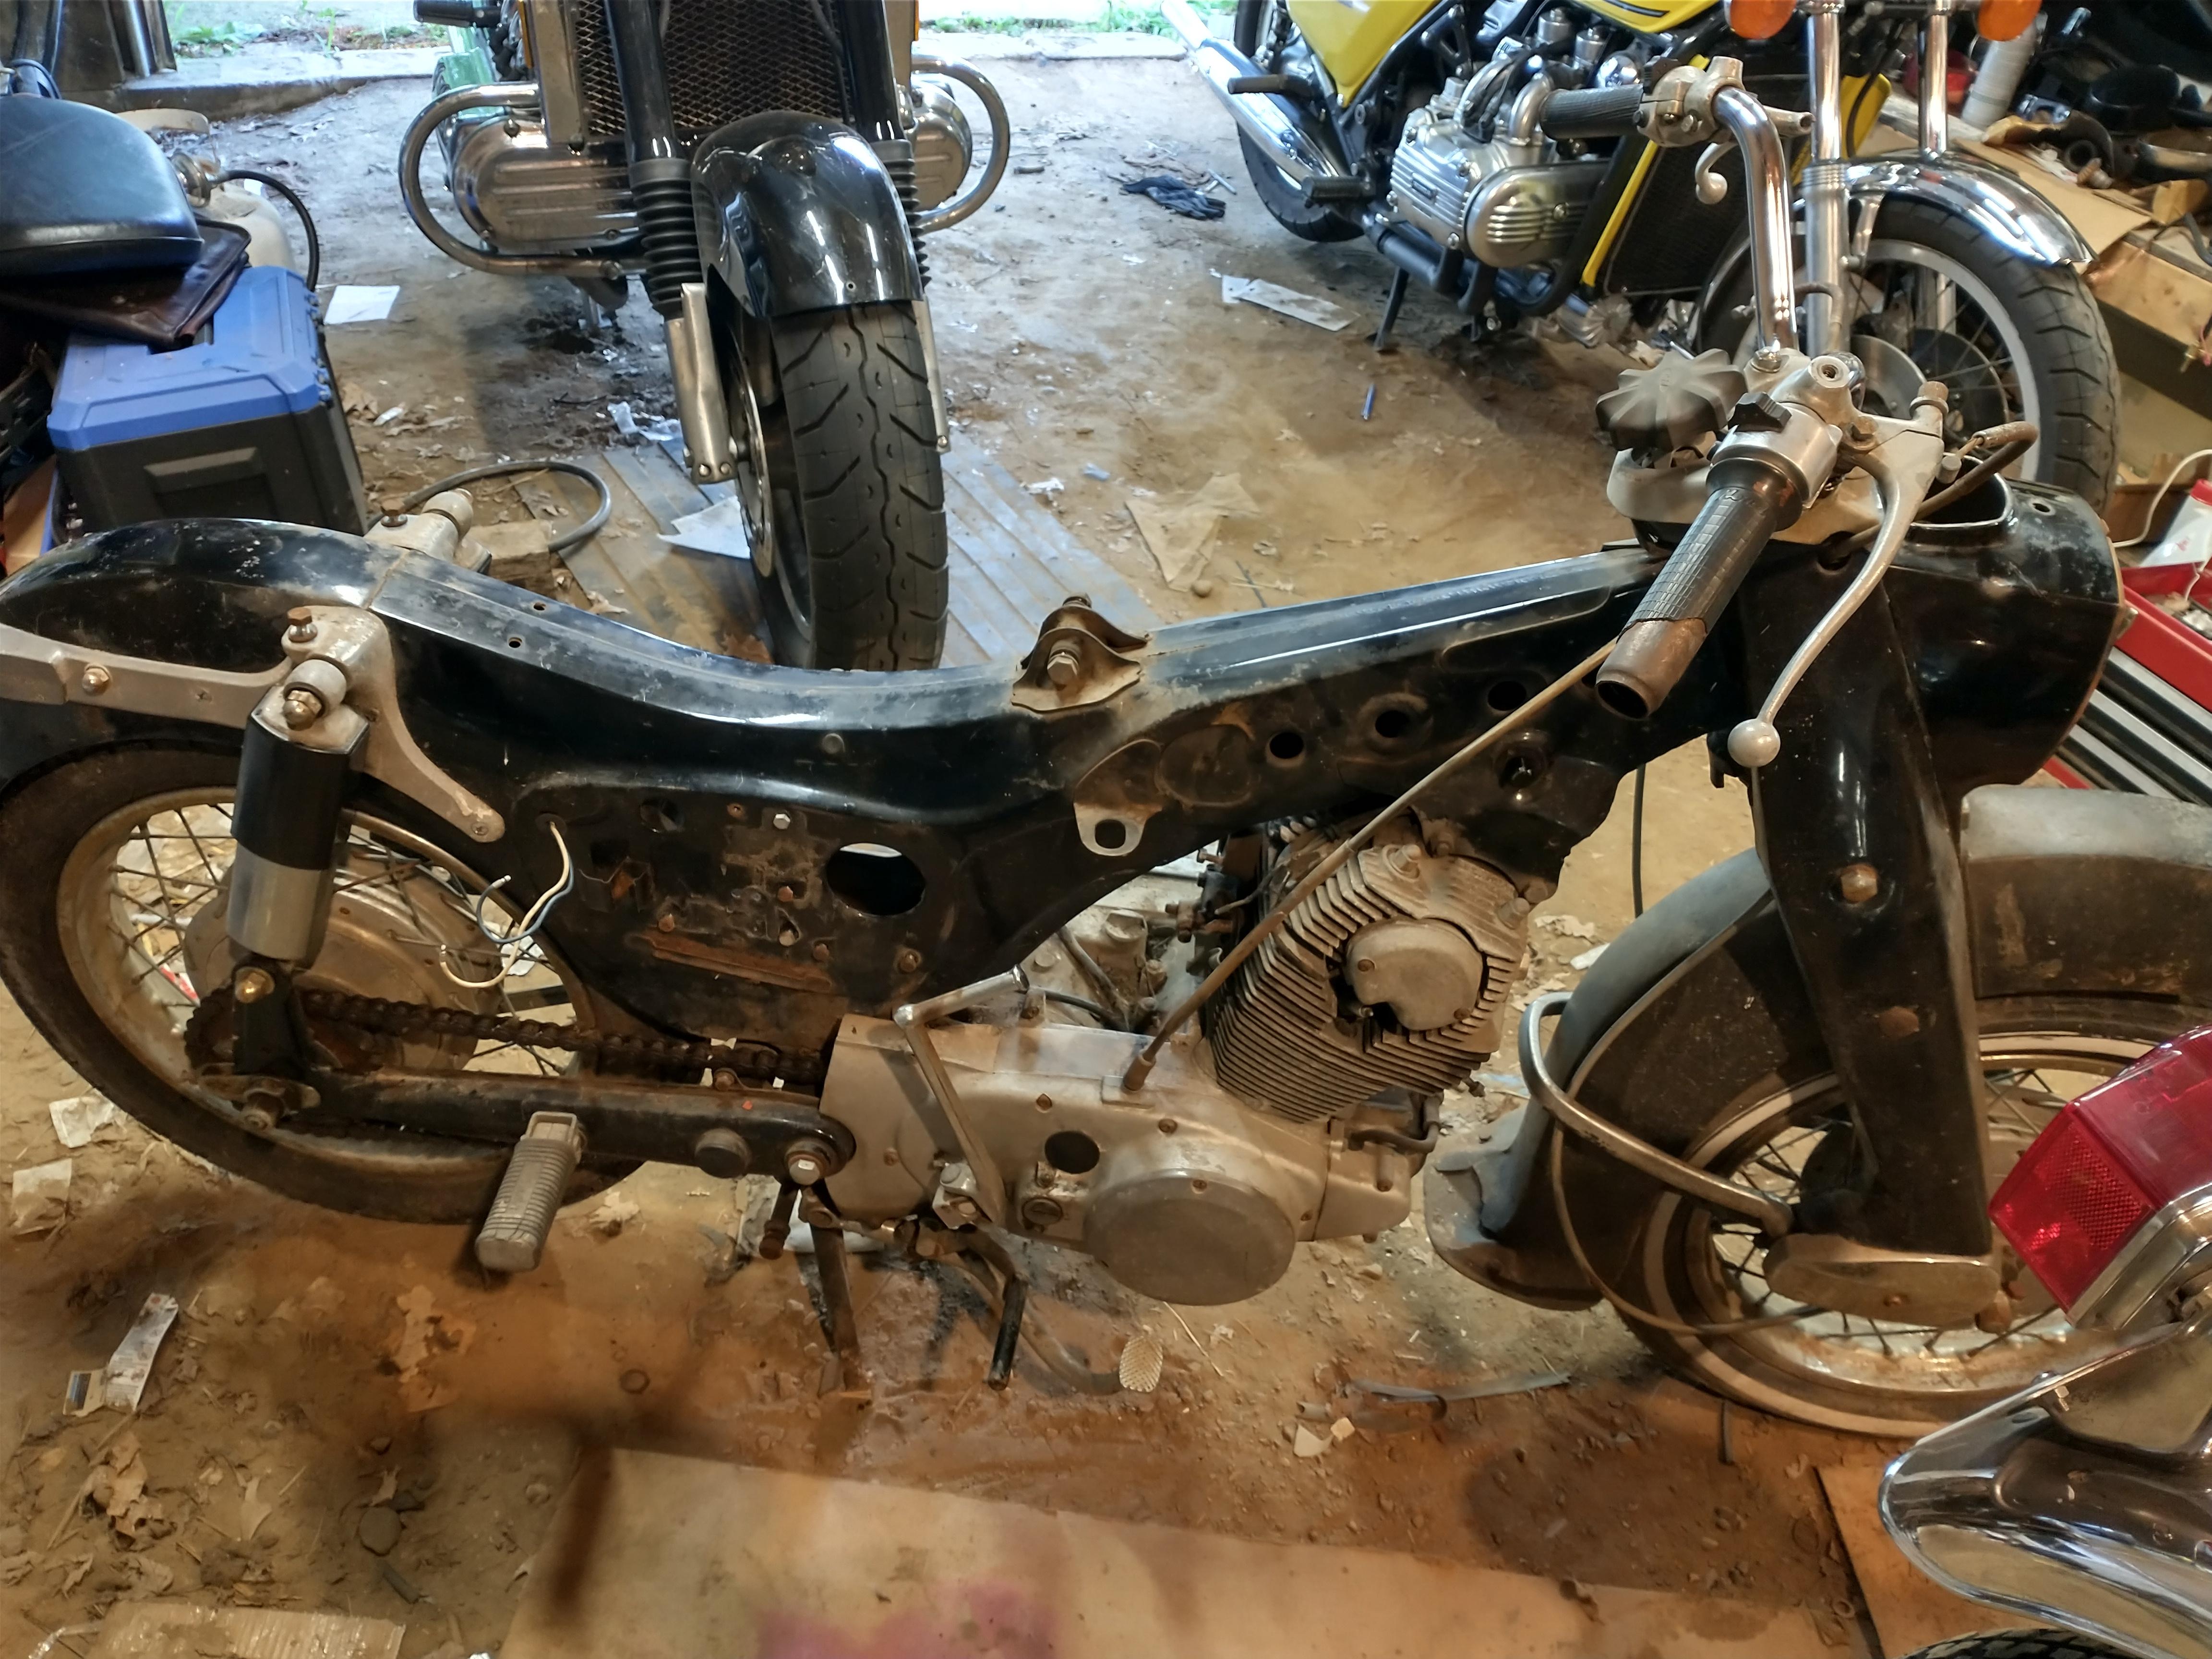
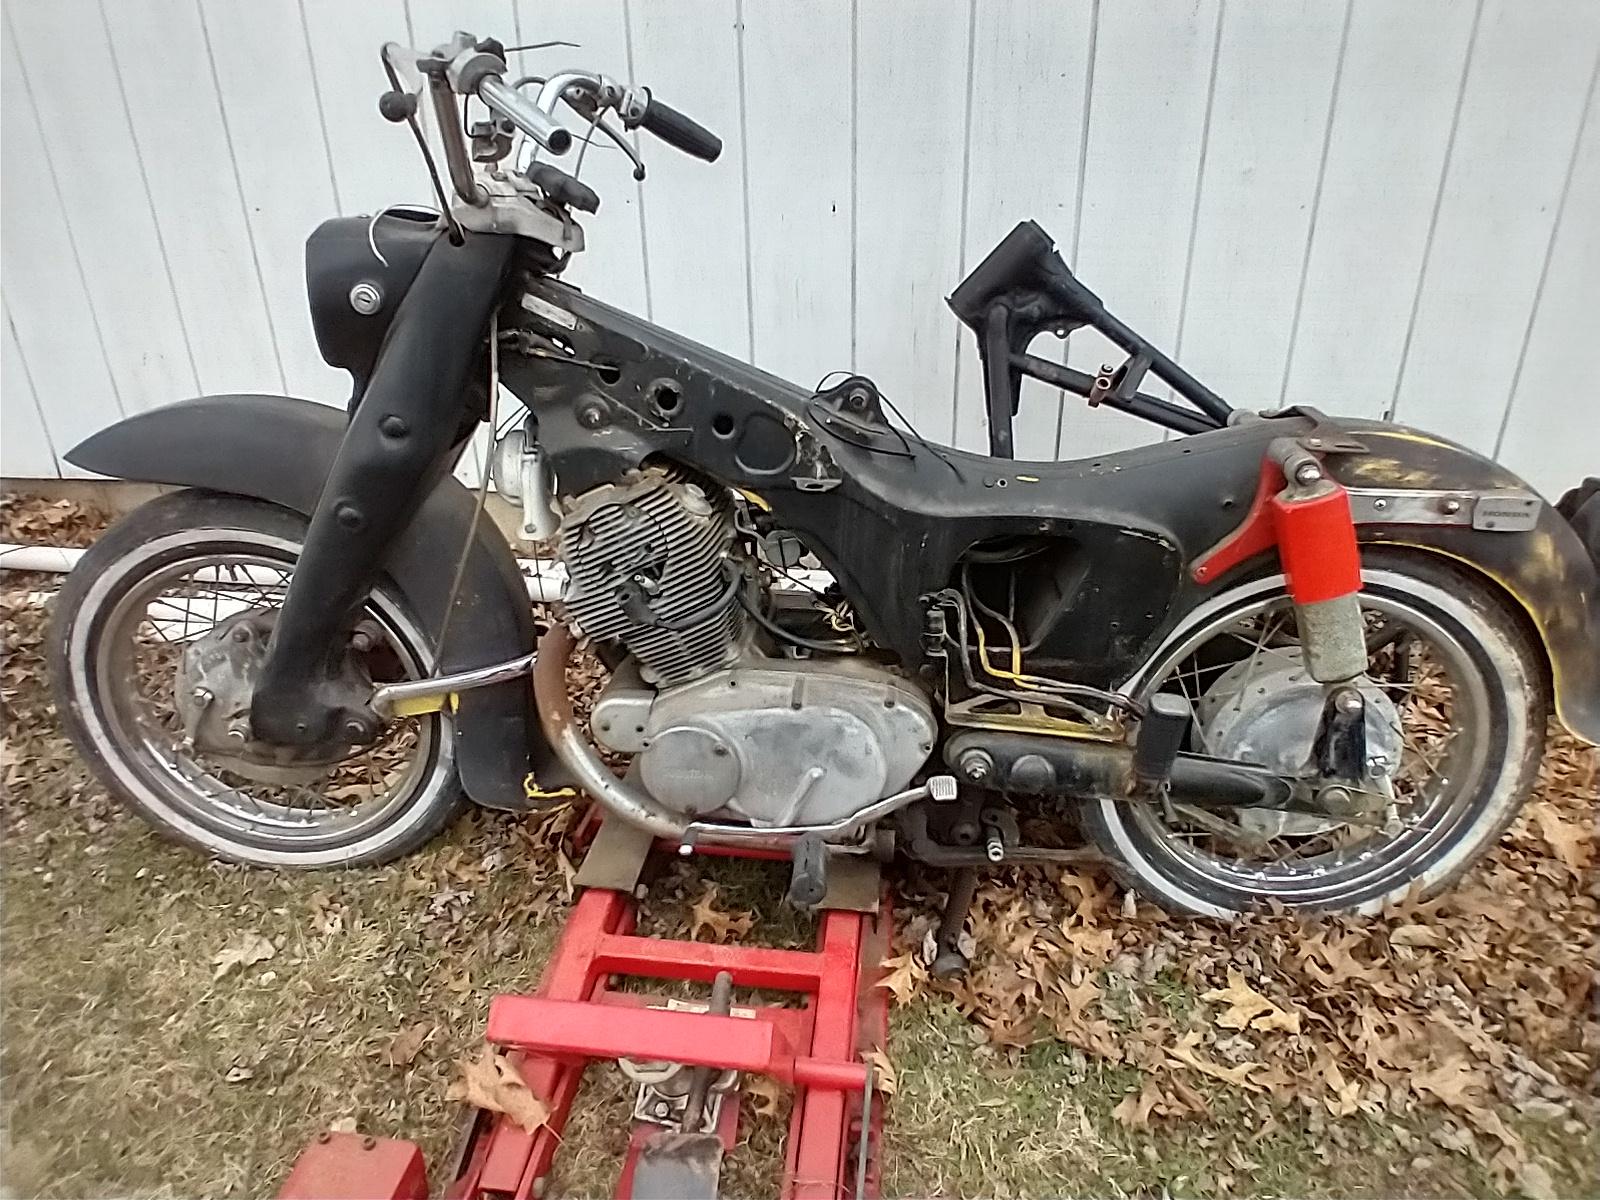
Best I can tell all the major bits are there, excluding some either cosmetic (carb covers) or easy to get replacements (handlebars). Engine also turns over, with pretty good compression, so I'm doing okay there. To help with any unforseen problems (and to get some better quality parts here and there) I also snagged a parts bike a few days later.
Y5SiFuU.jpg


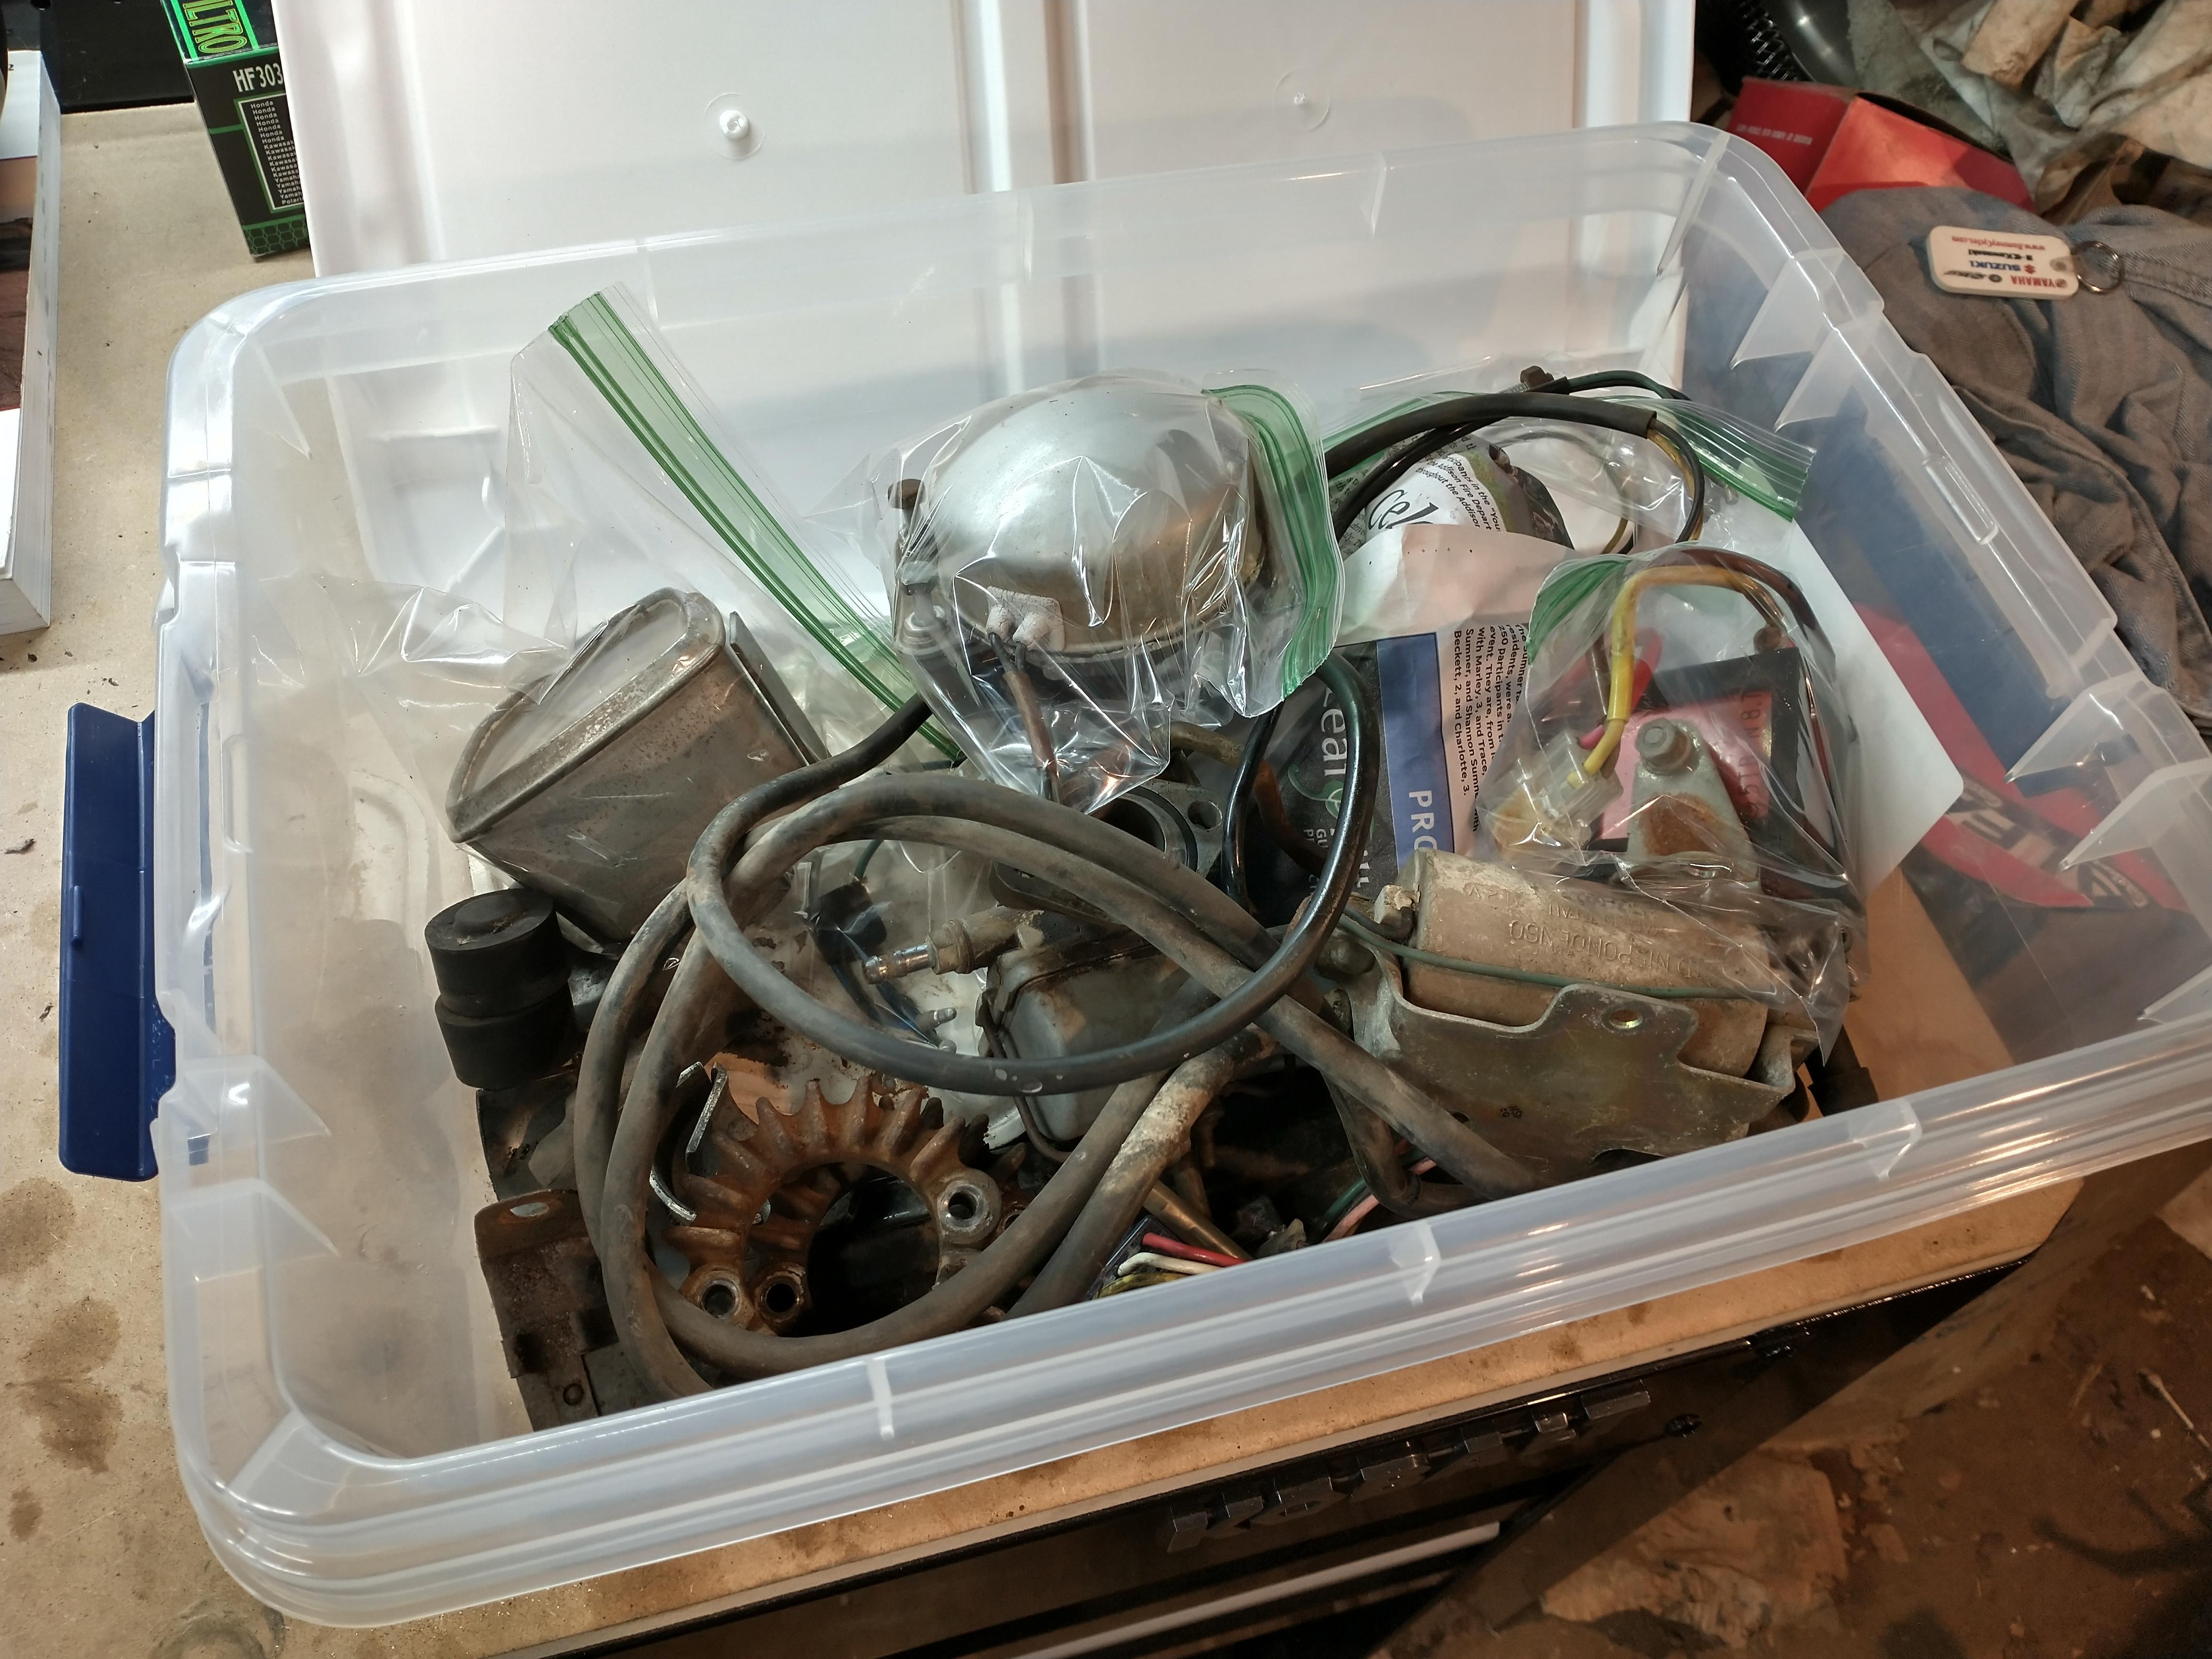
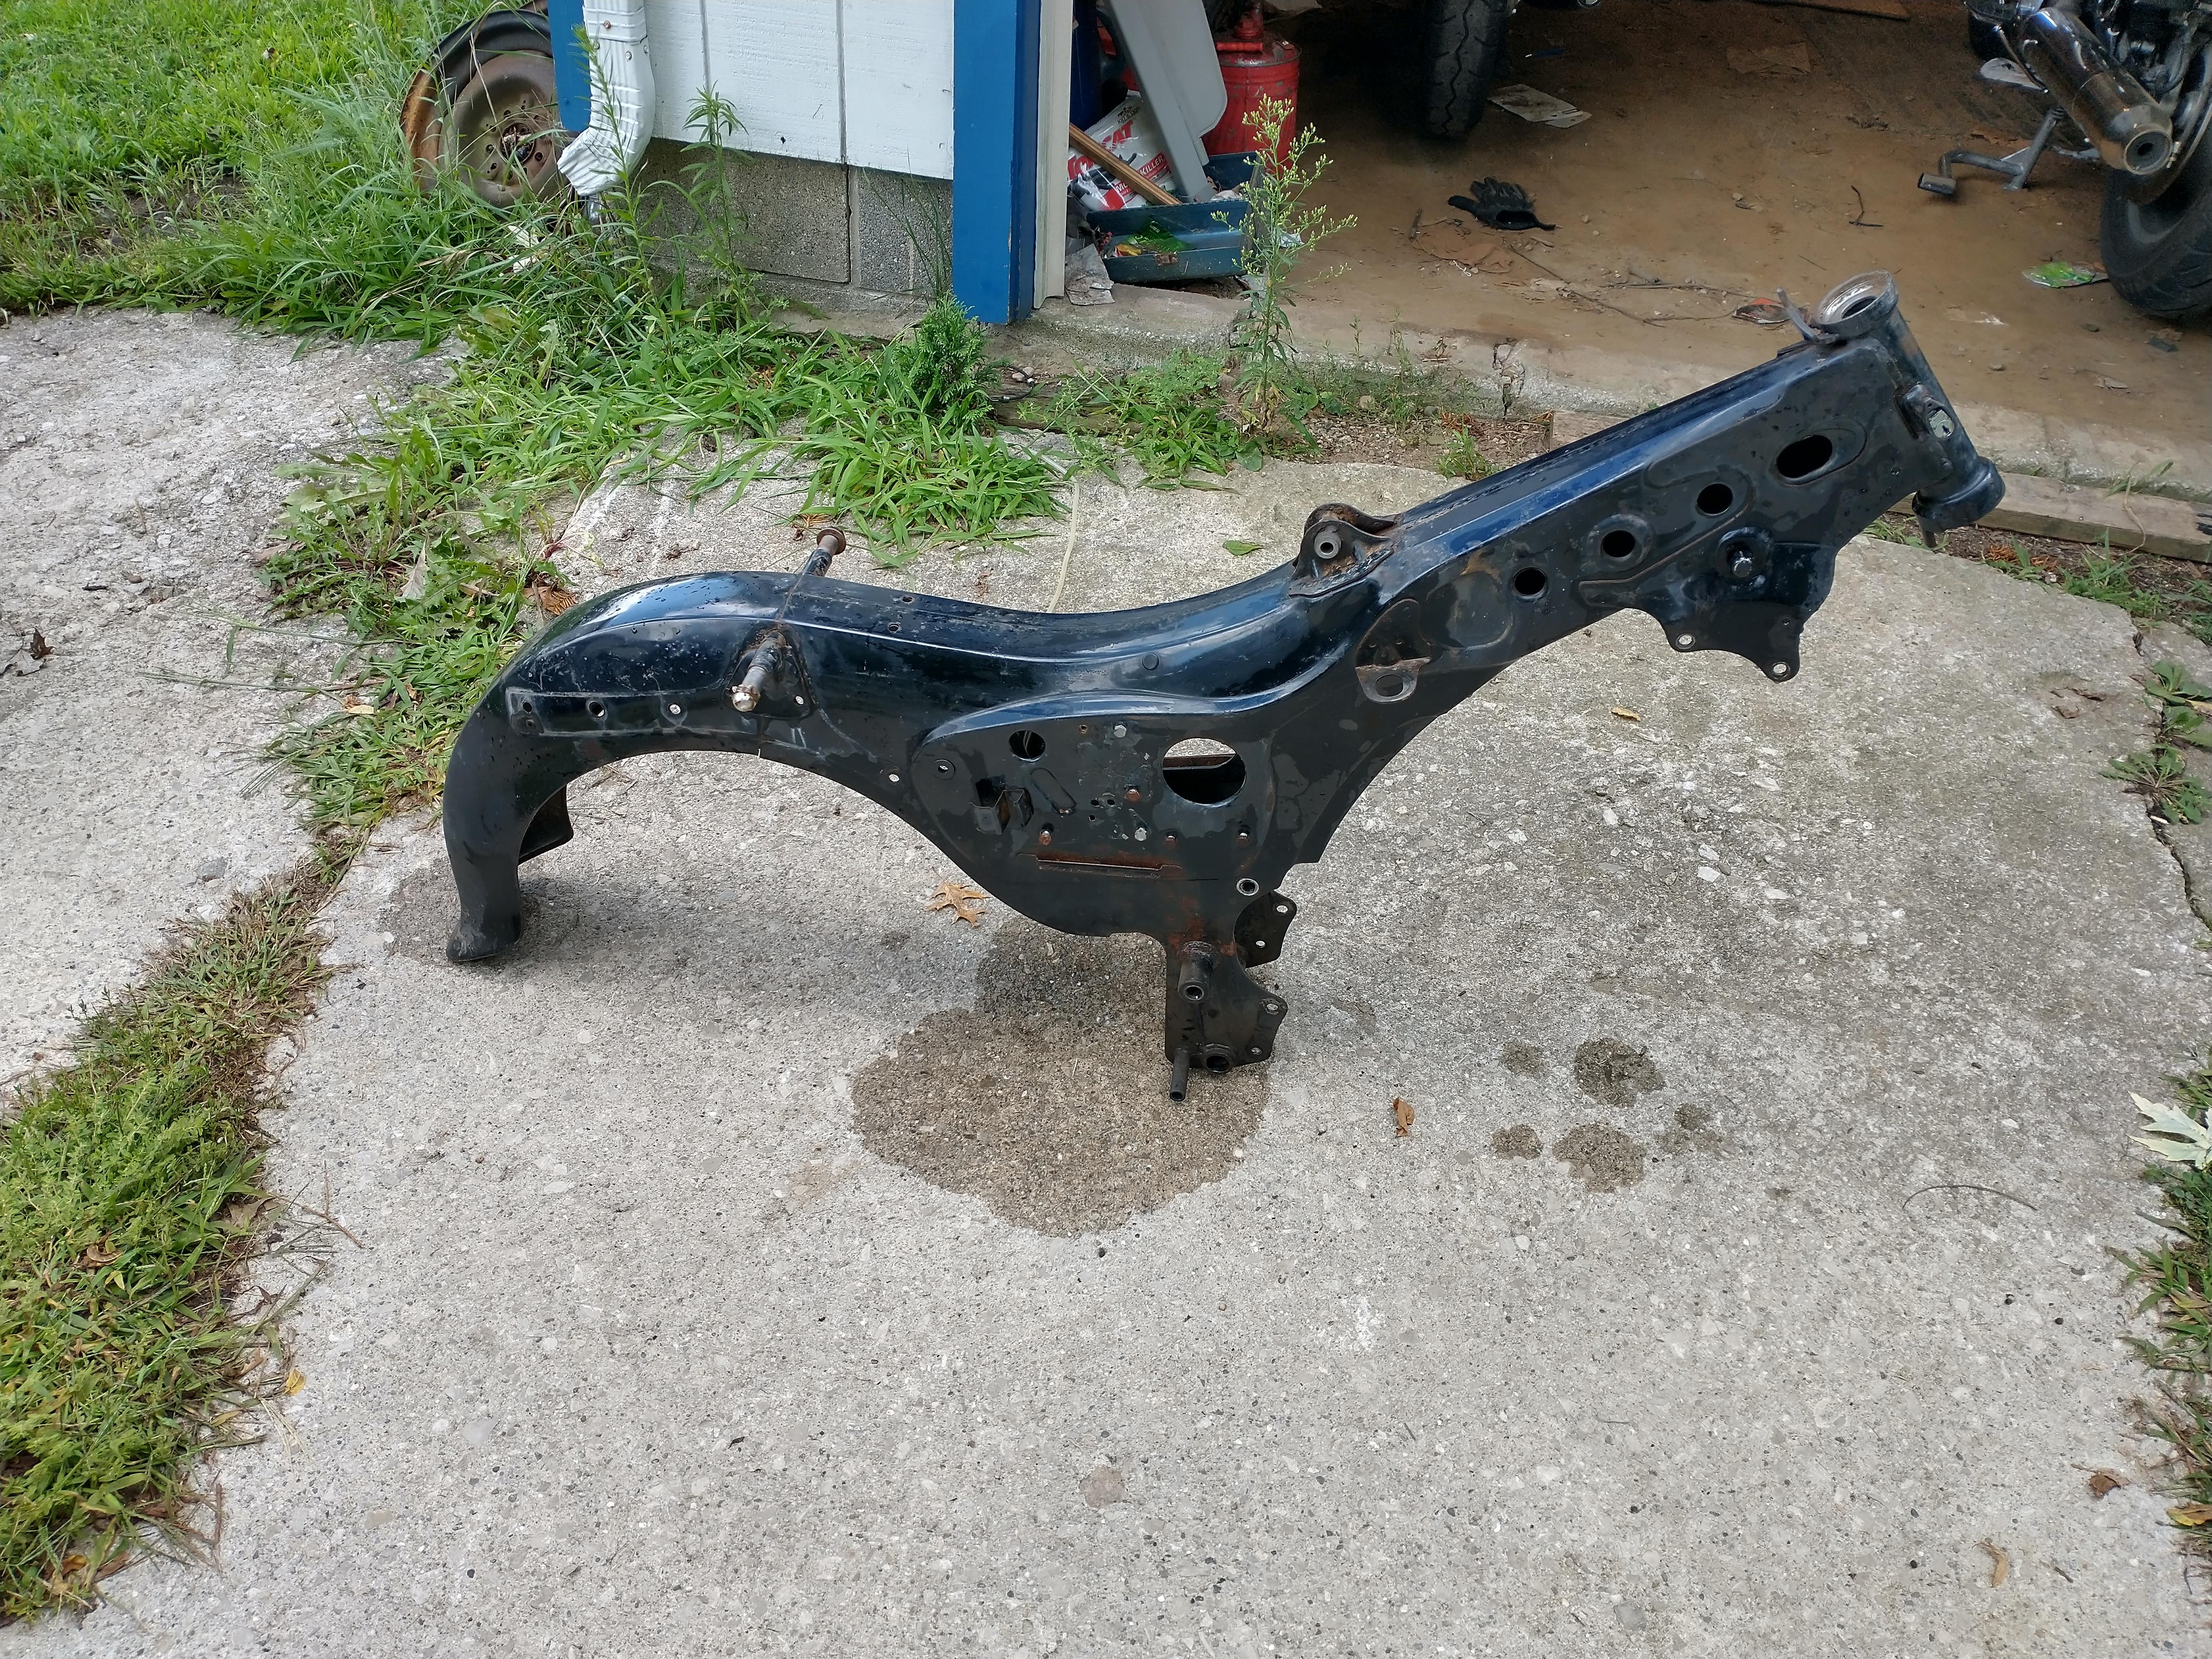
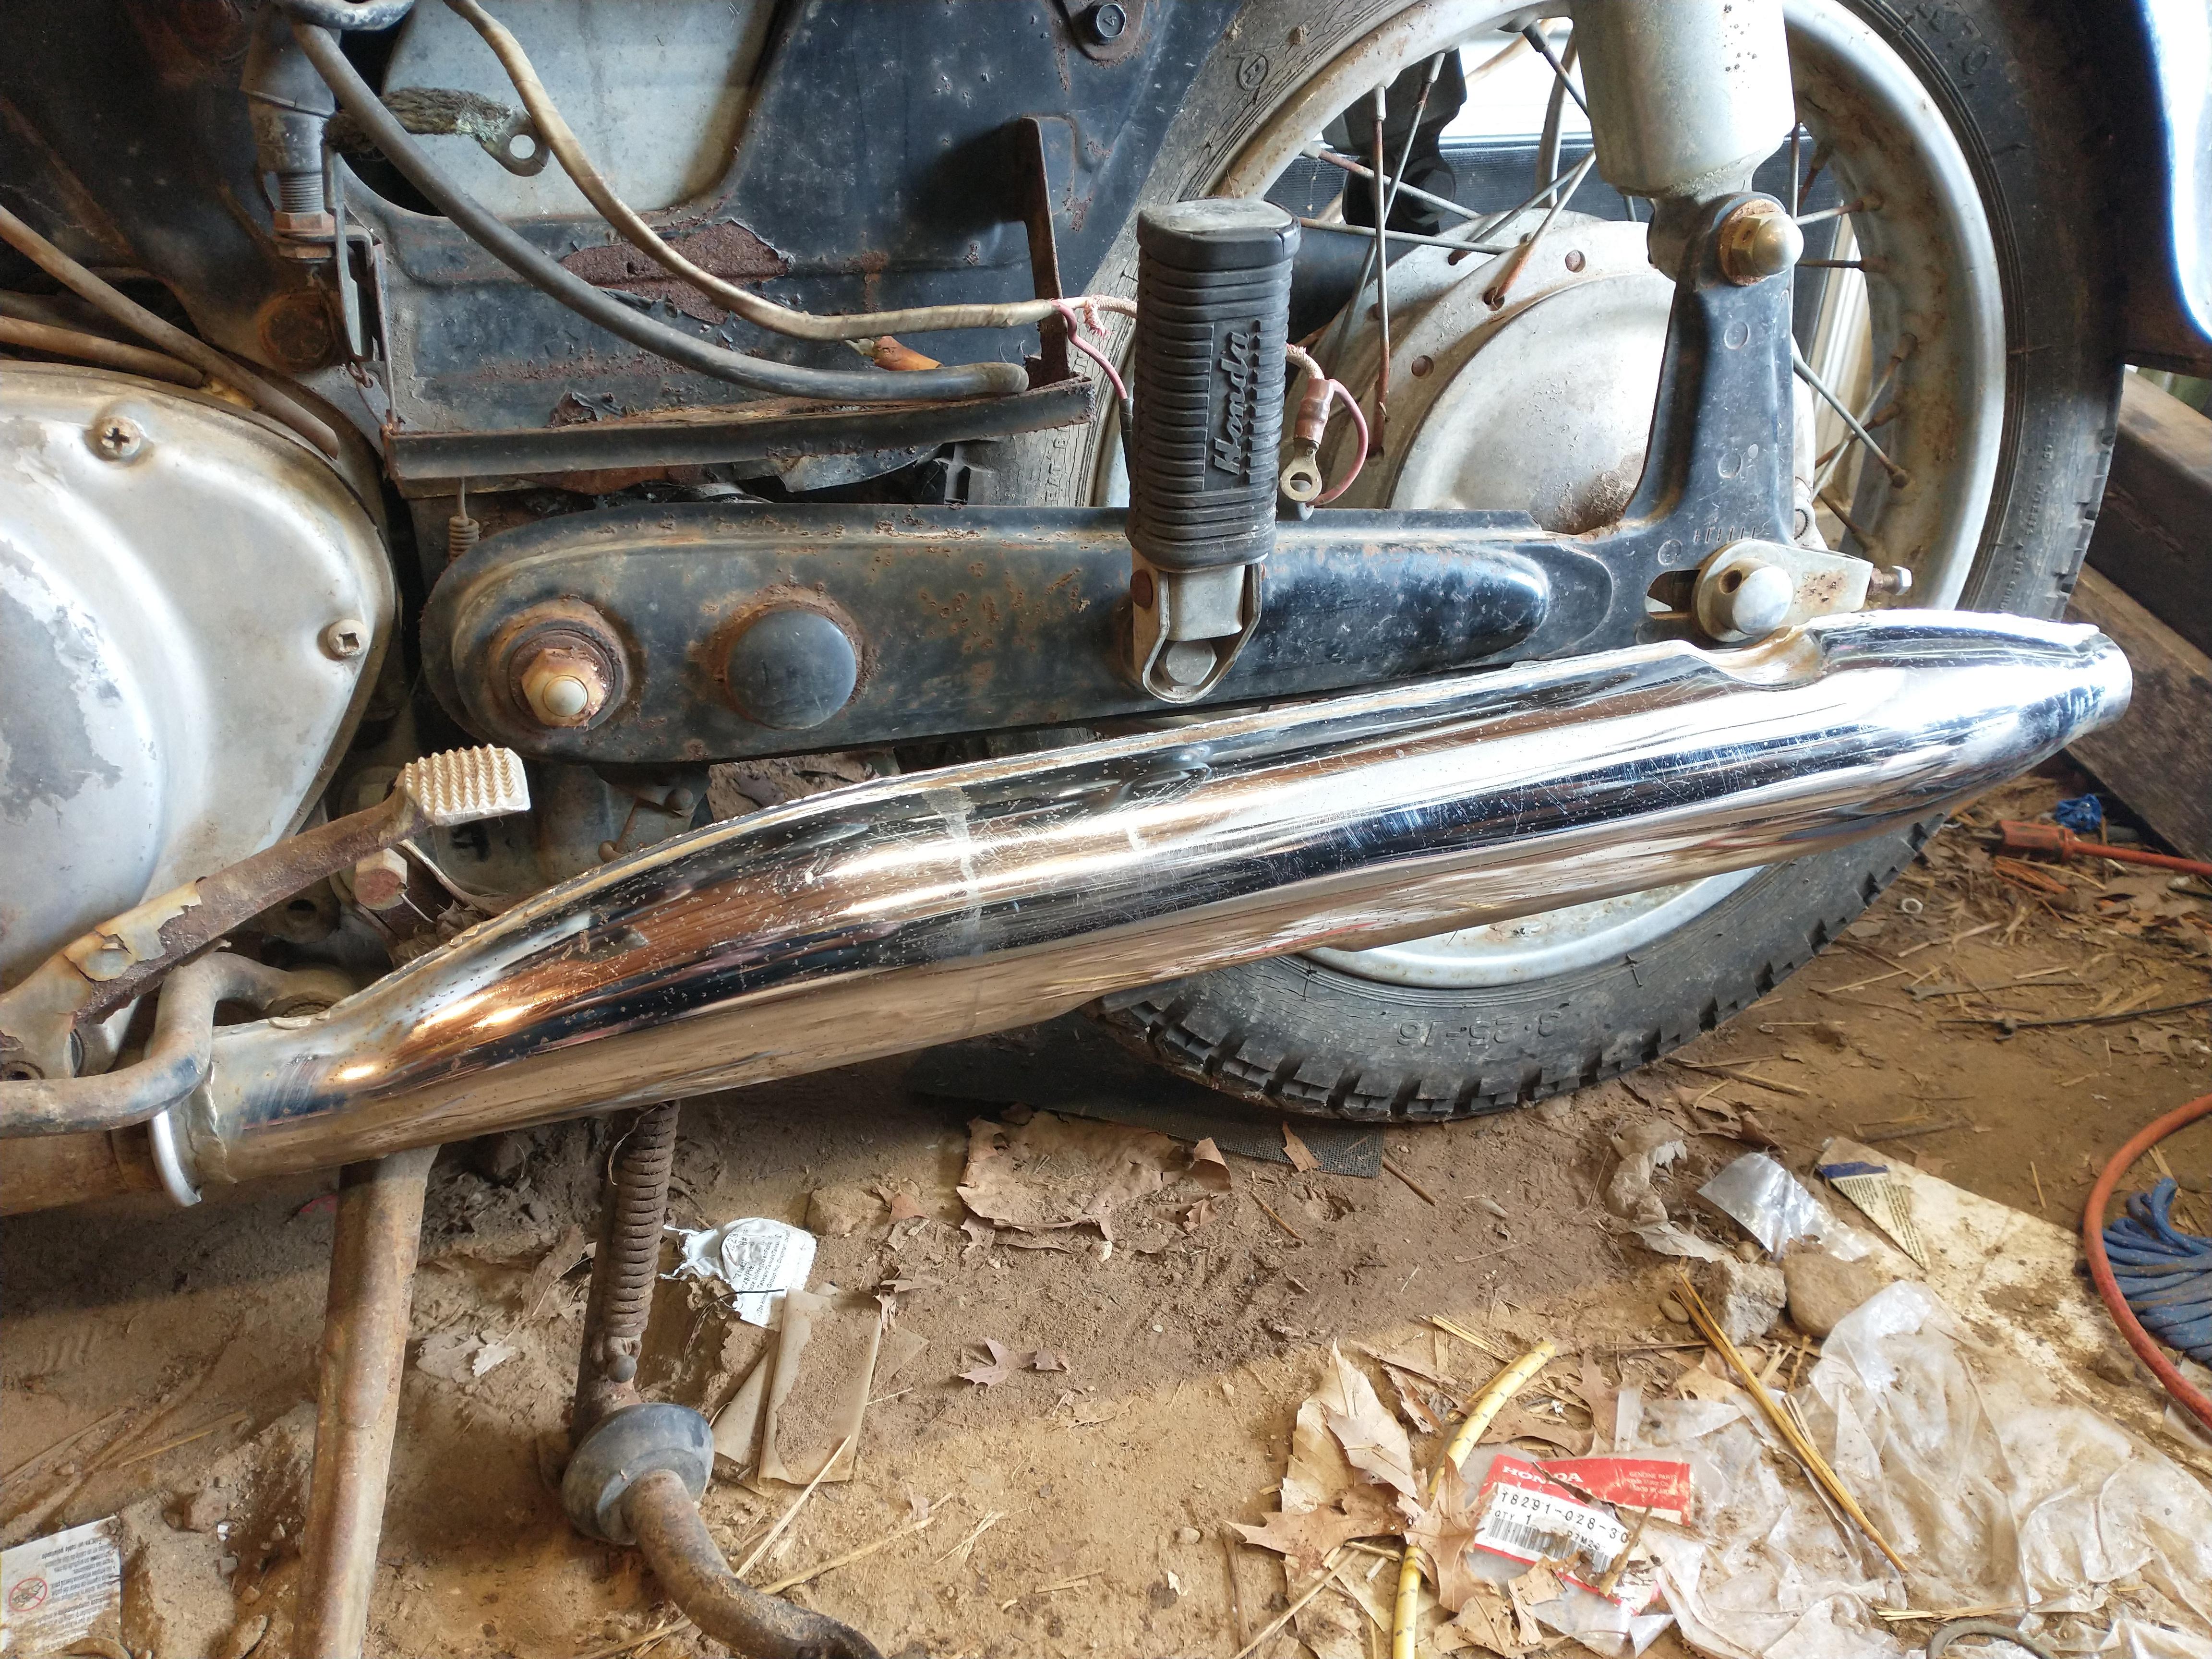
The parts bike is currently stripped down to the frame, and I've started a box of spare parts I may or may not need. I did a bit of cleaning up on the main bike, and while the plan is a full tear-down and repaint, I'm happy to report that some of the harder to find chrome pieces clean up VERY well.
dQwTkh7.jpg

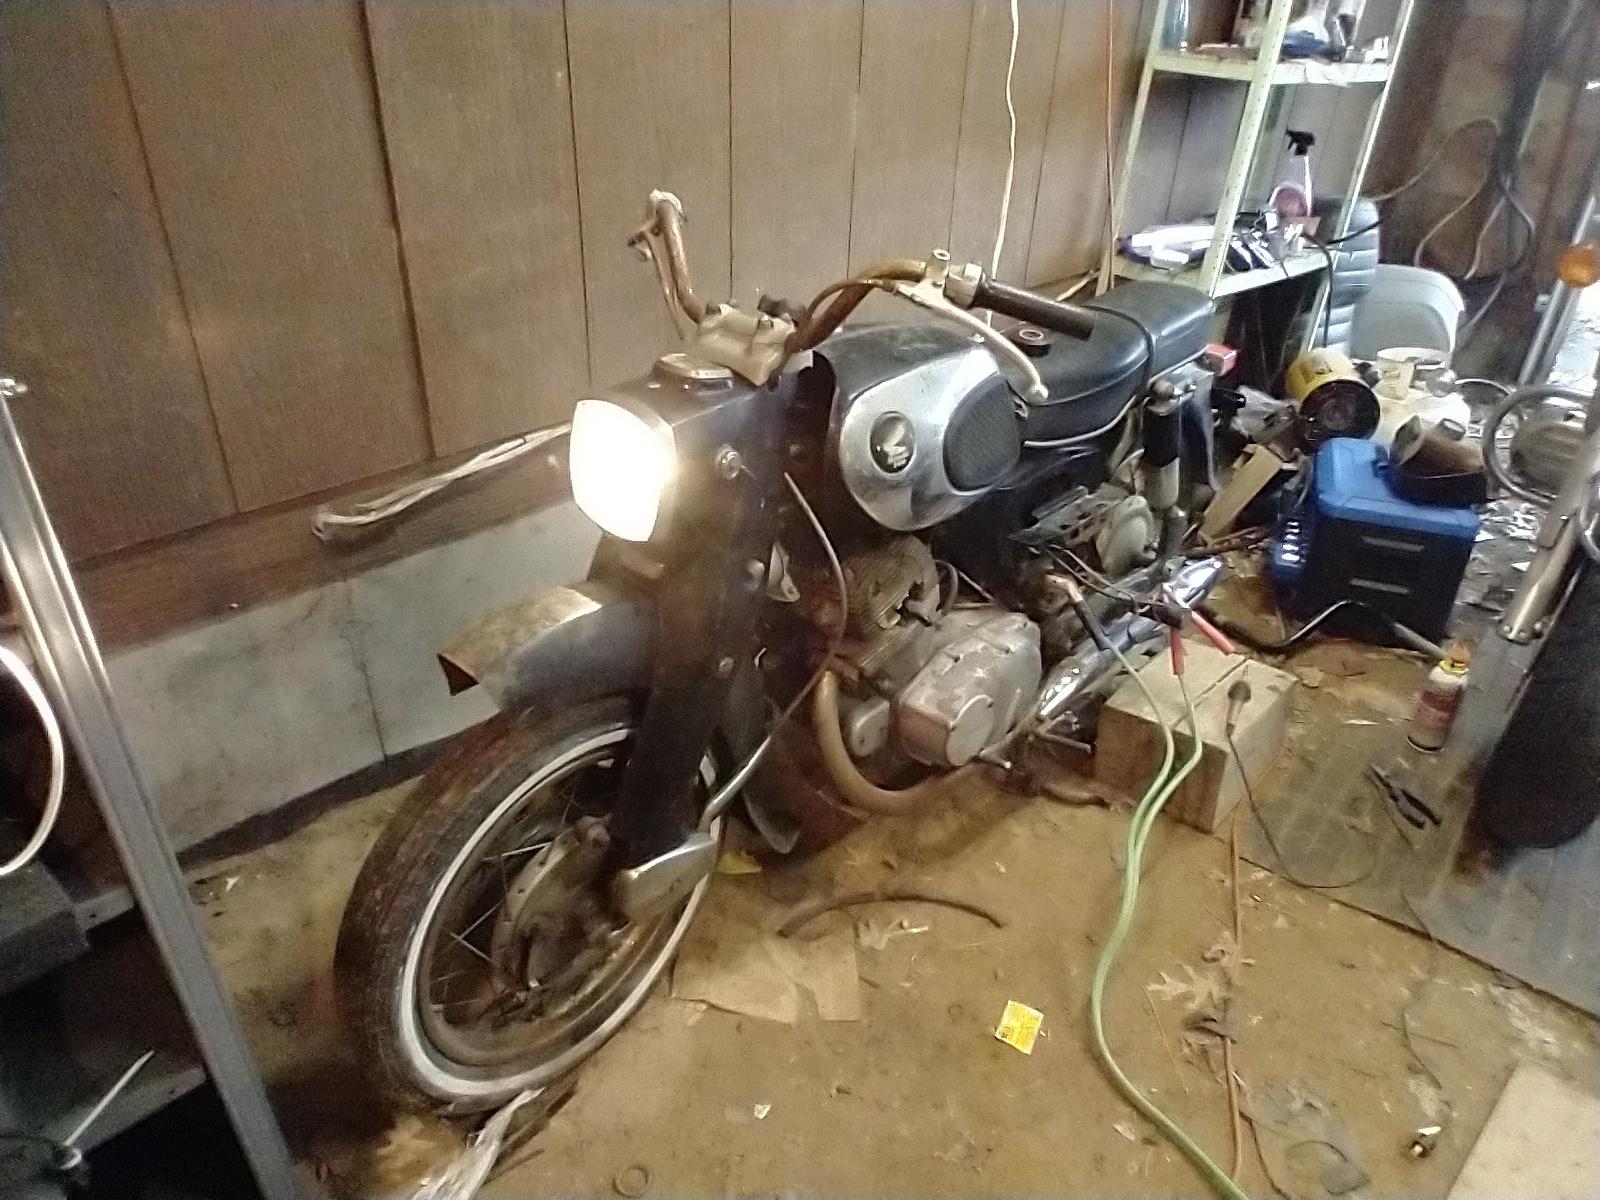
Now, don't get me wrong, there is a LOT to do. And I don't want to dive too deep before I get some other projects done (currently a '76 GL1000), but I think this Dream has some real potential. I look forward to getting the chance to really dive into it. Until then, I leave you with a bit of proof that this bike still has some life in it.
1d0atqF.jpg
 
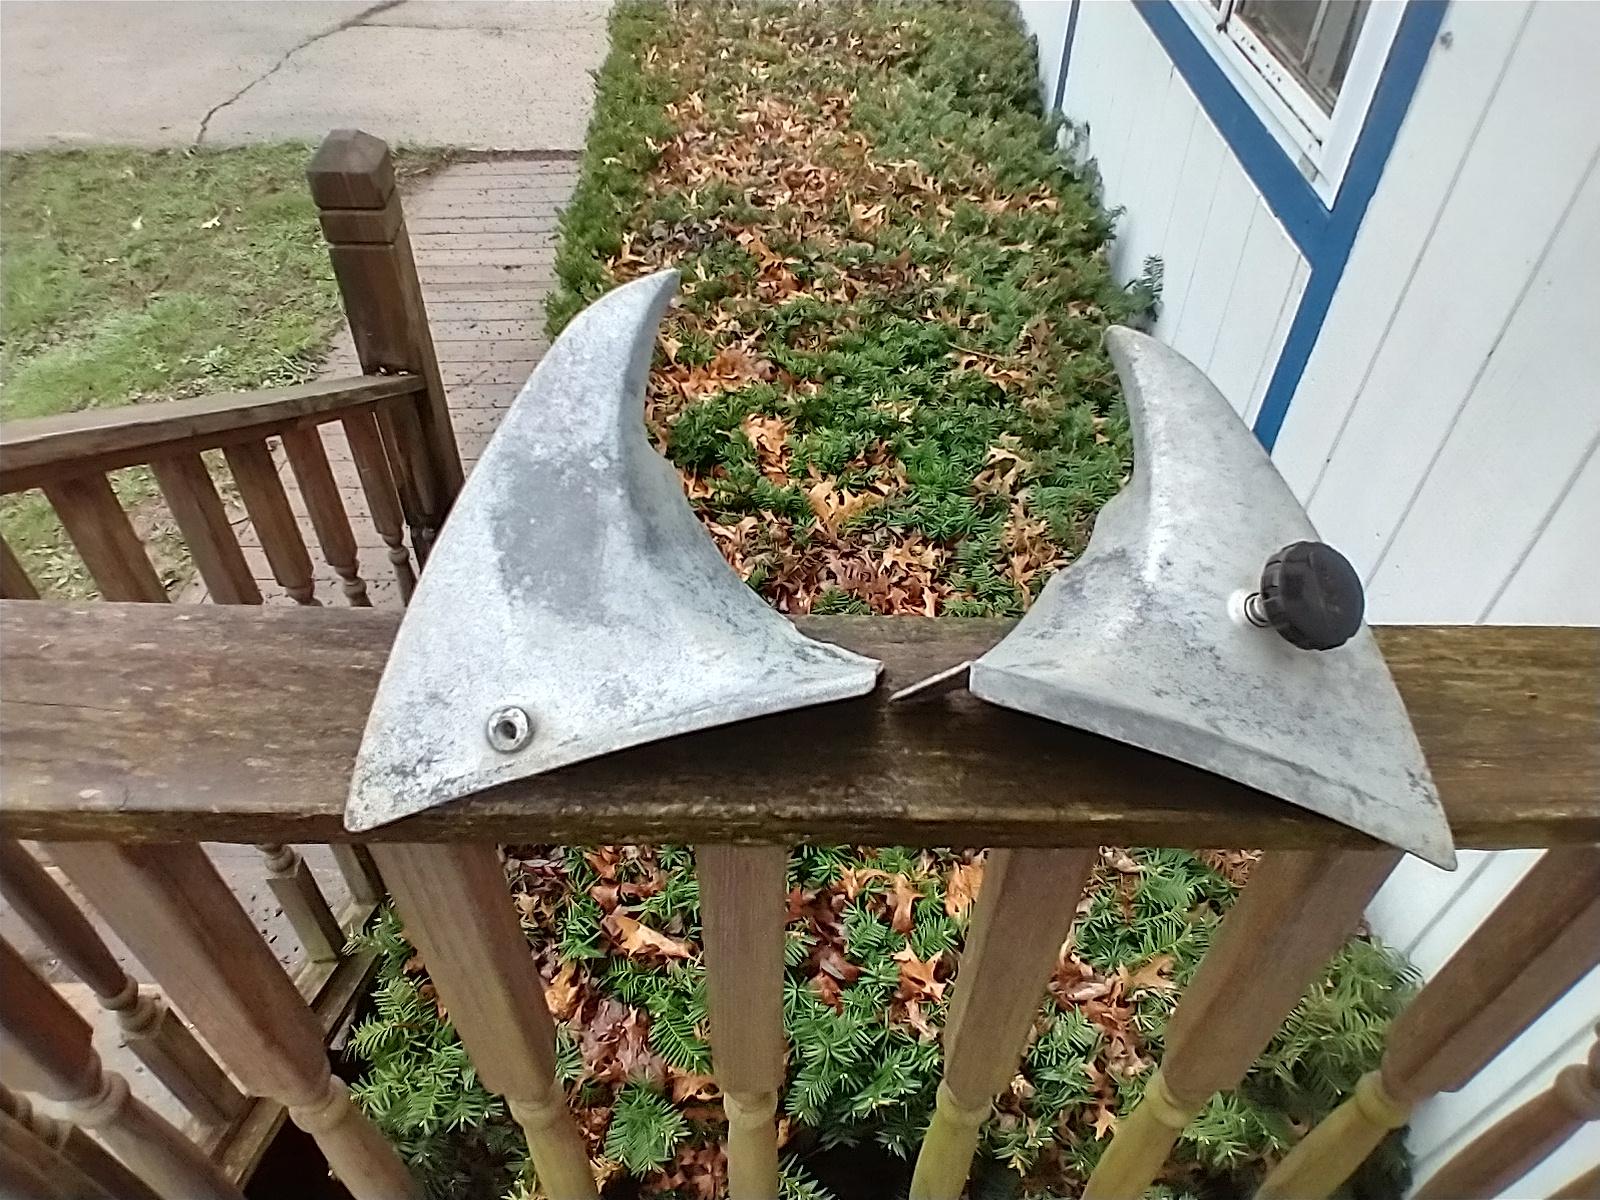
Not a whole lot of progress, but the opportunity to grab some missing parts came up, and I figured I'd take it. I'm not going to need carb covers for a while yet, but it feels nice just to have them.

WSfl07W.jpg


paV8Mhy.jpg


YxRohZ4.jpg


dUpSPAV.jpg


ifJRqXC.jpg
 
Yep, it was a different style era back then. And those covers can be tough to find, good job.
 
Yeah, I was lucky enough to pay (very slightly) below the average going price for this set, and while they do come up from time to time, my luck by the time I needed them they'd be impossible to find.

Far as I can tell, even though I have to clean up nearly everything, I'm pretty well set on "hard or impossible to find" parts. Replacement headers and rims/spokes are the last big-ticket items I still need, but those can definitely wait for later.
 
Keep a list of the pieces you need and once a week run a search for them. You'll probably find them well in advance of needing and there's nothing worse than getting to the "I need this now" and having to settle for an exorbitant price or really bad condition.
 
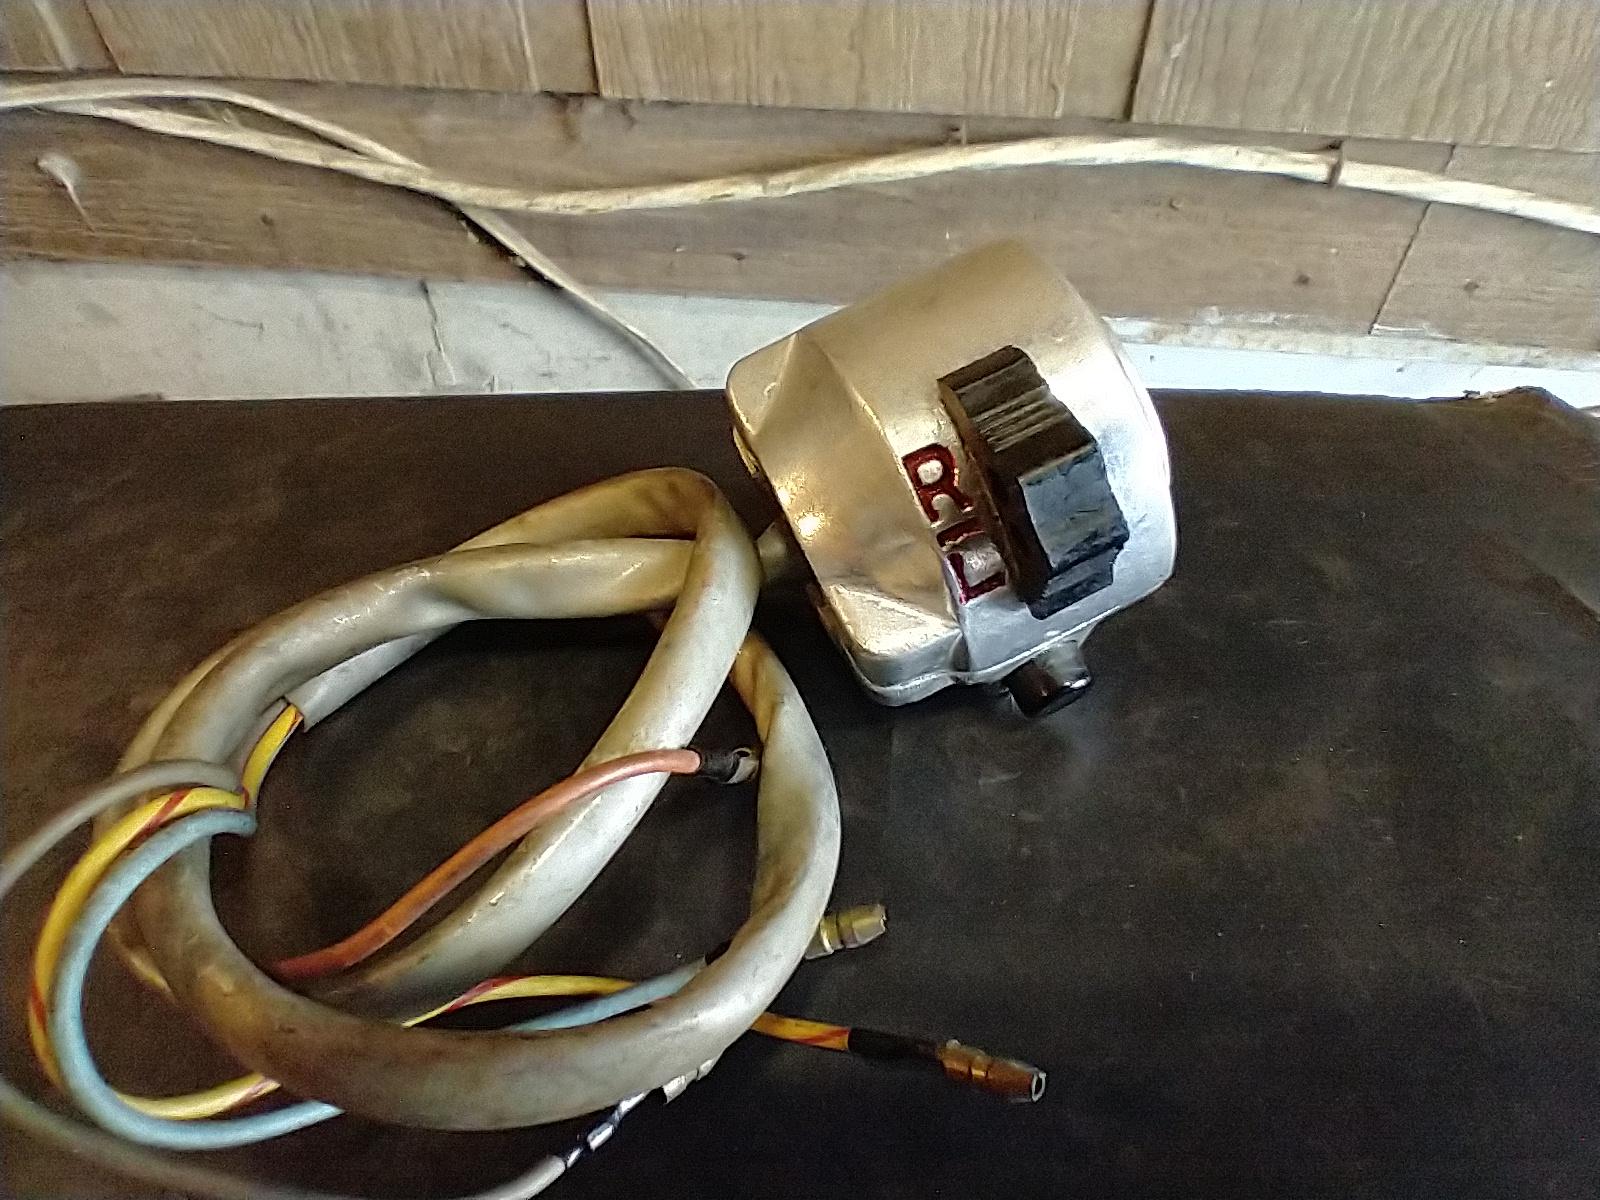
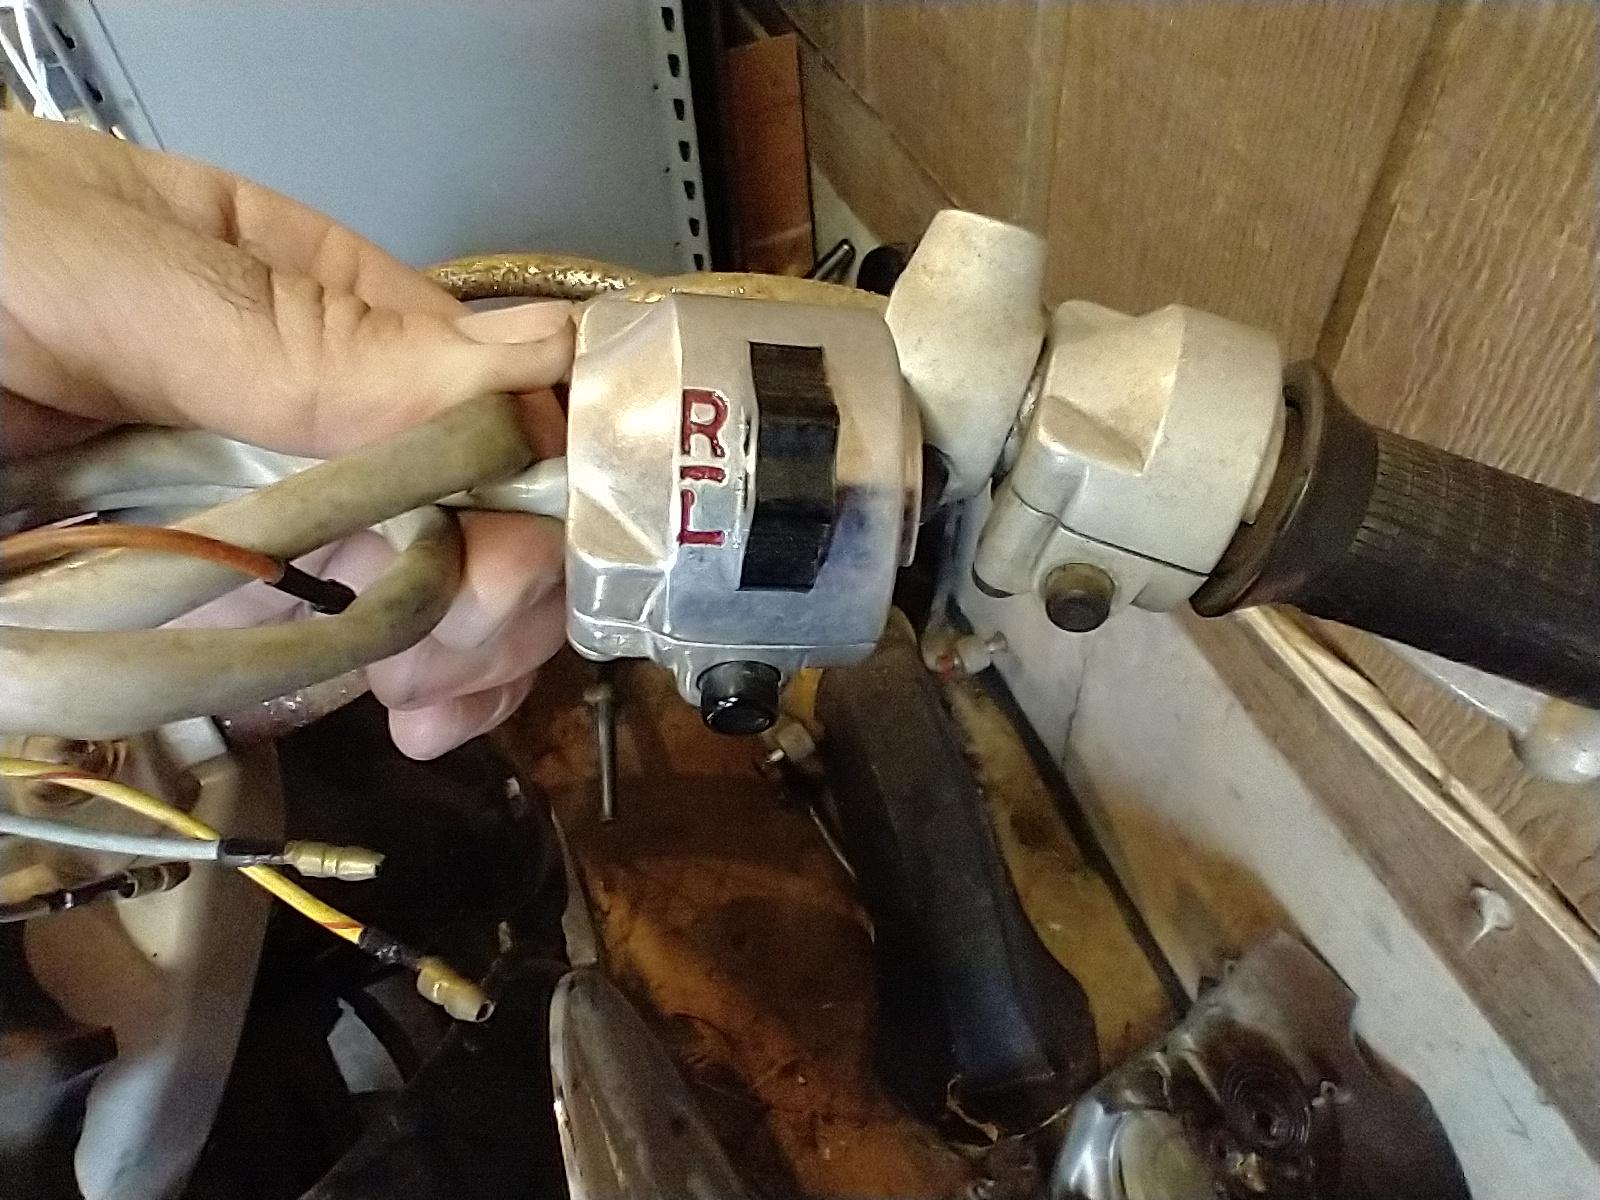
So, I am stupidly far from the point where they will be necessary, but before I finish my Dream I would LOVE to fit it with period-correct turn signals. Now, the blinkers themselves are relatively easy to get a hold of. The issue is the actual handlebar switches for them. No US export version of the CA77 (from what I gather) came with turn signals, so the top of the right controls are blank. I've also never seen an OEM set of non-export right controls in the wild, so I figured I'd have to rig something up. Until an eBay seller from Thailand came to the rescue.

3qcmWKp.jpg


DyImxZv.jpg


Now, I am fairly certain this is a reproduction part. But that said, compared to the parts diagram drawing (again, NEVER seen an actual one), it looks very, VERY close. Regardless, I'm hoping it will work just fine, and it certainly beats any solution I was going to come up with.
 
If it is a decent quality piece that is a great find, and it looks the part more than well enough for virtually anyone who looks at the bike since so few will have ever even seen an original. Nice.
 
So, I am stupidly far from the point where they will be necessary, but before I finish my Dream I would LOVE to fit it with period-correct turn signals. Now, the blinkers themselves are relatively easy to get a hold of. The issue is the actual handlebar switches for them. No US export version of the CA77 (from what I gather) came with turn signals, so the top of the right controls are blank. I've also never seen an OEM set of non-export right controls in the wild, so I figured I'd have to rig something up. Until an eBay seller from Thailand came to Now, I am fairly certain this is a reproduction part. But that said, compared to the parts diagram drawing (again, NEVER seen an actual one), it looks very, VERY close. Regardless, I'm hoping it will work just fine, and it certainly beats any solution I was going to come up with.


Nice option, as hand signals went out with my bicycle days. Many drivers wouldn't know what your attempting to do with your arms bent in different postures. Motorcycle YOGA anyone.
 
There is another currently on eBay right now (same seller), but it's listed as a Benly switch. A bit pricey, but what on these bikes isn't?

https://www.ebay.com/itm/2345138837...=2047675&ssuid=&widget_ver=artemis&media=COPY

It's definitely a repop, and some of the switches aren't quite as tight as OEM. That said, I was able to clean up some of the paint bleed on the lettering and swap over some of the internals (and the top plastic part for the turn signal switch) with OEM replacements from a spare set of switches I had. This tightened the action on them up quite a bit, and as an added bonus the starter button now says "Tek" like it's supposed to.

It's a little thing, but it's nice to have.
 
Yeah, I was lucky enough to pay (very slightly) below the average going price for this set, and while they do come up from time to time, my luck by the time I needed them they'd be impossible to find.

Far as I can tell, even though I have to clean up nearly everything, I'm pretty well set on "hard or impossible to find" parts. Replacement headers and rims/spokes are the last big-ticket items I still need, but those can definitely wait for later.

One of our sponsor/vendors sells spoke kits which I bought for my CL77. They are made in Japan and nice quality. Scrambler Cycle!
 
Have you looked at re- chrome if you have a place for a batch? Nice score on the carb covers. Do you have the early side covers? They are pricey too.
 
Nice score on the carb covers. Do you have the early side covers? They are pricey too.

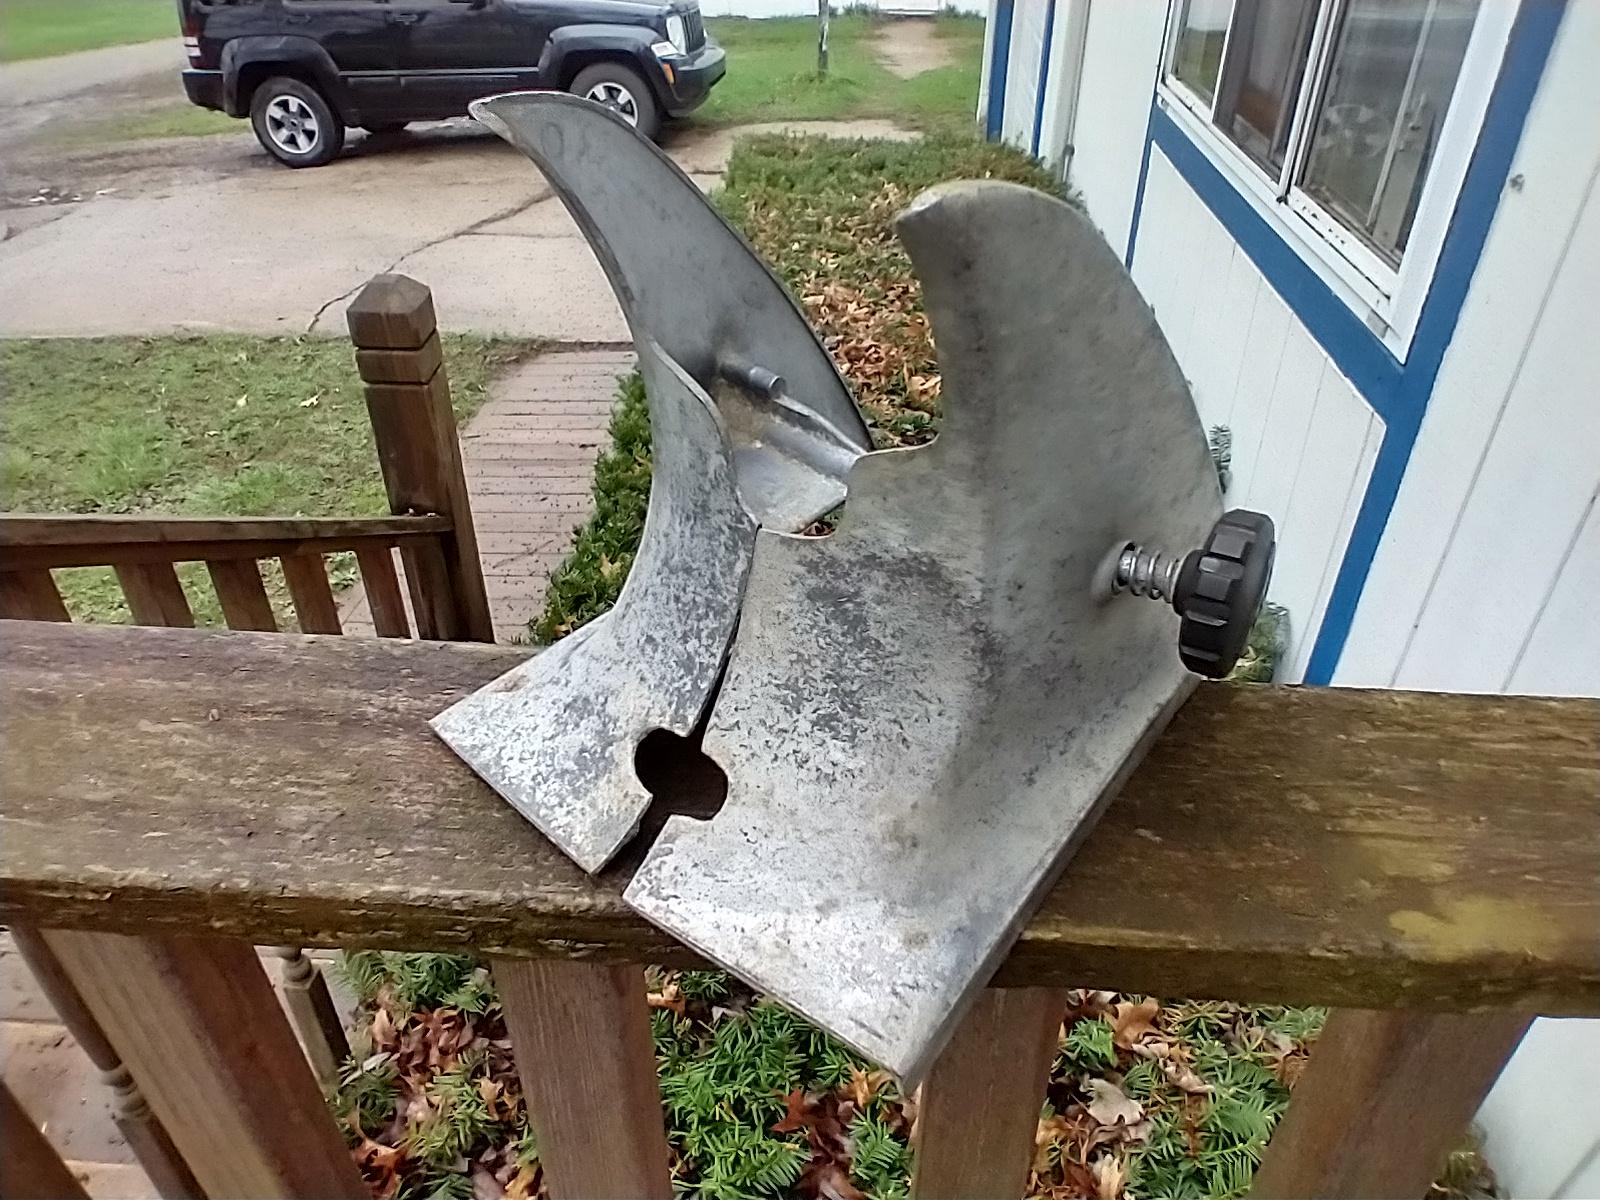
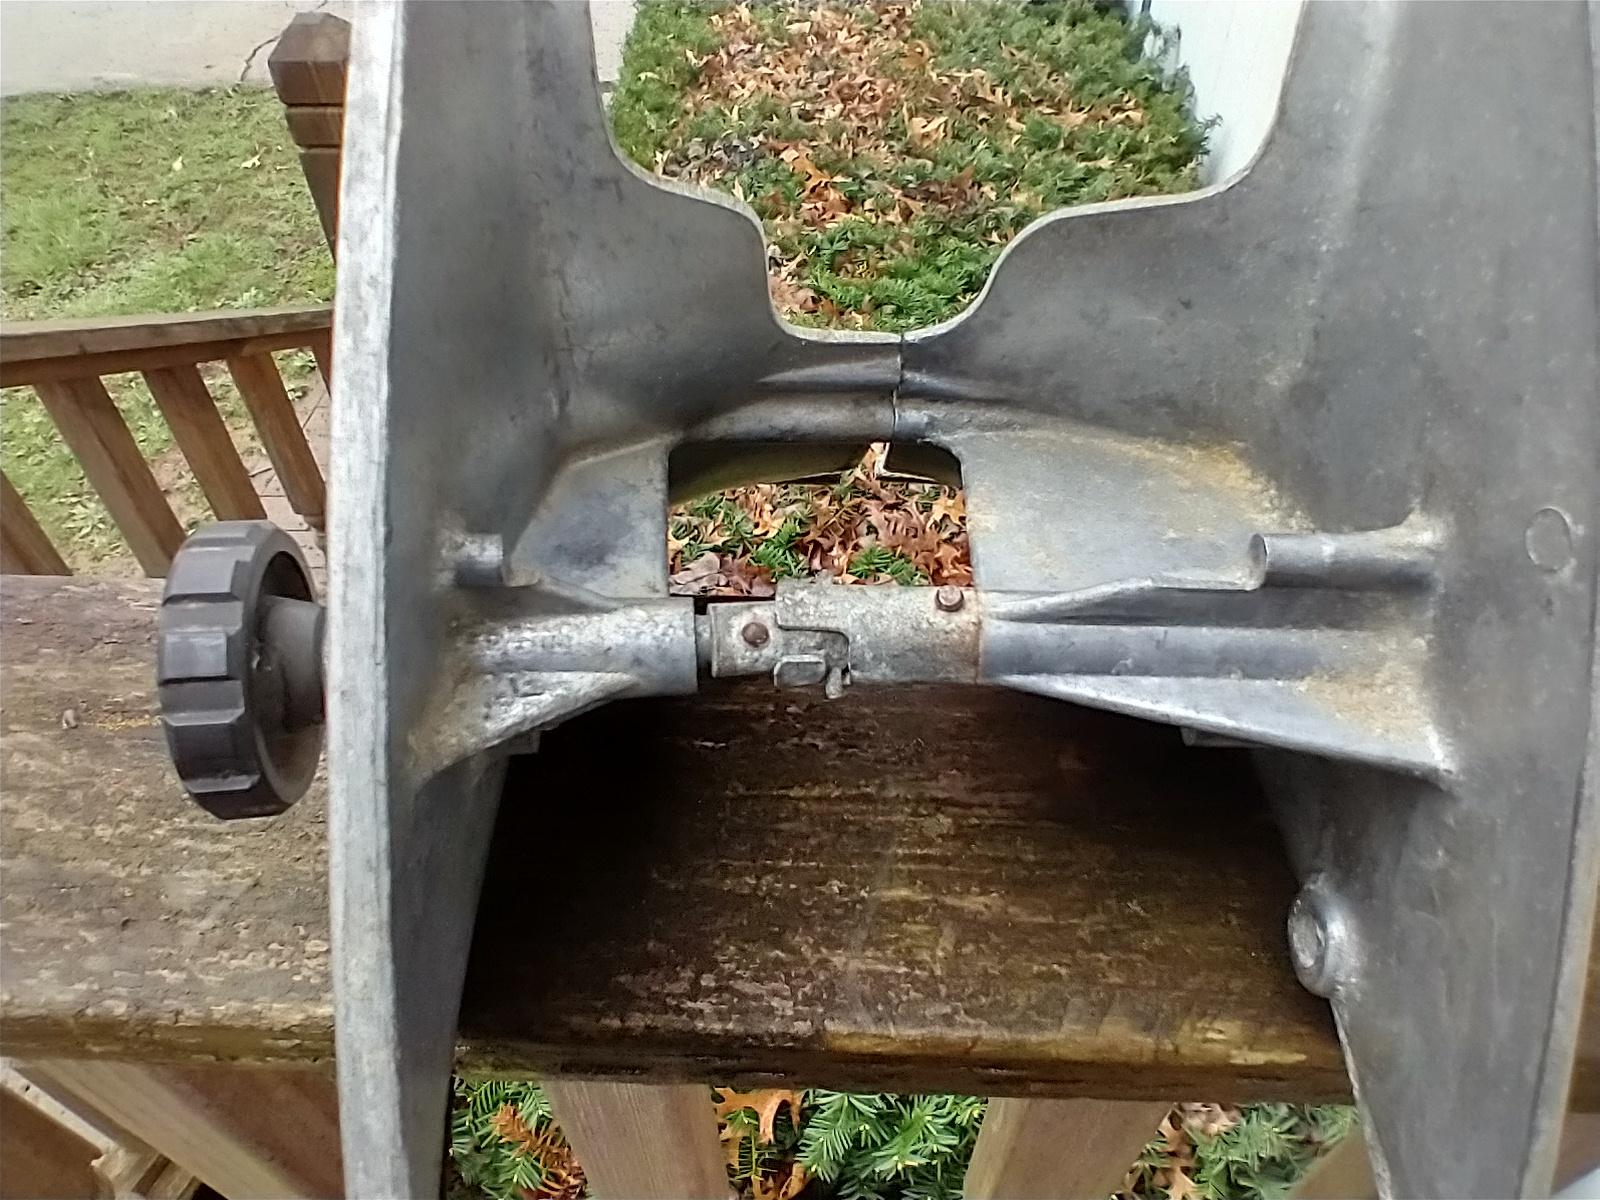
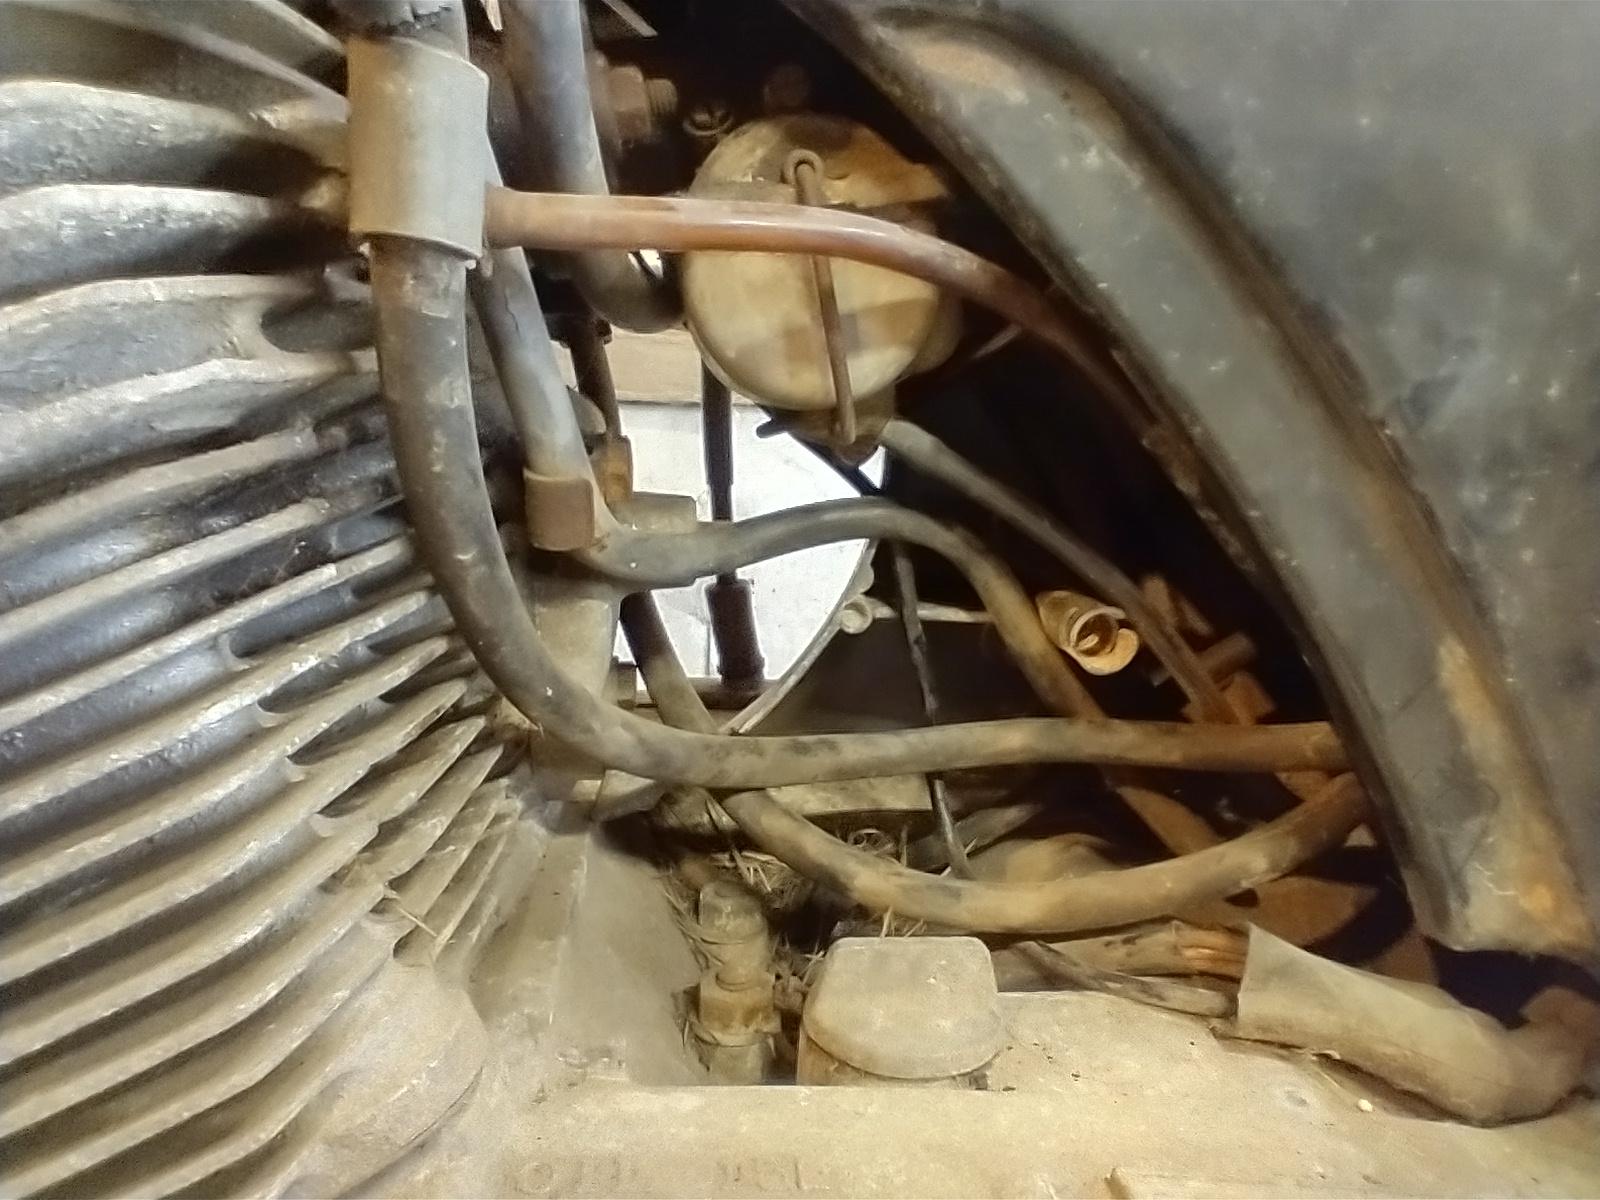
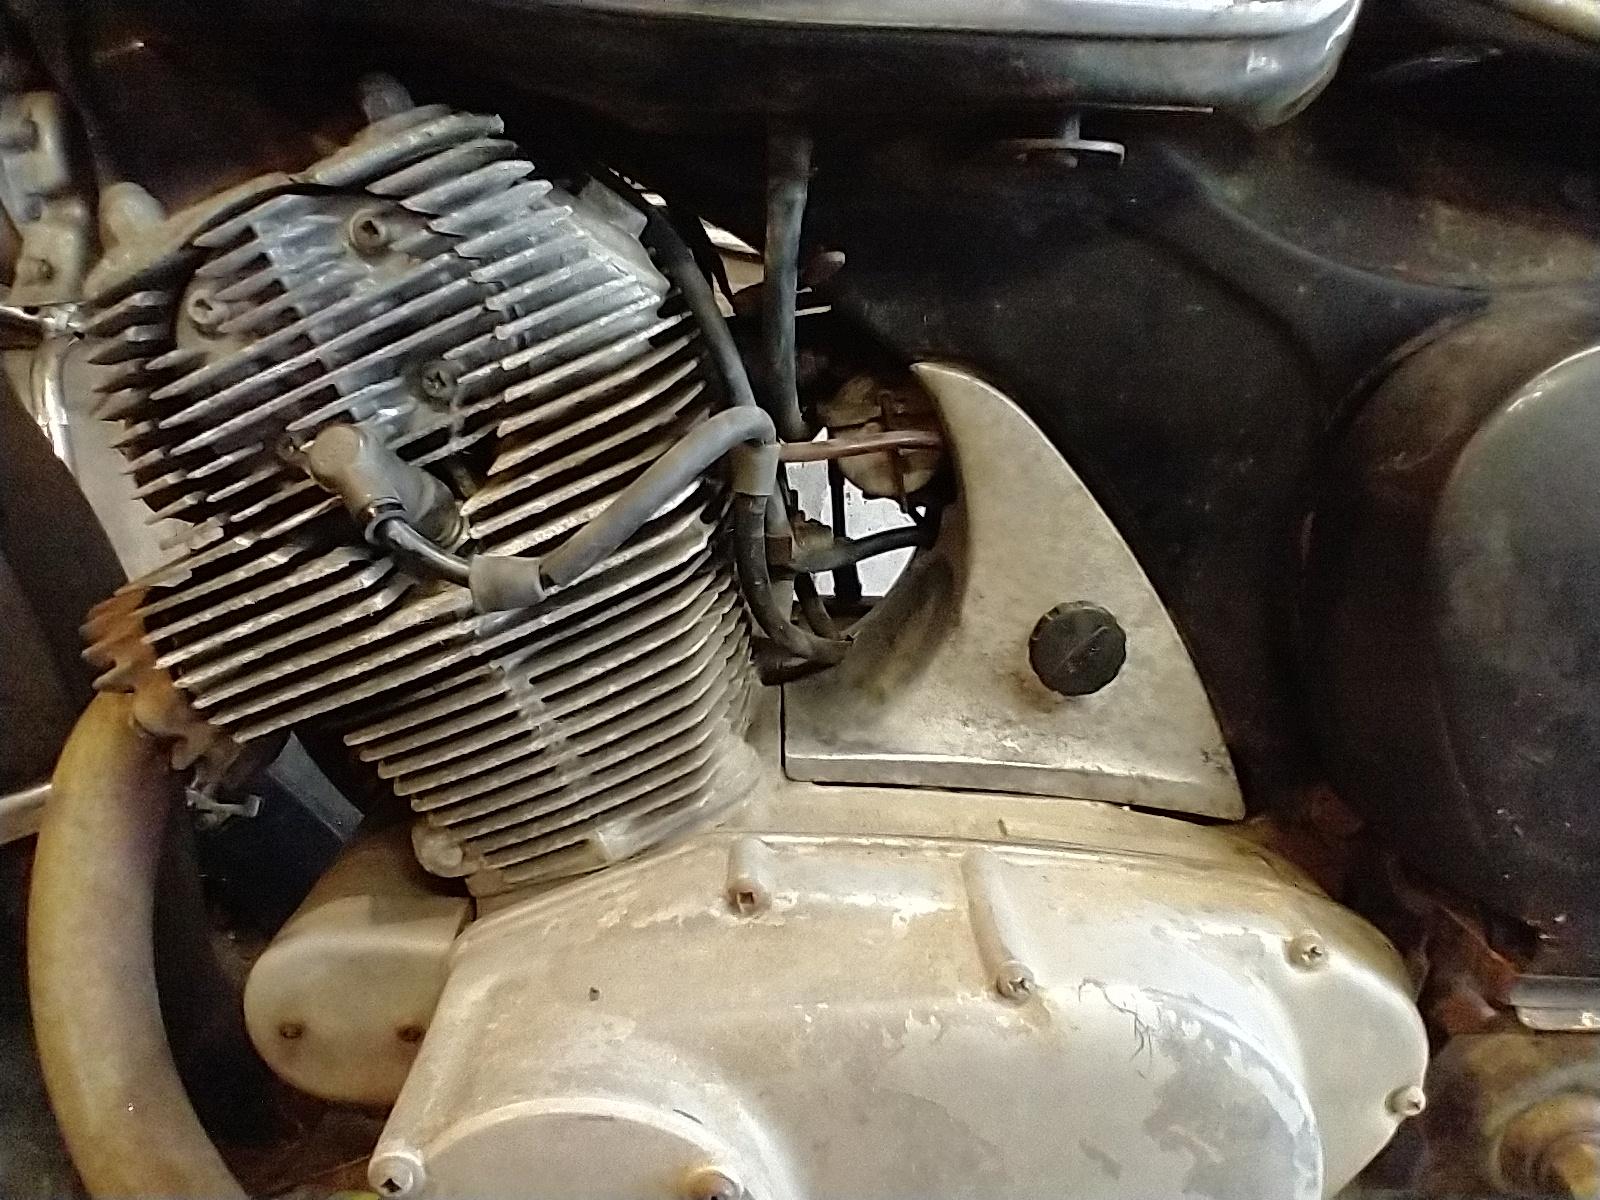
Funny you should mention- I think I lucked into an early set, yes. I've been tearing my hair out trying to figure out where the cylinder head breather tube gets routed- the clip on the back of the engine runs the hose too low to loop back under the carburetor, and the big hole is for spark plug wires. Then I got to googling carb covers, and noticed certain ones have a cutout for the breather tube.

Now, I was tempted to cut this notch out, but as hard as these are to find, it REALLY didn't sit well with me. So, although it probably isn't "correct" for my year, I'm probably going to remove the clip from the engine and route the breather tube up and over everything, tucked into the frame. If I can obtain (either by purchase or swap) a late-style left carb cover with the added cutout I may consider switching the routing back, but it's not really a priority.
 
The clips are for the HT plug wires. The notch is for the breather, and it ends at the drain hole to the right side. There was a change in the location on the valve cover for the breather IIRC. There were quite a few undocumented and random changes, especially in the early years (pre '65). Bill Silver (aka "Mr.Honda") has a guide for CA/CB/CL 305's includes engine repair guide that is, no doubt, the most complete authority on these bikes.
Vintage Honda Motorcycle Restoration Guides and Information

I've gotten my moneys worth from it.
 
I also have the benefit of being caretaker, mechanic and landlord to my friends '65 Dream for reference as I work on my early 64, #104540.
 
They added another clip to what I'm assuming is the cam chain tensioner plate to hold the breather. I'm guessing it was a later addition, because both of my engines (original and spare) have it, and it lines the breather tube up with the notch in the carb cover real nice. Still, I'll probably snag that restoration guide at some point- it's one of those things that's just nice to have.

Regardless of routing, dumping the breather hose right by the front sprocket makes a certain amount of sense. If it's laid out anything like my CT90 (and a surprising amount of it is), it takes the crankcase pressure (oil and gasses and stuff) and uses it for drive chain lubrication. Definitely a neat little solution.
 
Regardless of routing, dumping the breather hose right by the front sprocket makes a certain amount of sense. If it's laid out anything like my CT90 (and a surprising amount of it is), it takes the crankcase pressure (oil and gasses and stuff) and uses it for drive chain lubrication. Definitely a neat little solution.

Yeah, there will always be a little blow-by vapor that can enhance the chain lubrication a bit, but if it's bad enough that you don't actually have to lube the chain then you have engine problems :)
 
While I'm not quite ready to dive head-first into this project yet, I'm still picking up bits and pieces as they become available. Today's victim? The air filter cover.

JABMhab.jpg


vrcd6iV.jpg


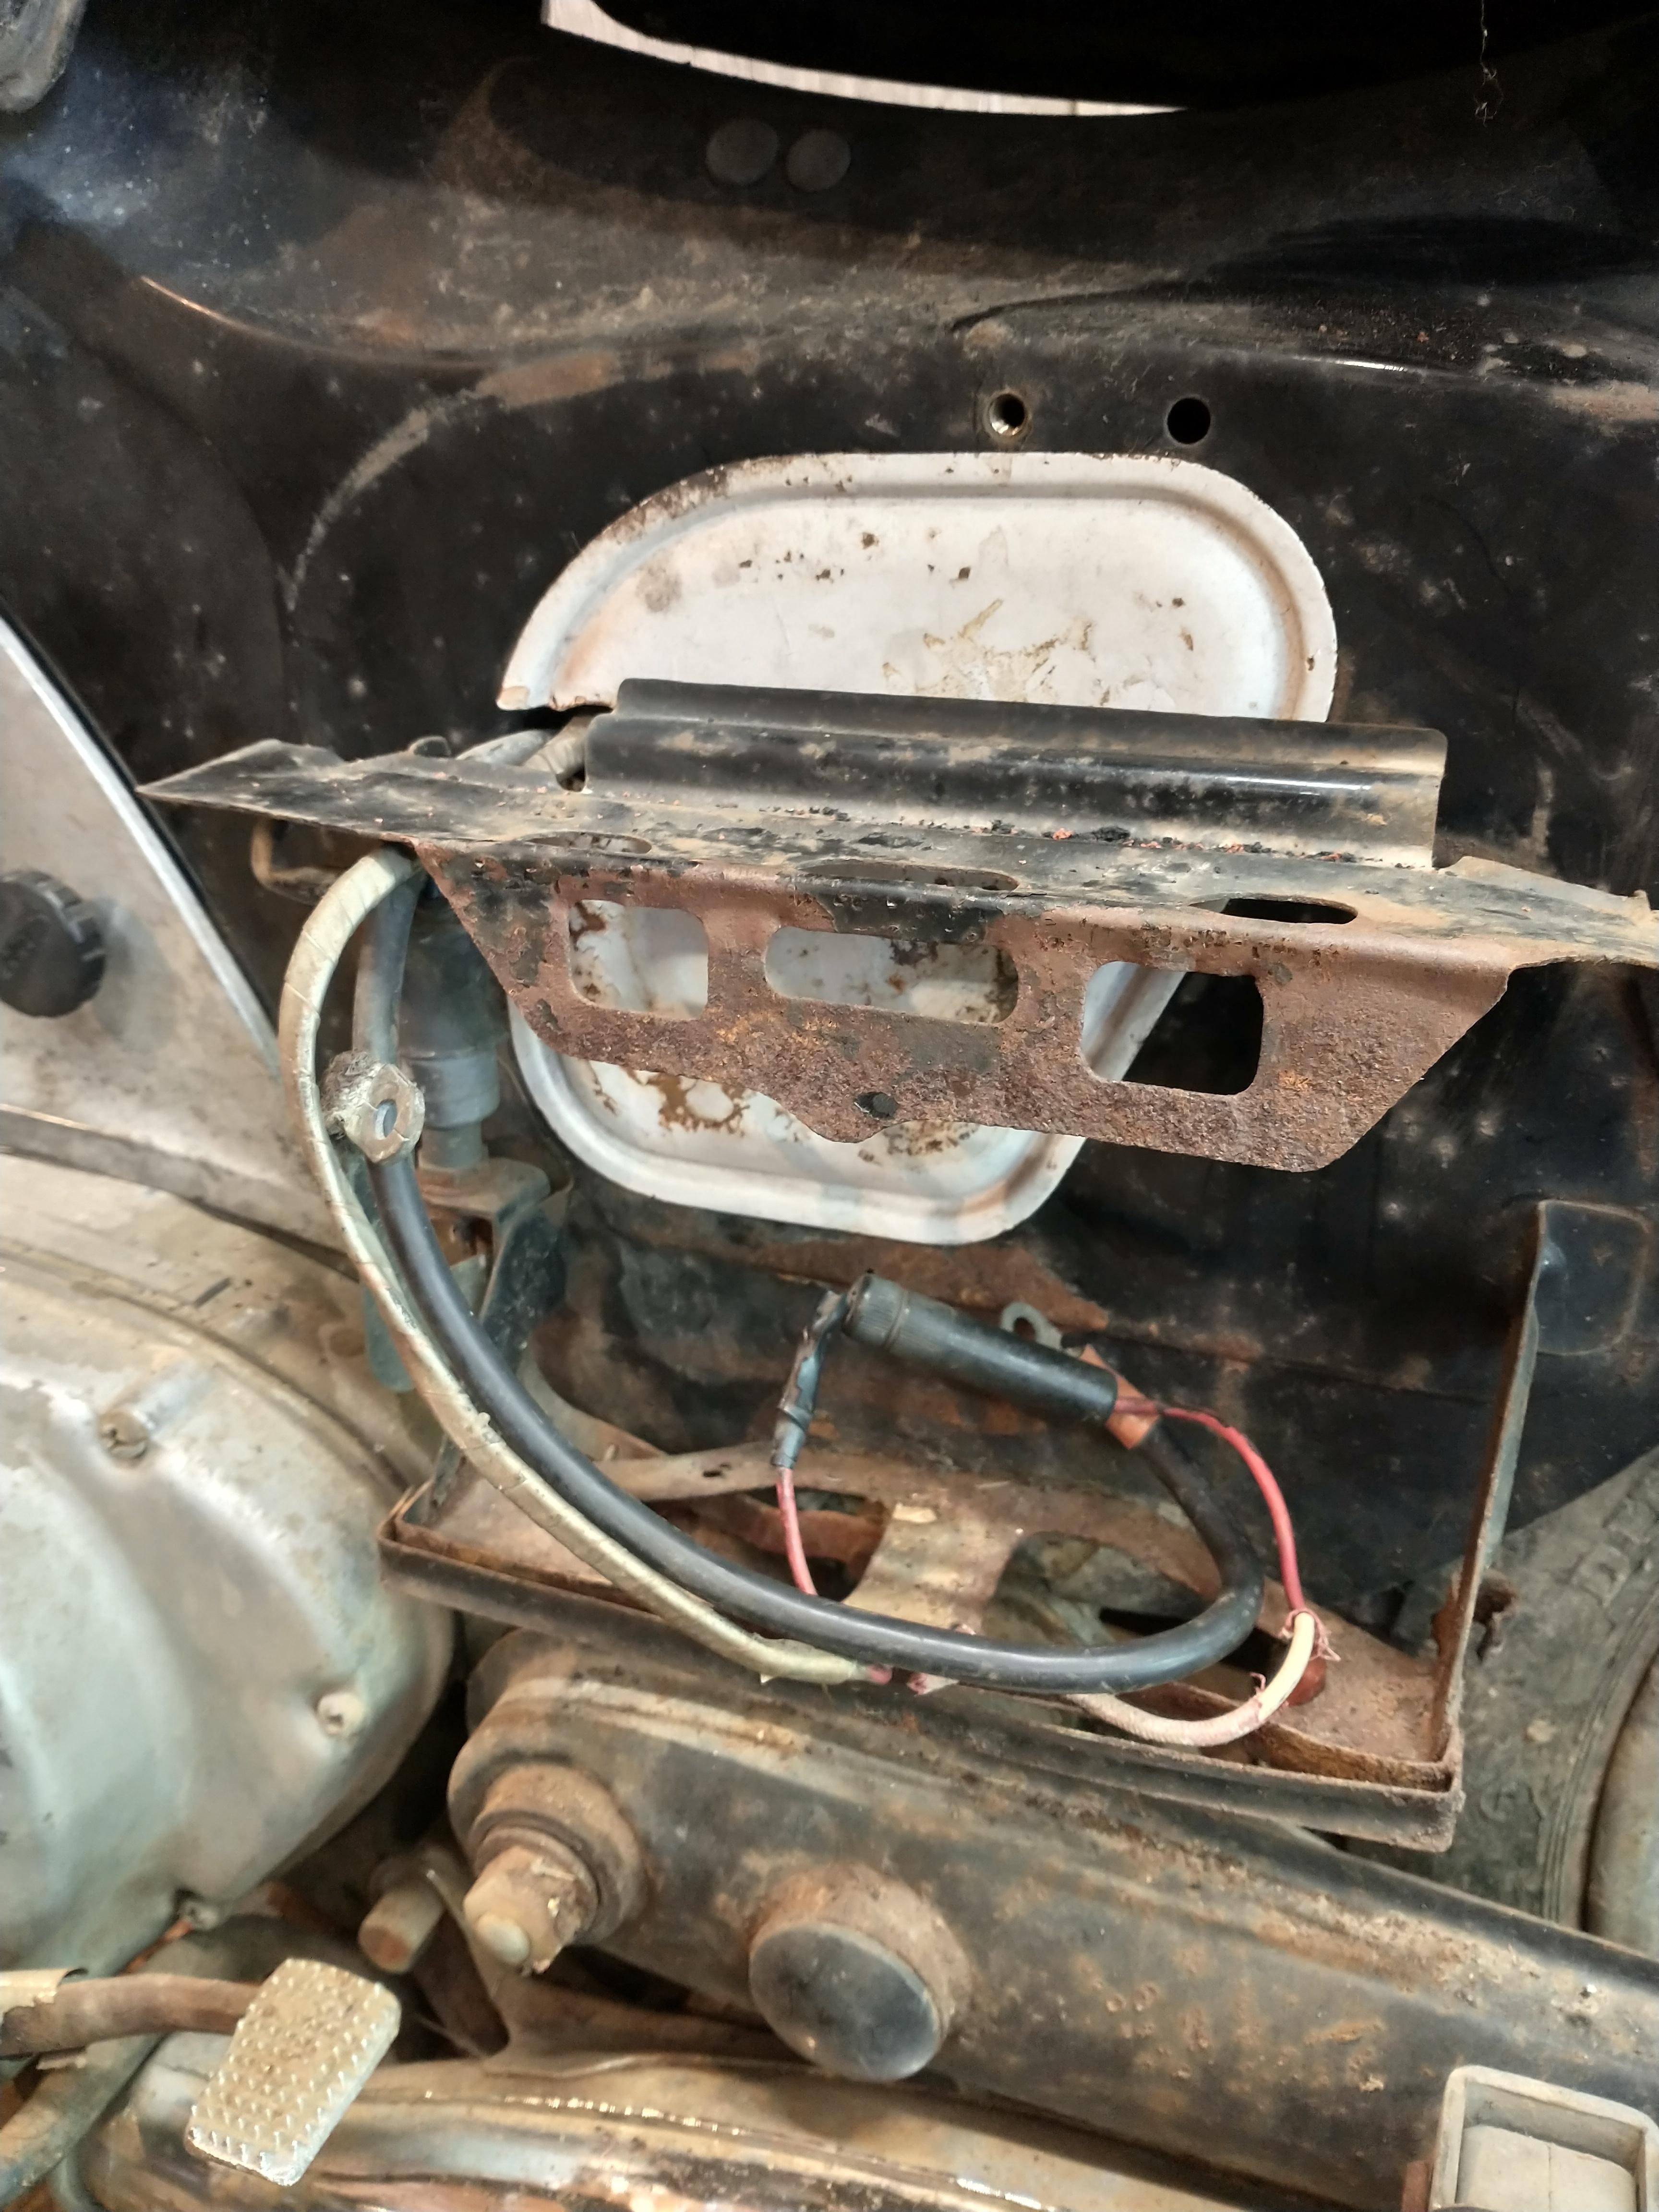
Now, I'd like to get as many stock pieces as I can, but this part was always pretty low on the list- it doesn't show up often, and when it does it's usually prohibitively expensive, especially for what it is. However, I got lucky and this one was almost a quarter of the usual going rate. So I snagged it, and I couldn't be happier.
 
You are fortunate to have the battery hold down/ tool tray. I've been watching the insane prices on those early versions and will probably end up fabricate my own.
 
It's been a SECOND since I've updated this thread. Long story short, all my time as gone in to my '76 GL1000 Goldwing. I've been rebuilding that for about a year and a half, and apart from a few minor oil leaks, that's finally locked down. While I'm not diving fully into my little Dream, the current goal is to get all the stuff that needs painted (frame, tank, chain guard, fenders) done before the snow hits, then gradually work on the rest as I get the time and the money. I've managed to spend the last couple days taking care of the "easy" stuff, and here's where she stands.

ZZqdmY3.jpg


bU1t4Bj.jpg

 
I couldn't resist a bit of a flex, even though 90% of people won't get it. I don't plan on using both sets, but I don't want to let go of anything until I know the bike is 100% complete.

4Km6aSg.jpg
 
I've kind of gotten to the point I'm comfortable remembering how to get it back together. From here on out I'm going to need documentation to be sure what I'm doing is correct. All the stuff going on down by the center stand/foot pegs/sidestand/engine mount is particularly goofy.

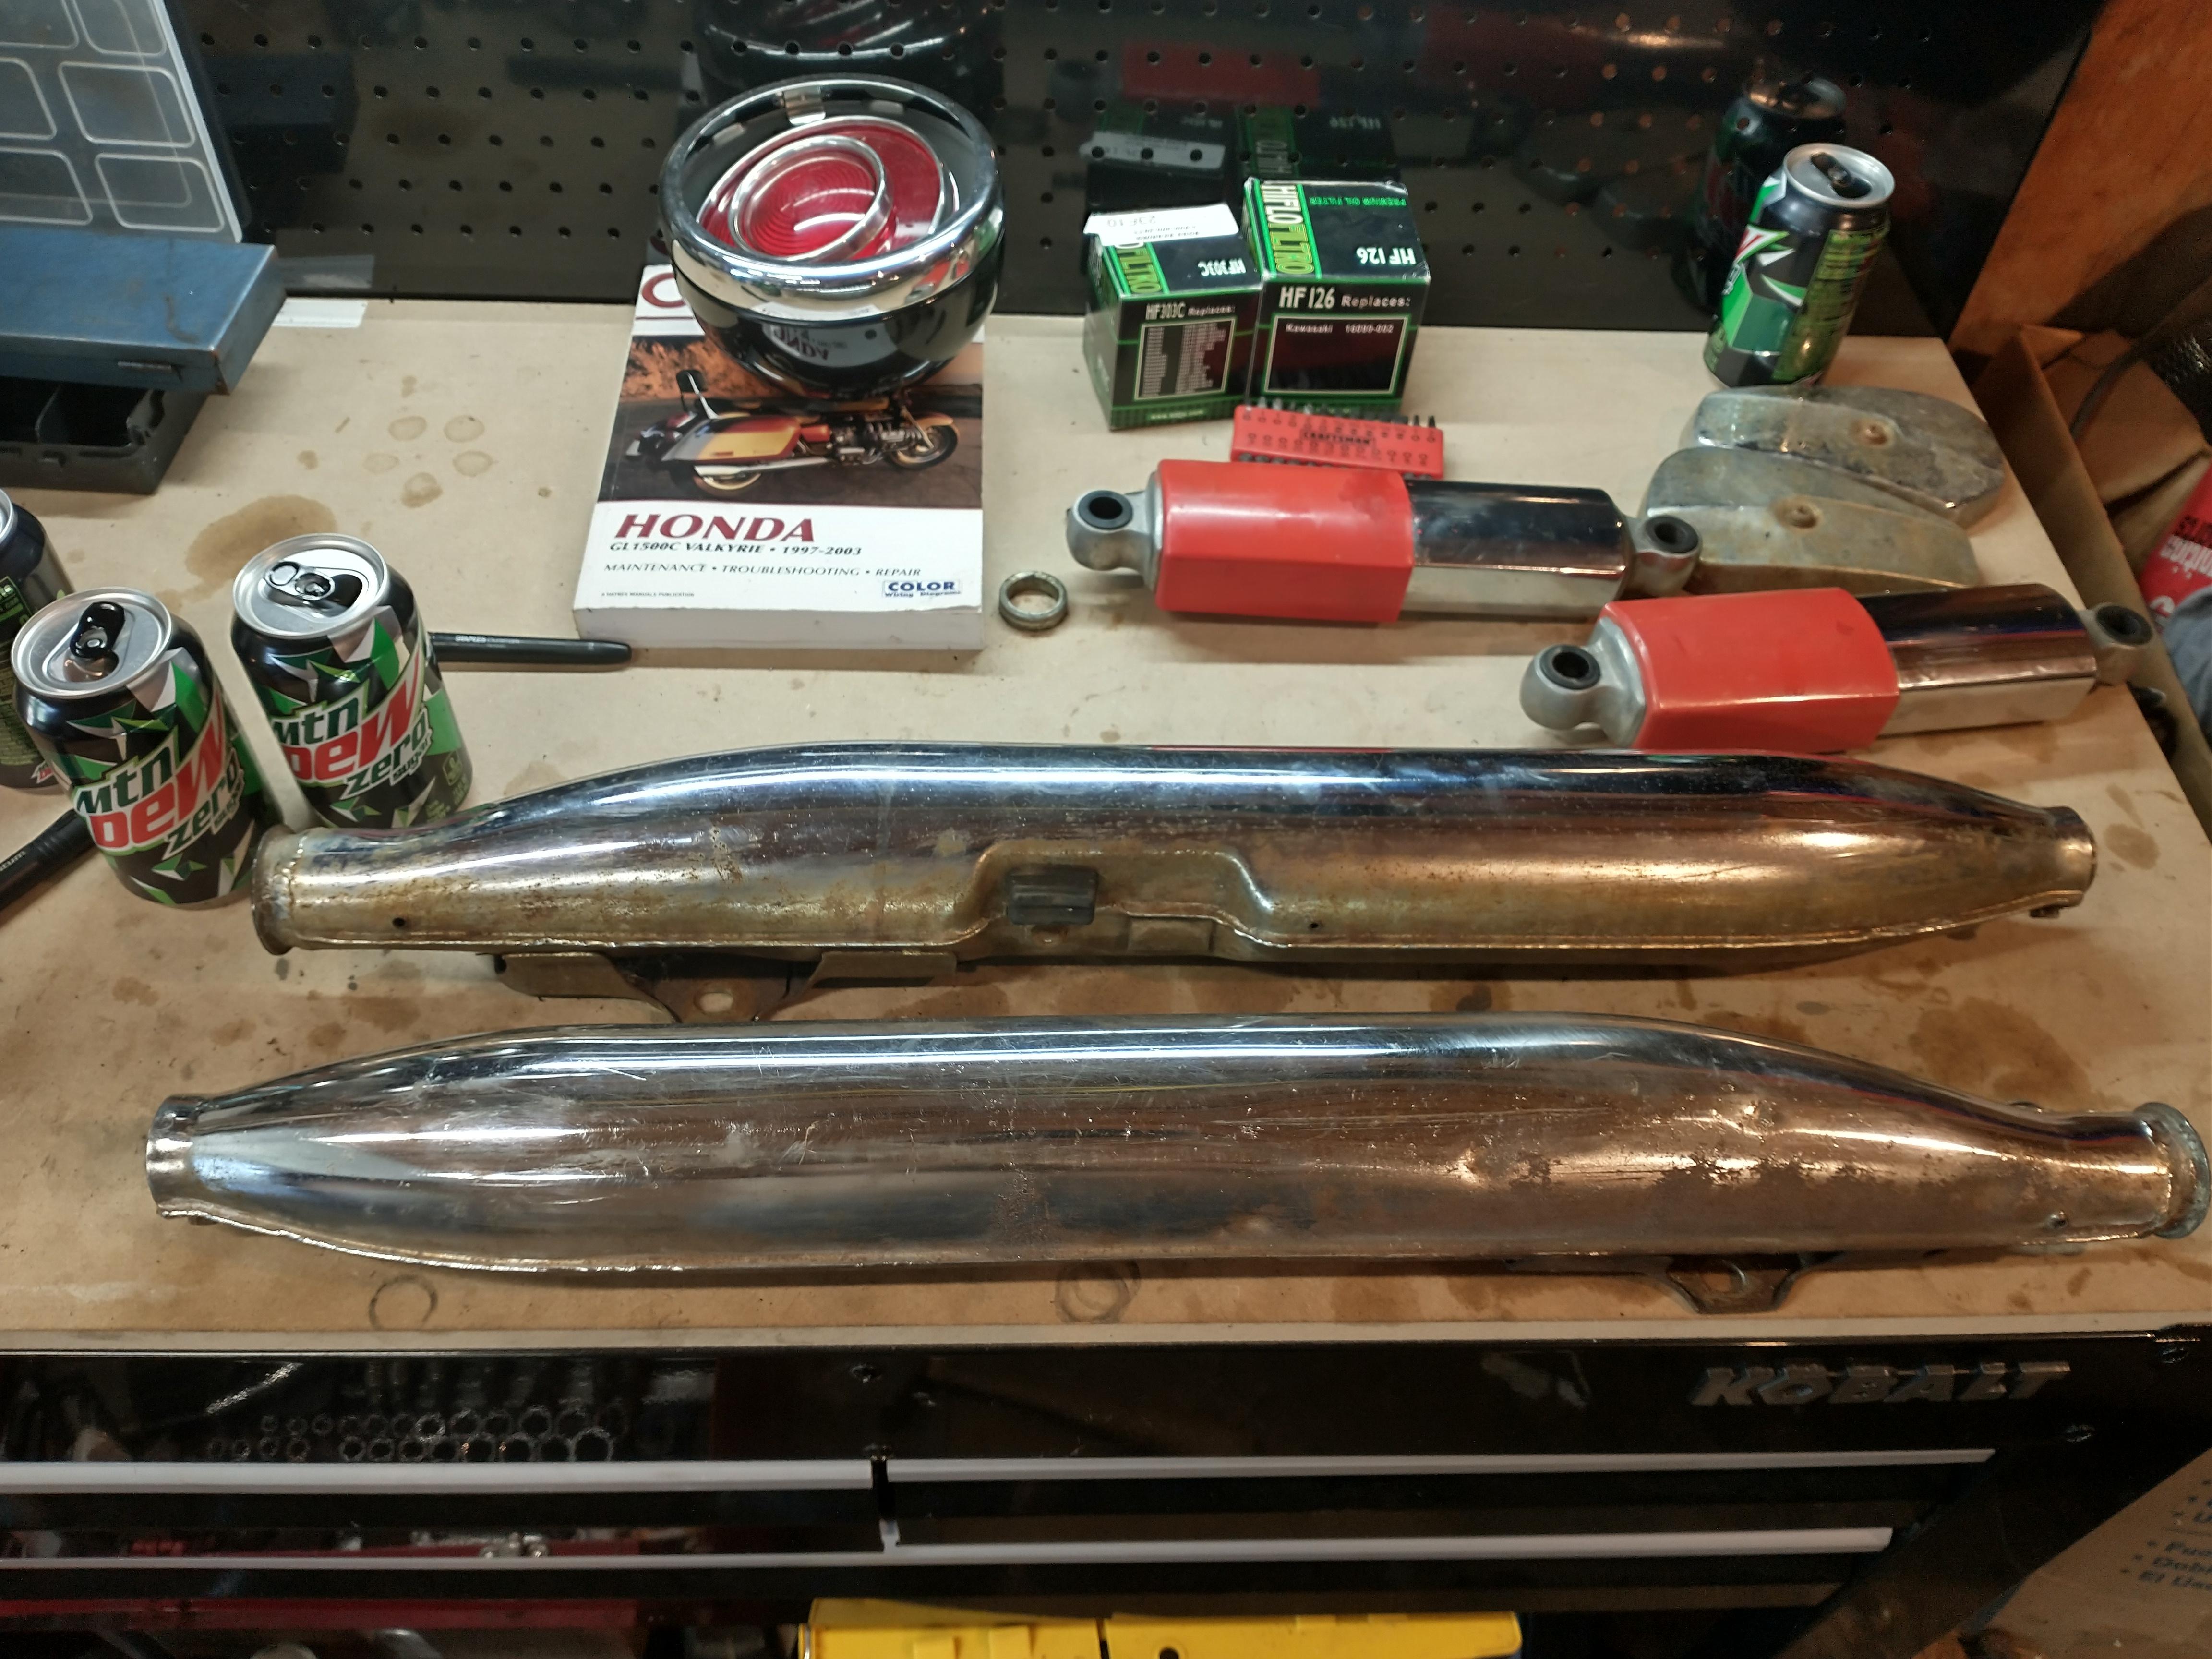
I haven't been too particular about the wiring, as I plan on replacing the wiring harness. Overall condition is pretty good- the battery tray is a bit thin in spots, and the (stock) mufflers (especially on the right side) are a bit more damaged than I anticipated, but hopefully it's low enough on the pipe it's not noticeable. I also have the one-piece header mufflers, so I've got to figure out how to separate those without damaging them too much. A speedometer rebuilt may also be in my future, but I'll burn that bridge when I get there. Honestly, big purchases are going to be wheels a headers- everything else I got.

xjpjEpT.jpg


MDmemfo.jpg


BnxjGiU.jpg
 
Quick little side-note- once I get to the point I need control cables, those won't technically be period-correct. After tearing my hair out trying to get replacement handlebars that matched the set I had, I went with a set of Benly bars. There's not quite as much pullback, and there's a bit more drop on the parts you hold, but it's as close as I could get short of re-chroming my old set. Because of the odd size, though, the chrome bends at the top of the cables don't match my bars anymore. I plan on getting Benly cables for the important bits, but I'm just assuming the length is correct. I may have to get interesting this that part.

Still, that's a future problem. We'll see.
 
I have officially run out of stuff to unbolt.

iKBRk0s.jpg


I still need to remove the fork lock, but I need a key for that. It's set to arrive tomorrow, so once that's out it's going to be checking each piece for the best way to clean and prep it for paint.

I also managed to separate my mufflers from my headers. Whatever year my CA77 is ('64 or '65), I got a bike with the one-piece headers and mufflers. While my mufflers are a 6/10 at best, my headers are shot. I was hoping it wasn't too difficult to disconnect the two parts, and as it turns out I just needed to cut a crimp ring and I was in business.

pu8n1x9.jpg


I'm at a bit of a crossroads right now. Paint is the obvious way forward. This has taken a bit of a turn recently- for the last couple months I was dead-set on a black Dream with a red seat, but after getting replacement rear shocks (for the cleaner chrome) with red tops.... I think I'm going red with a black seat. I've got two other black bikes, so to heck with it.

I'm also exploring chroming options. While I'm currently using Benly handlebars, I would LOVE to refirb the bars that came with it. I've attempted to replace them, but nothing aftermarket suits my fancy. I'll be making some phone calls in the coming days to see about prices, but I may end up chrome plating some of the smaller pieces at least. So we'll see.

Finally, I'm getting a bit of a bonus at work next week, which will mostly go to new rims and spokes. While I've got two sets of wheels, none of them are in good enough condition to go on a finished bike. At least I can check one more thing off the To-Do list.

Still, current goal is to get the major components painted before winter this year. I've got other projects taking over once the snow starts, but I'd like to get this locked down if only for rust prevention purposes. We'll see. Until then!
 
I love the original bars too. Are yours too bent to straighten?

I've sourced the fat silicone Orings that fit inside the crimps of the mufflers on Amazon before.

Your wheels look pretty good to me, from the pics. The chrome on the original DID rims was good.
 
The original bars are solid, but the exposed parts are in VERY bad shape. The chrome is flaking so bad it's fuzzy. The set on the spares bike are nearly sheared off on the one side. The Benly bars aren't bad, and I could probably live with them, but I worry about having to mix-and-match control cables down the line. And honestly, I prefer how the stock bars lay in comparison to my riding stance anyway. Now, I have NO idea what rechroming will cost, and if it's too much I'm willing to stick with the bars I've got. But I'm keeping my options open.

I've dabbled at looking at exhaust parts before, and nothing seems overly out of reach. Hopefully nothing there is an issue.

As far as wheels, between my two sets (4 rims total) only one is what I would consider "acceptable". A second is borderline, but the spokes are trash on all of them. And if I'm putting the effort into respoking wheels, it's not THAT much more to just get new everything. The wheels are kind of a "centerpiece" part of these bikes, so it's worth spending a bit more, I wager.
 
The bare frame sitting there looks a little like a giraffe with short legs :lol:
Make sure to keep feeding it :birthday: lot's more presents;those carb covers are excellent !
Your bike was nice and unmolested when you got it (y)

I will be doing what you're doing:restoring a beautiful Honda 305 Dream at some point,after I'm ready to purchase one. (y)

Lucien,what brand/type paint will you use ?
 
Chrome is expensive but worth it to preserve original parts. The important thing here is have the shop strip the old chrome off and refinish the metal before starting the process. A lot of places strip and chrome without fixing the underlying metal.
 
Chrome is expensive but worth it to preserve original parts. The important thing here is have the shop strip the old chrome off and refinish the metal before starting the process. A lot of places strip and chrome without fixing the underlying metal.

Years ago the process that was explained to me involved underlying repair of steel (unsure of method), then a dip in copper and that was then polished before the final chromium dip and polish.

Original DID rims command premium prices, if they don't have much run out, perhaps a re-chrome of them might be desirable.
 
Hopefully you can get a chrome plater who is reasonable. Mexico is apparently where a lot of guys in Canada send large car parts for chroming as it is crazy expensive in Canada, because of the environmental issues with the stuff. My friend was at the chrome plater I use recently and two guys were taking in the parking lot about the quote of $25K he had just received for doing his complete chrome on his car project.

Note to self: Don’t switch from bike restoration to a classic cars
 
I've put out a couple feelers for chrome, but I'm going forward assuming that I won't be able to afford it. I can probably get away without, but it would be really, REALLY nice to be able to re-plate a couple of the harder to find pieces.

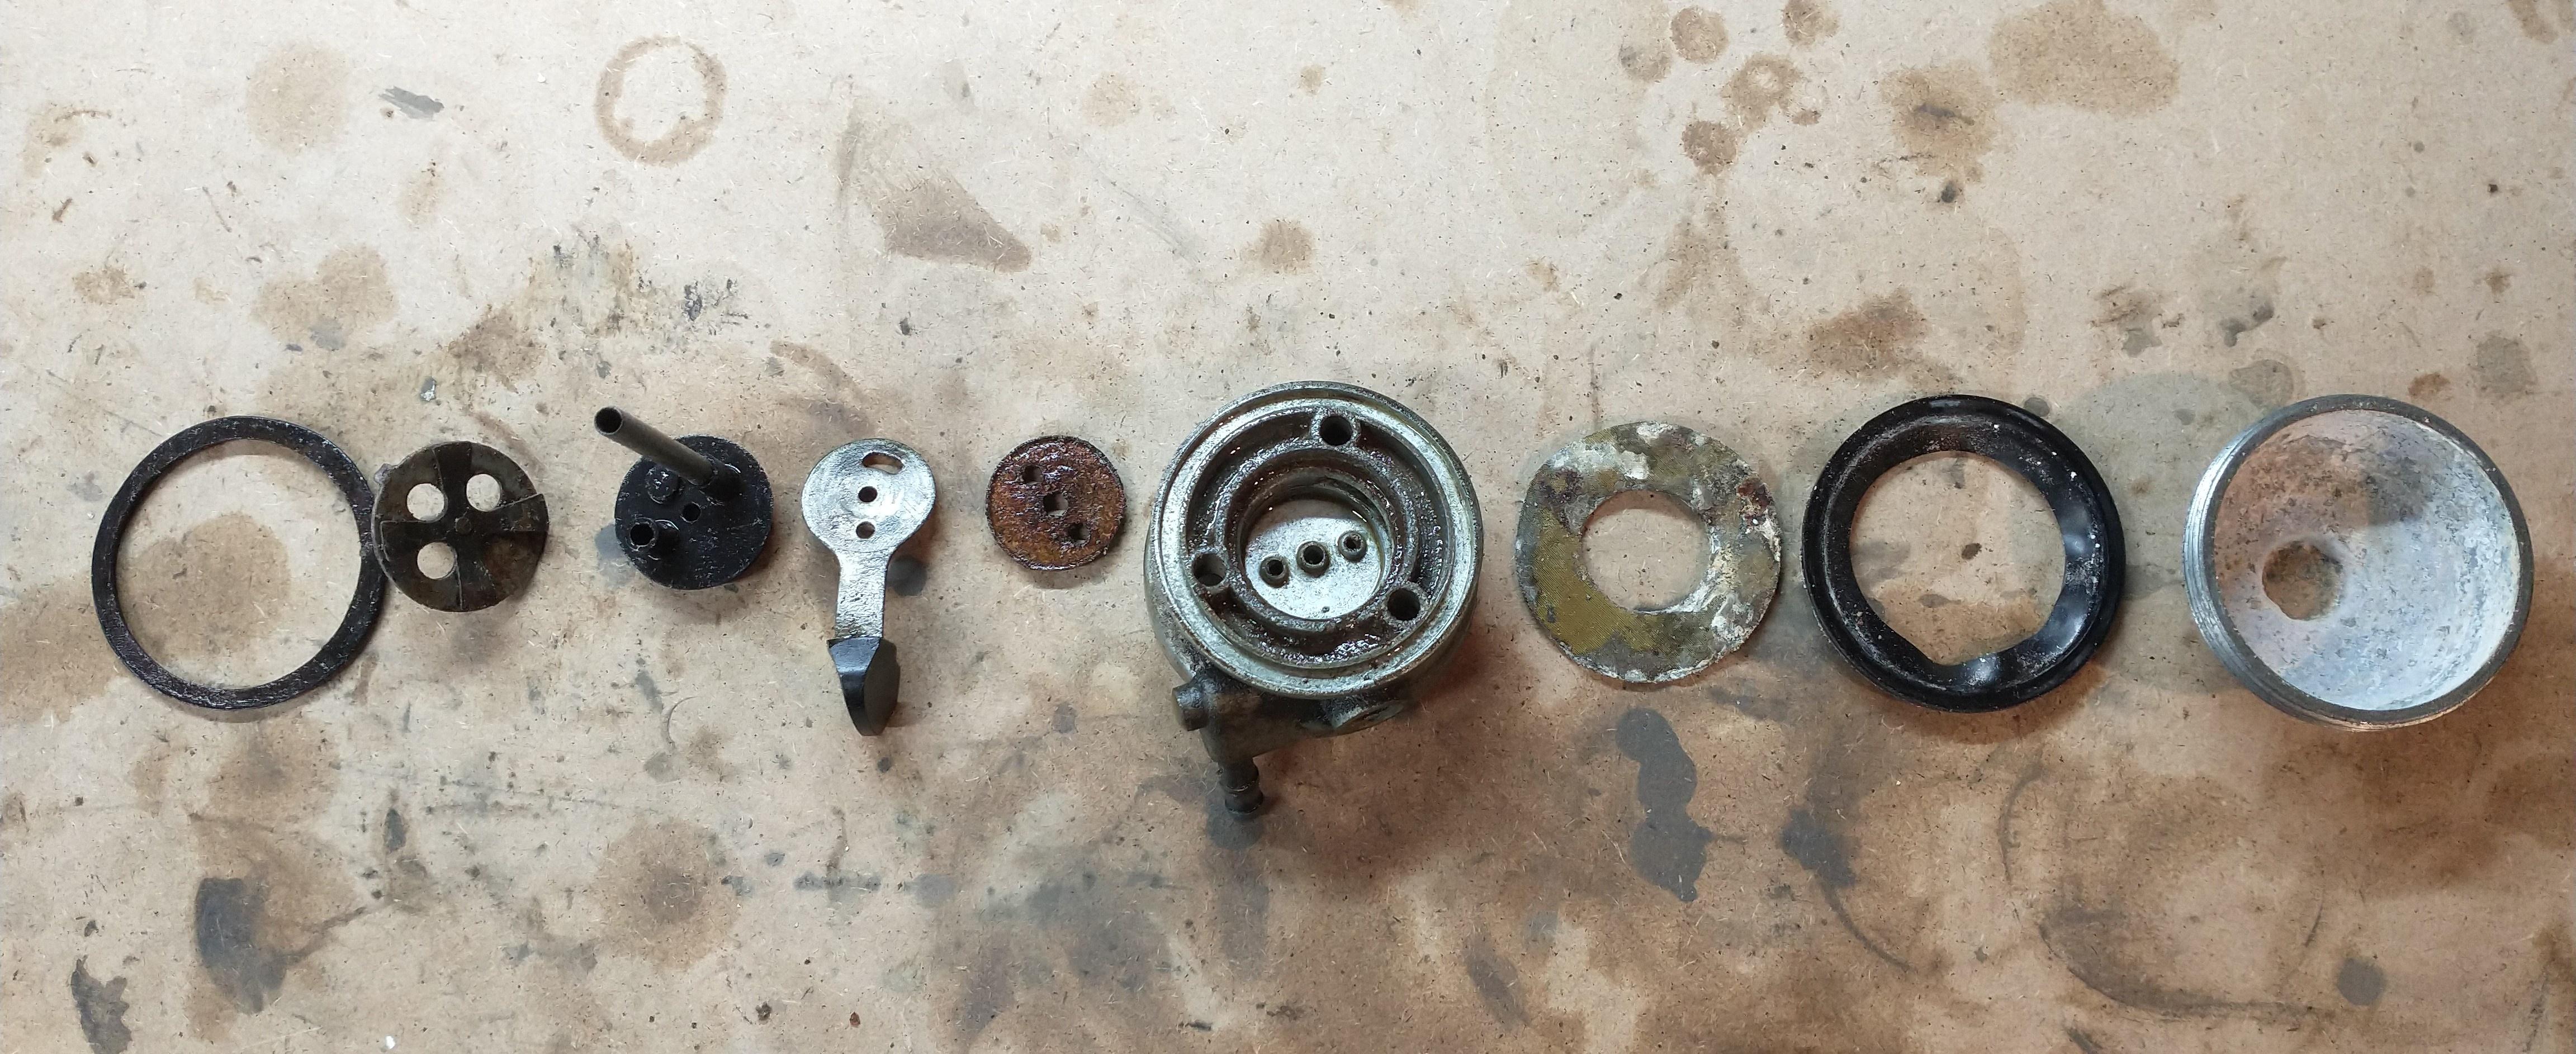
Just for fun I decided to get the petcock off, to see what I was dealing with inside. Overall? About as bad as I was expecting, but nothing I can't work with.

N430W8i.jpg


The rubber and cork parts are pretty much a write-off, but that's to be expected. Anything that needs to be replaced seems to be available OEM, and (barring that) aftermarket rebuild kits are still available. The screen is a bit disappointing, but I may be able to cut a new one out of sheet material, assuming something like that exist. I still want to clean up all the metal parts to make sure pitting isn't bad, but I don't expect it is.
 
I've put out a couple feelers for chrome, but I'm going forward assuming that I won't be able to afford it. I can probably get away without, but it would be really, REALLY nice to be able to re-plate a couple of the harder to find pieces.

Small pieces can be more reasonable and usually quicker to turn around. Most smaller items my guy charges from $75 to $150 depending on the size. Now he also does the metal work and refinishing of the part, not just chrome plating in those prices.

So it is worth checking it out. The CL77 rims were $400 each for the refinishing and chroming again, yet they were not in good shape and needed lots of prep work before the plating was done.
 
I've kind of got a list in descending order of importance of what I'd like re-chromed. Some of the stuff lower on the list I have a better chance of getting replacements for, so if plating costs get too high I can still get this build done for reasonable. Roughly:

-Handlebars. Spent too much on replacements that don't work.

-Hard to find hardware. Chain adjusters, fork bolts, etc.

-Trim panels. Mine are pretty ratty, but cheap replacements show up pretty regularly.

-Headlight rim, lower front axle/shock support, other oddball stuff. The chrome honestly isn't bad enough to get redone.

The current plan with the rims is to check out the new sets (with spokes) being sold out of Thailand. Unless I find some horror stories about them, they're quite reasonable for what they are. Polish the centers, re-lace the wheels, get tires, done.
 
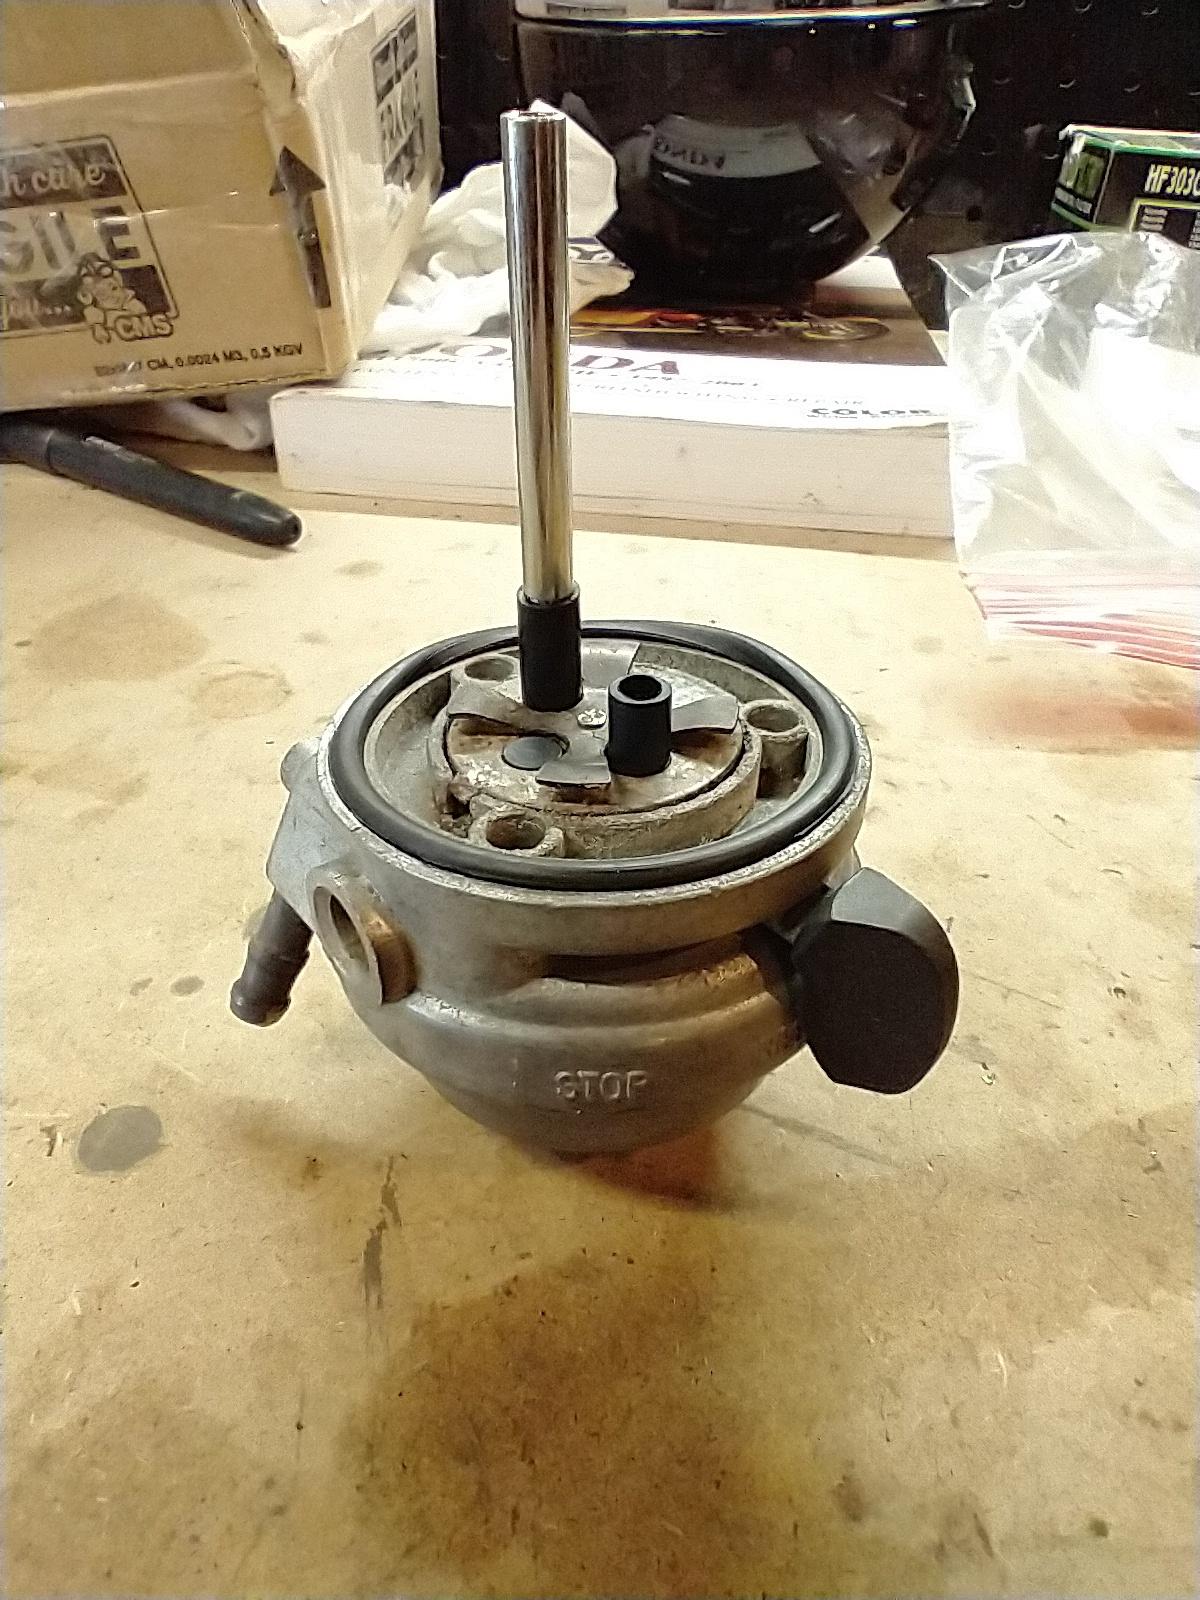
Rebuild parts for the petcock arrived today, so I cleaned up the body and put as much together as I could.

H7WyTV6.jpg


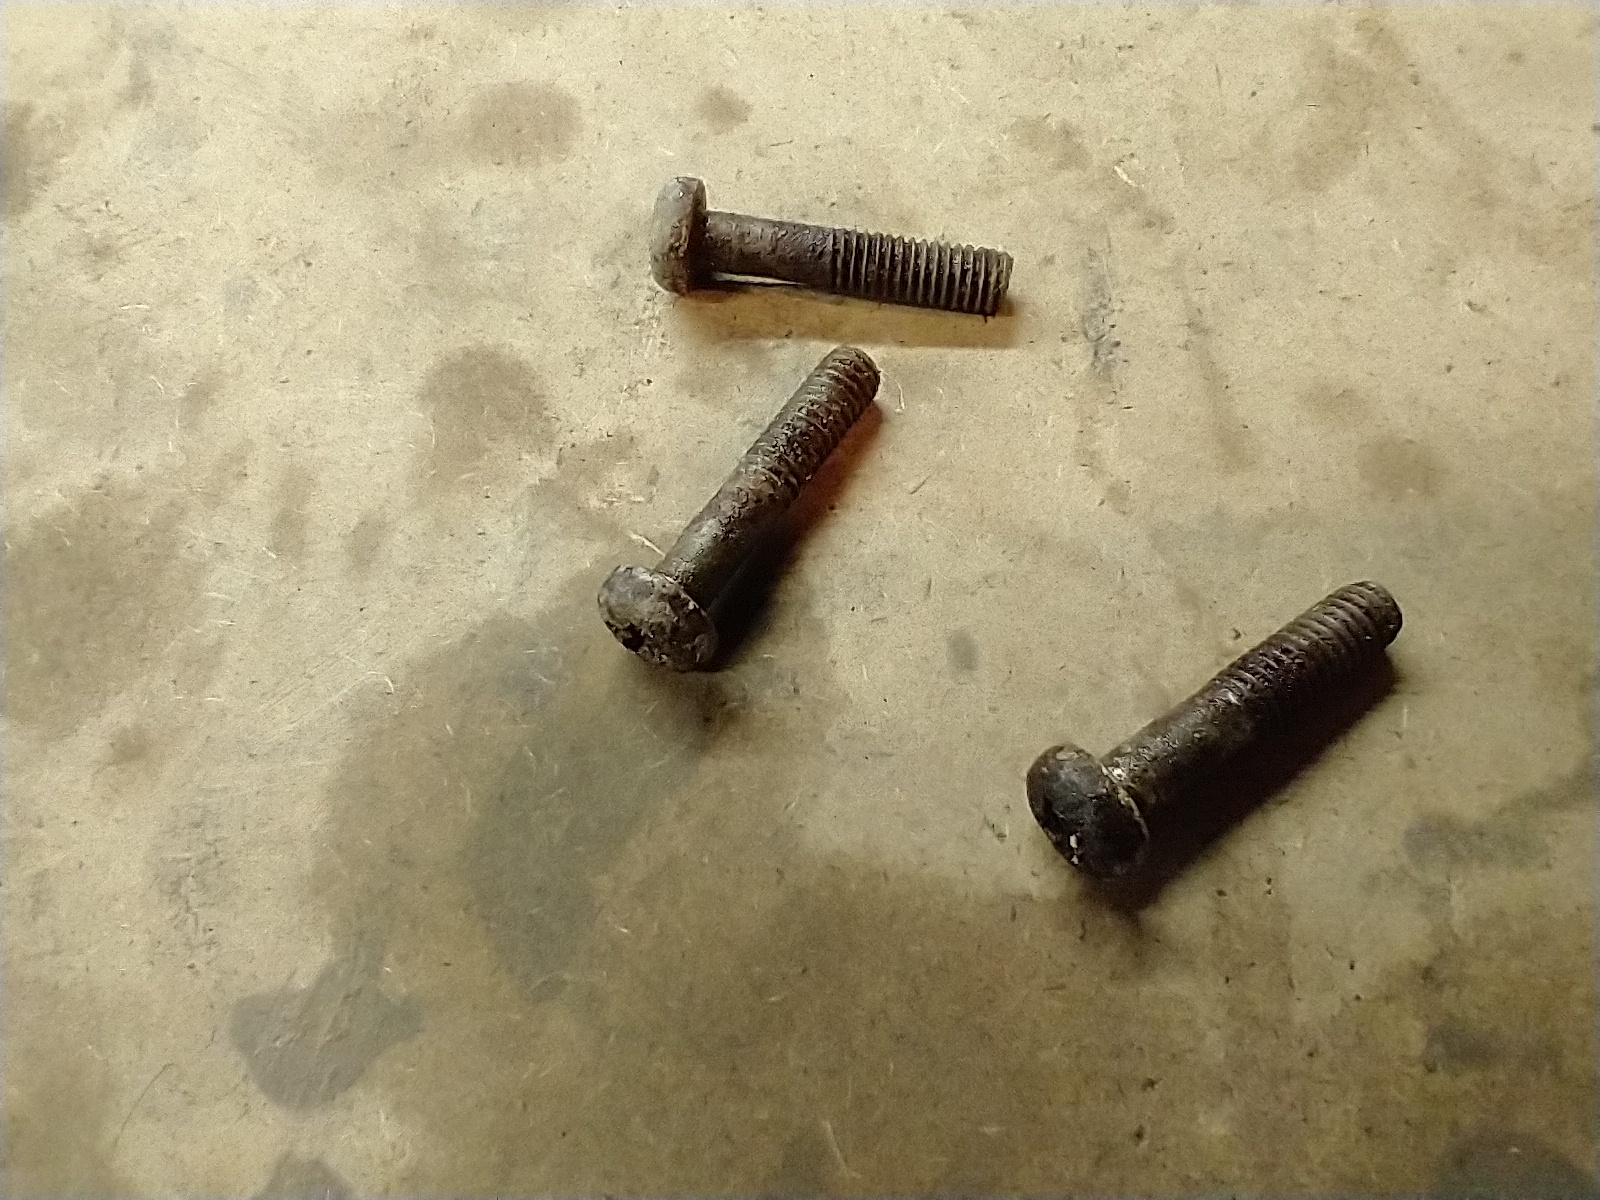
I'm still waiting on a replacement filter screen. Initial plan was to cut something out of filter screen material, but I was able to find an NOS replacement for about the same price. Screws I'll have to rehabilitate by stripping and re-plating them (something I've never done before, but should be fun), but once that's done and the tank is painted, that part will be good to go.
 
It can be a slow process on the older bikes when locating parts and waiting for them to arrive are both challenging.
 
Rebuild parts for the petcock arrived today, so I cleaned up the body and put as much together as I could.


I'm still waiting on a replacement filter screen. Initial plan was to cut something out of filter screen material, but I was able to find an NOS replacement for about the same price. Screws I'll have to rehabilitate by stripping and re-plating them (something I've never done before, but should be fun), but once that's done and the tank is painted, that part will be good to go.


I've done 4 of these now. Screws need sealing washers, aluminum or fiber. The cork (or rubber) packing under the lever can cause the upper packing to leak, if too thick. I thinned down the cork with a belt sander.
 
Thanks for the heads up. I've got the washers for the screws, I just need to clean the screws themselves up first. I did notice the cork packing under the lever was a bit thicker than what I pulled out, so I'll give it a look-see.
 
Thanks for the heads up. I've got the washers for the screws, I just need to clean the screws themselves up first. I did notice the cork packing under the lever was a bit thicker than what I pulled out, so I'll give it a look-see.

If it leaks at the lever then the upper packing can't seat deep enough, so only way, I've found, is to reduce thickness of the cork.
 
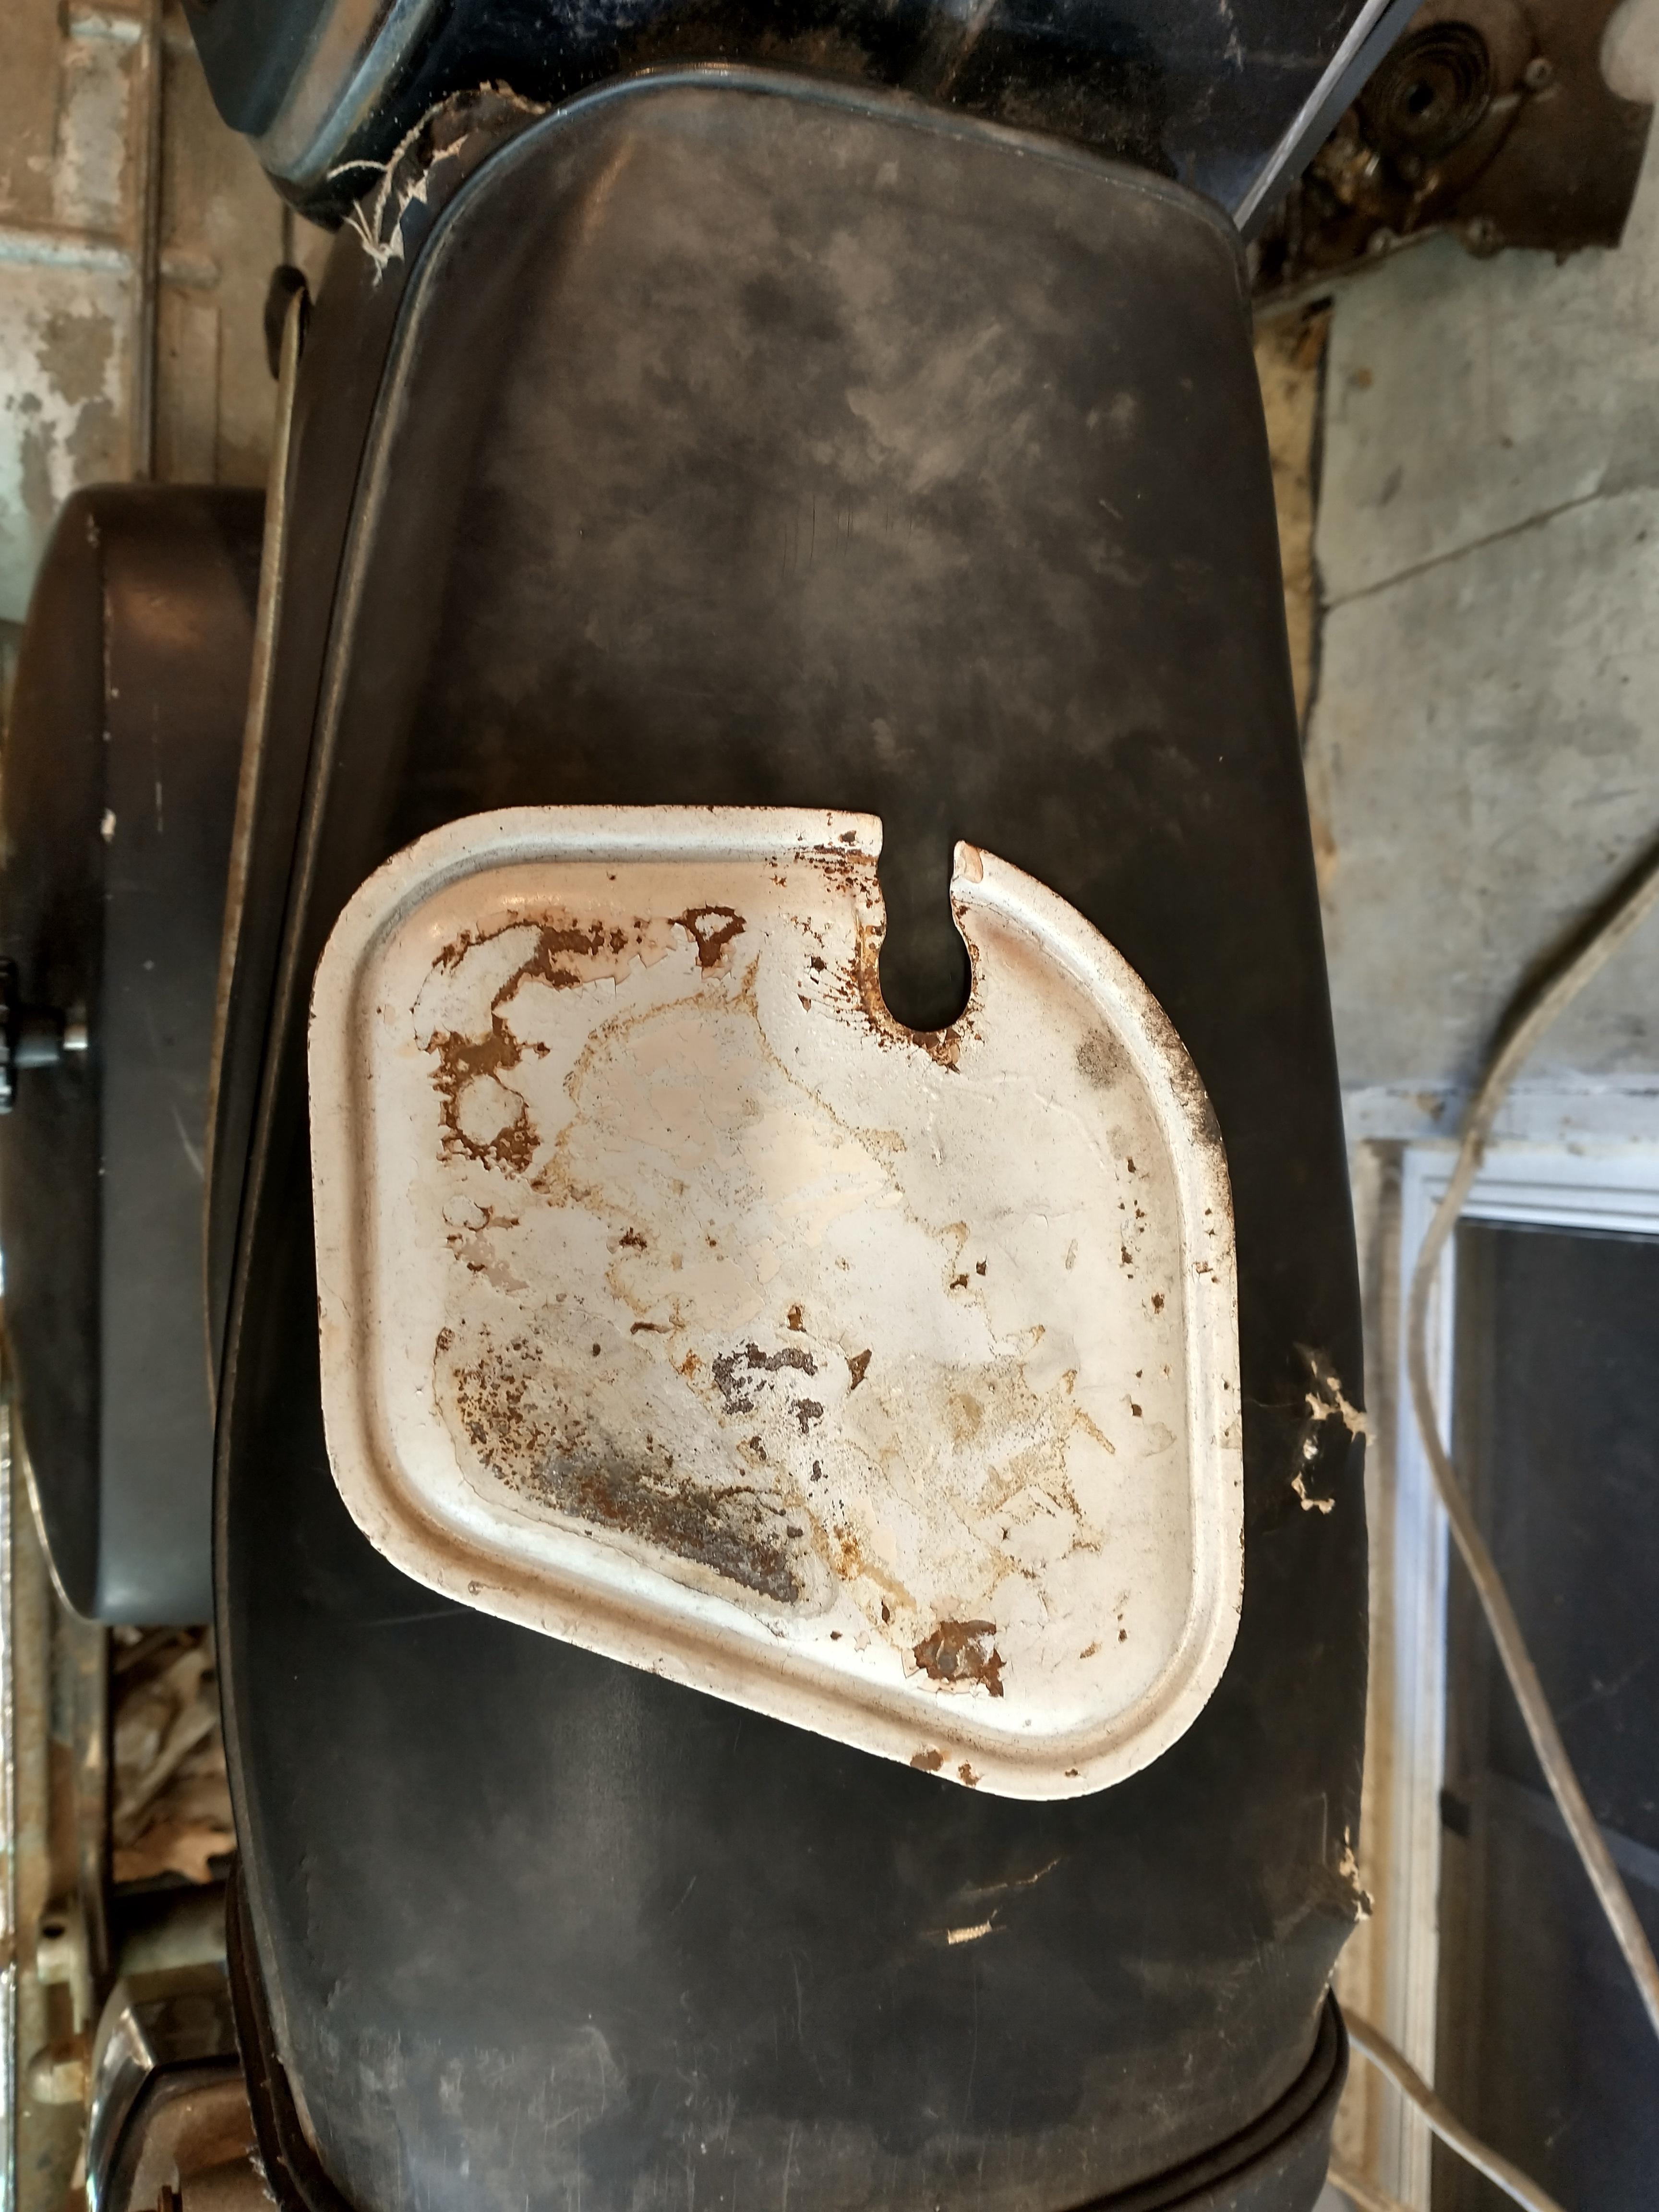
Had me a bit of an "awe, beans" moment today. I'm starting to sand down old paint and rust to hopefully at least get some primer on everything before winter, and decided to take a look at my rather rough left sidecover. It had obviously been painted several times, so I started sanding down the roughest spots. Well, it didn't take too long until I saw the telltale pink of Bondo, and, well...

hh7xXFX.jpg


Now, I'm not TOO surprised. If you check the bottom edge of the cover (top of the picture), the sidecover as a whole is in pretty rough shape. But I can run more body filler on that, no worries. The problem is that the Bondo on the hole had no kind of backing to it, so it just kinda... fell out.

Thankfully the covers are metal so I have options. I'll probably just have a patch welded on the backside and re-do some body filler, unless of course they can re-weld it flush. Replacing the cover isn't an option- I have the early style, which are significantly harder to find than the later. I think eBay has one right now in nearly the same shape for like $300. Still, an expense I didn't really want, but nothing I can't come back from.
 
Well, at least it wasn't a bullet hole. VHT member 12ozPBR has a CB450 with one in the sidecover, fortunately for him the emblem covers it. Makes you wonder what that story is.
 
Was considering getting my cover welded, but I caved and just found a replacement. It was close enough for what a patch job would cost that I let my OCD allow it.

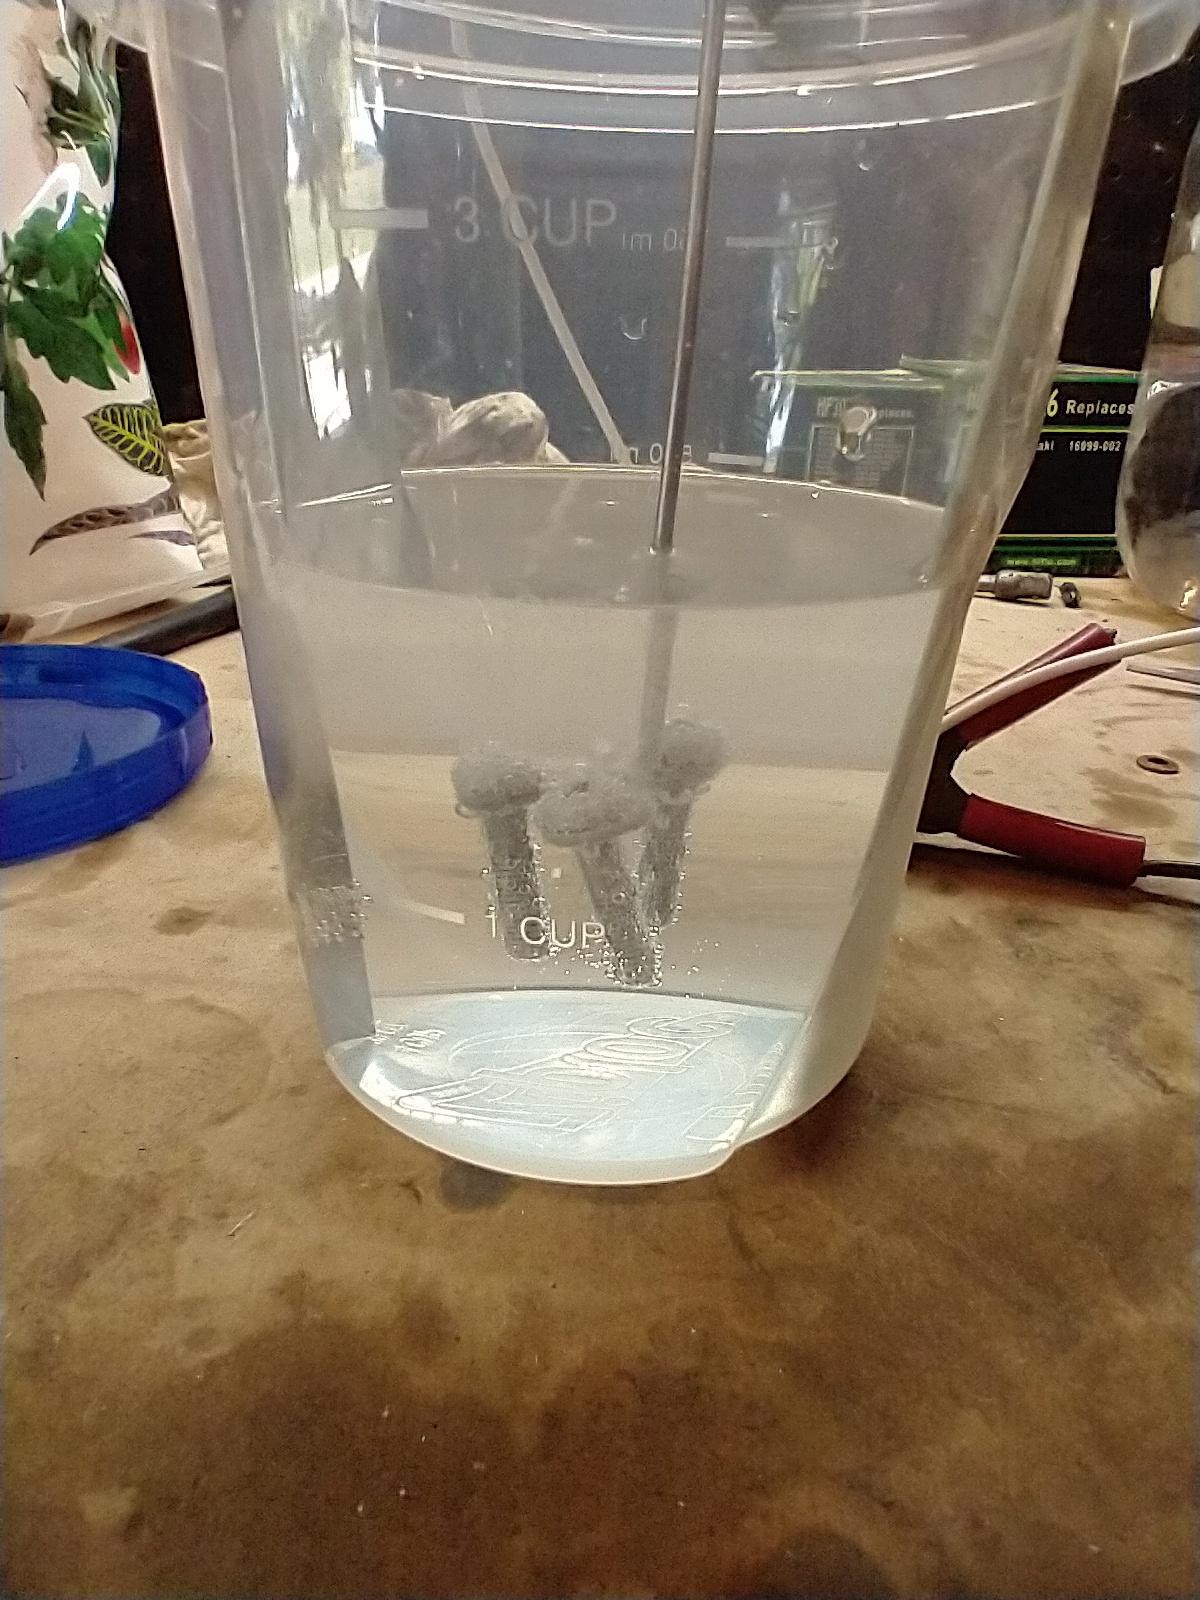
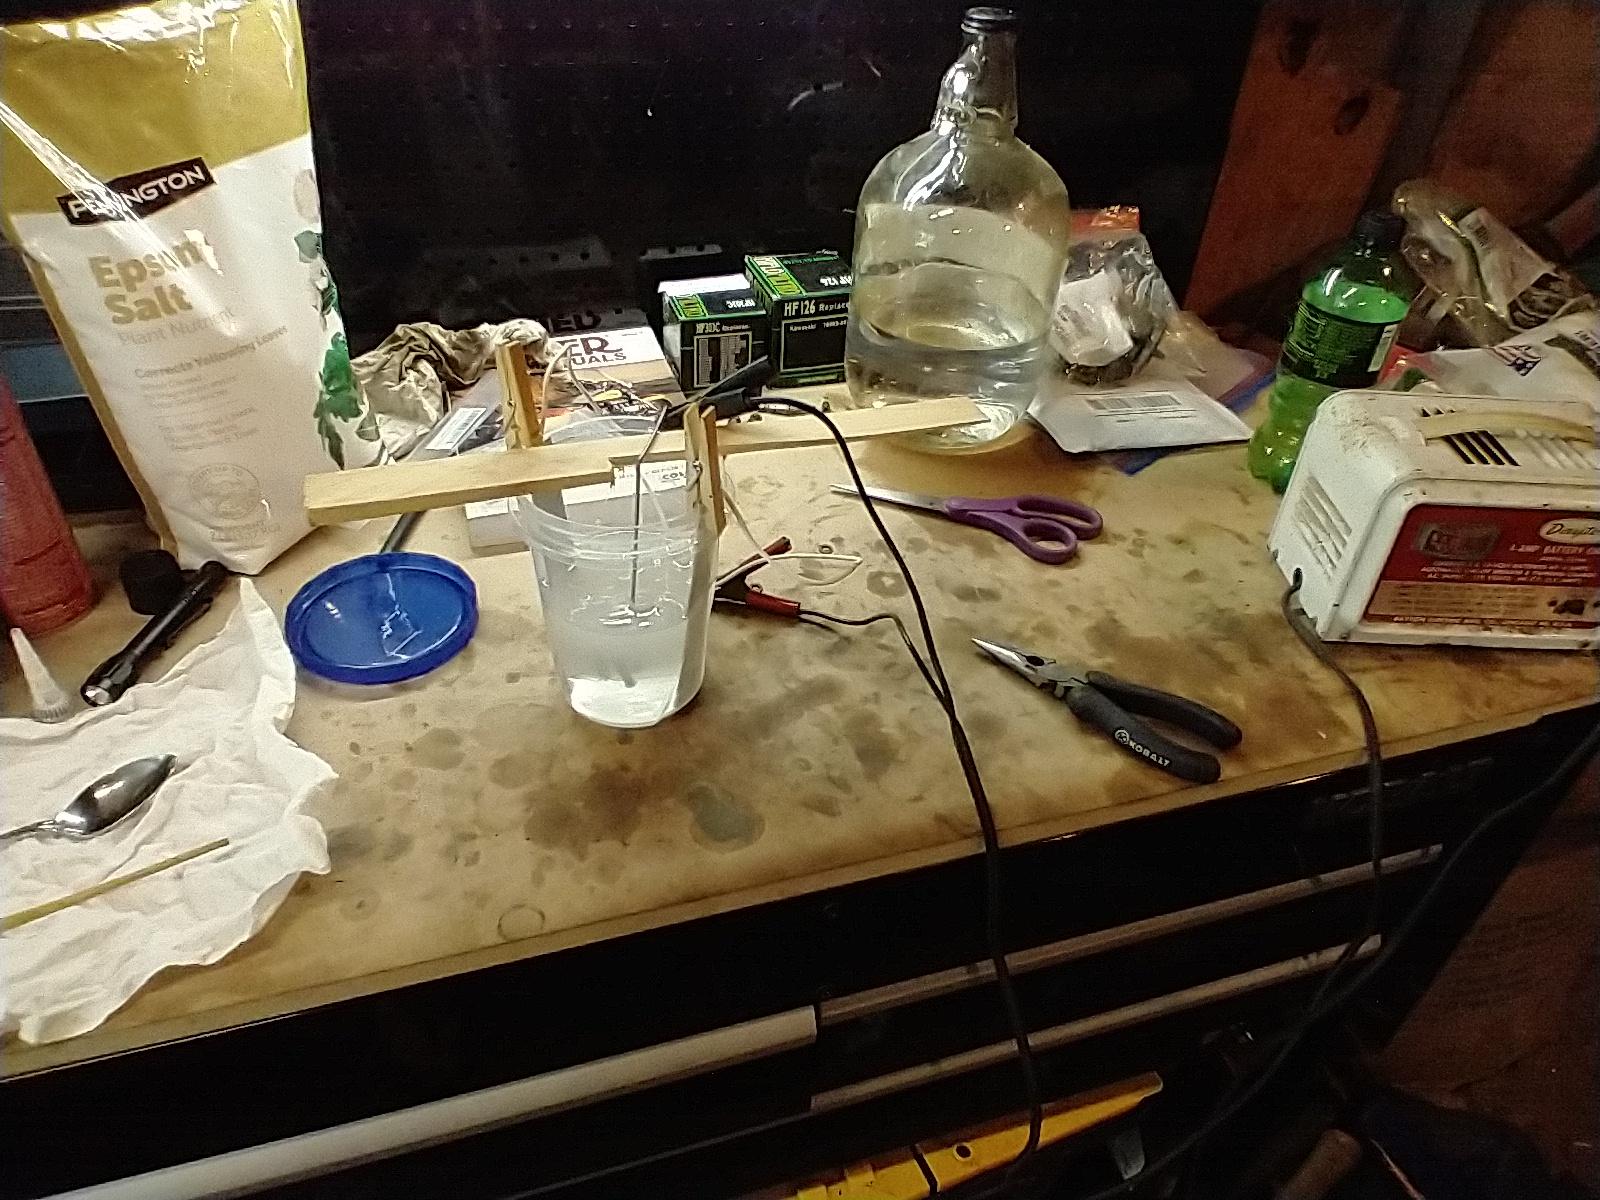
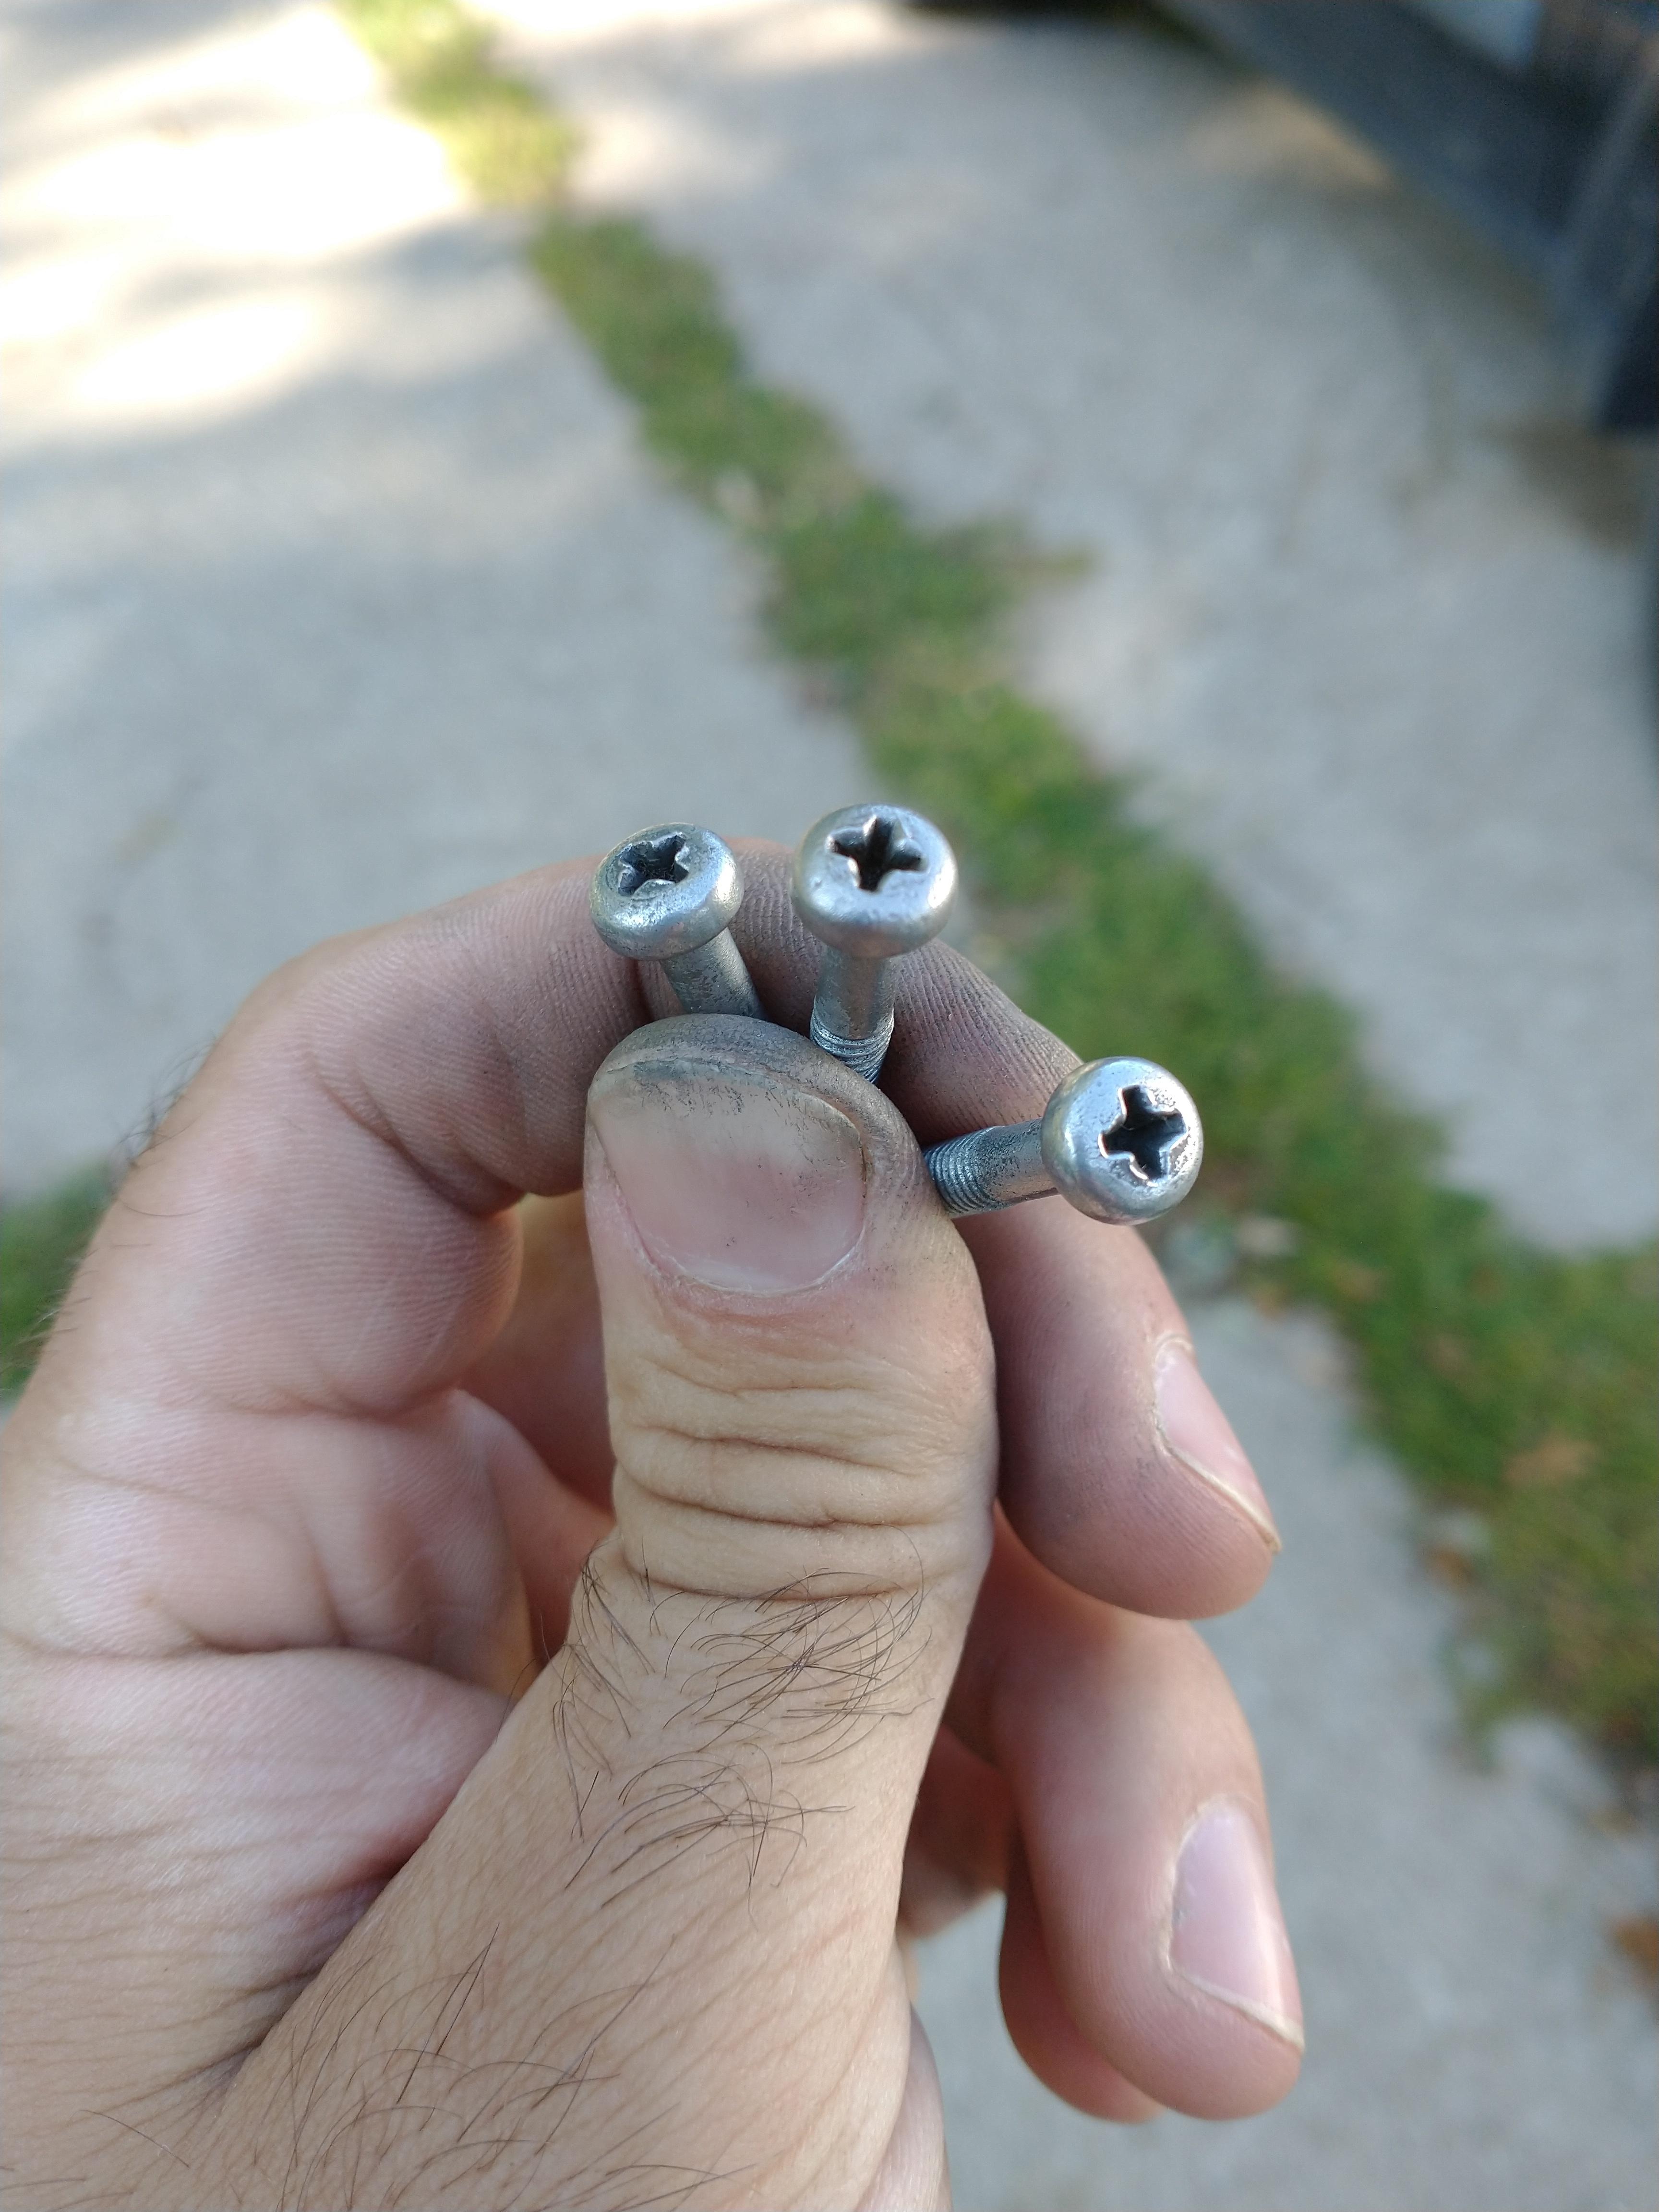
In other news, I decided to do a bit of science after work today. With so much impossible to find hardware on this bike, I'm going to have to re-use a lot of it. I figured why not try to save them? So, I grabbed a smattering of salts and chemicals and tried my hand at a bit of DIY zinc plating (with some nickle thrown on for flavor).

21eZZzA.jpg


frhtaGI.jpg


TbaG9e4.jpg


8vj8L70.jpg


Results? It's... tough to say, honestly. I took silver parts and put a silver coating on them, so the amount that got laid down was hard to determine. It bubbled a lot, the zinc plates are pretty pitted up, and everything seemingly did what it was supposed to. The nickle didn't change much, so I probably don't have the correct electrolyte for that (acid v alkaline), but it's not that important.

I'm hoping it worked, because if it did I've got plenty of other parts that could use it.
 
So long time, no update. This bike is definitely a back-burner project, but I was able to make decent headway on a couple items.

-First, both hubs got polished and the wheels have been re-laced. I used the replacement rims from Thailand, and I found out too late that the spoke hole angle is wrong, so after futzing and drilling, the front rim got re-laced three times. Still, done is done.

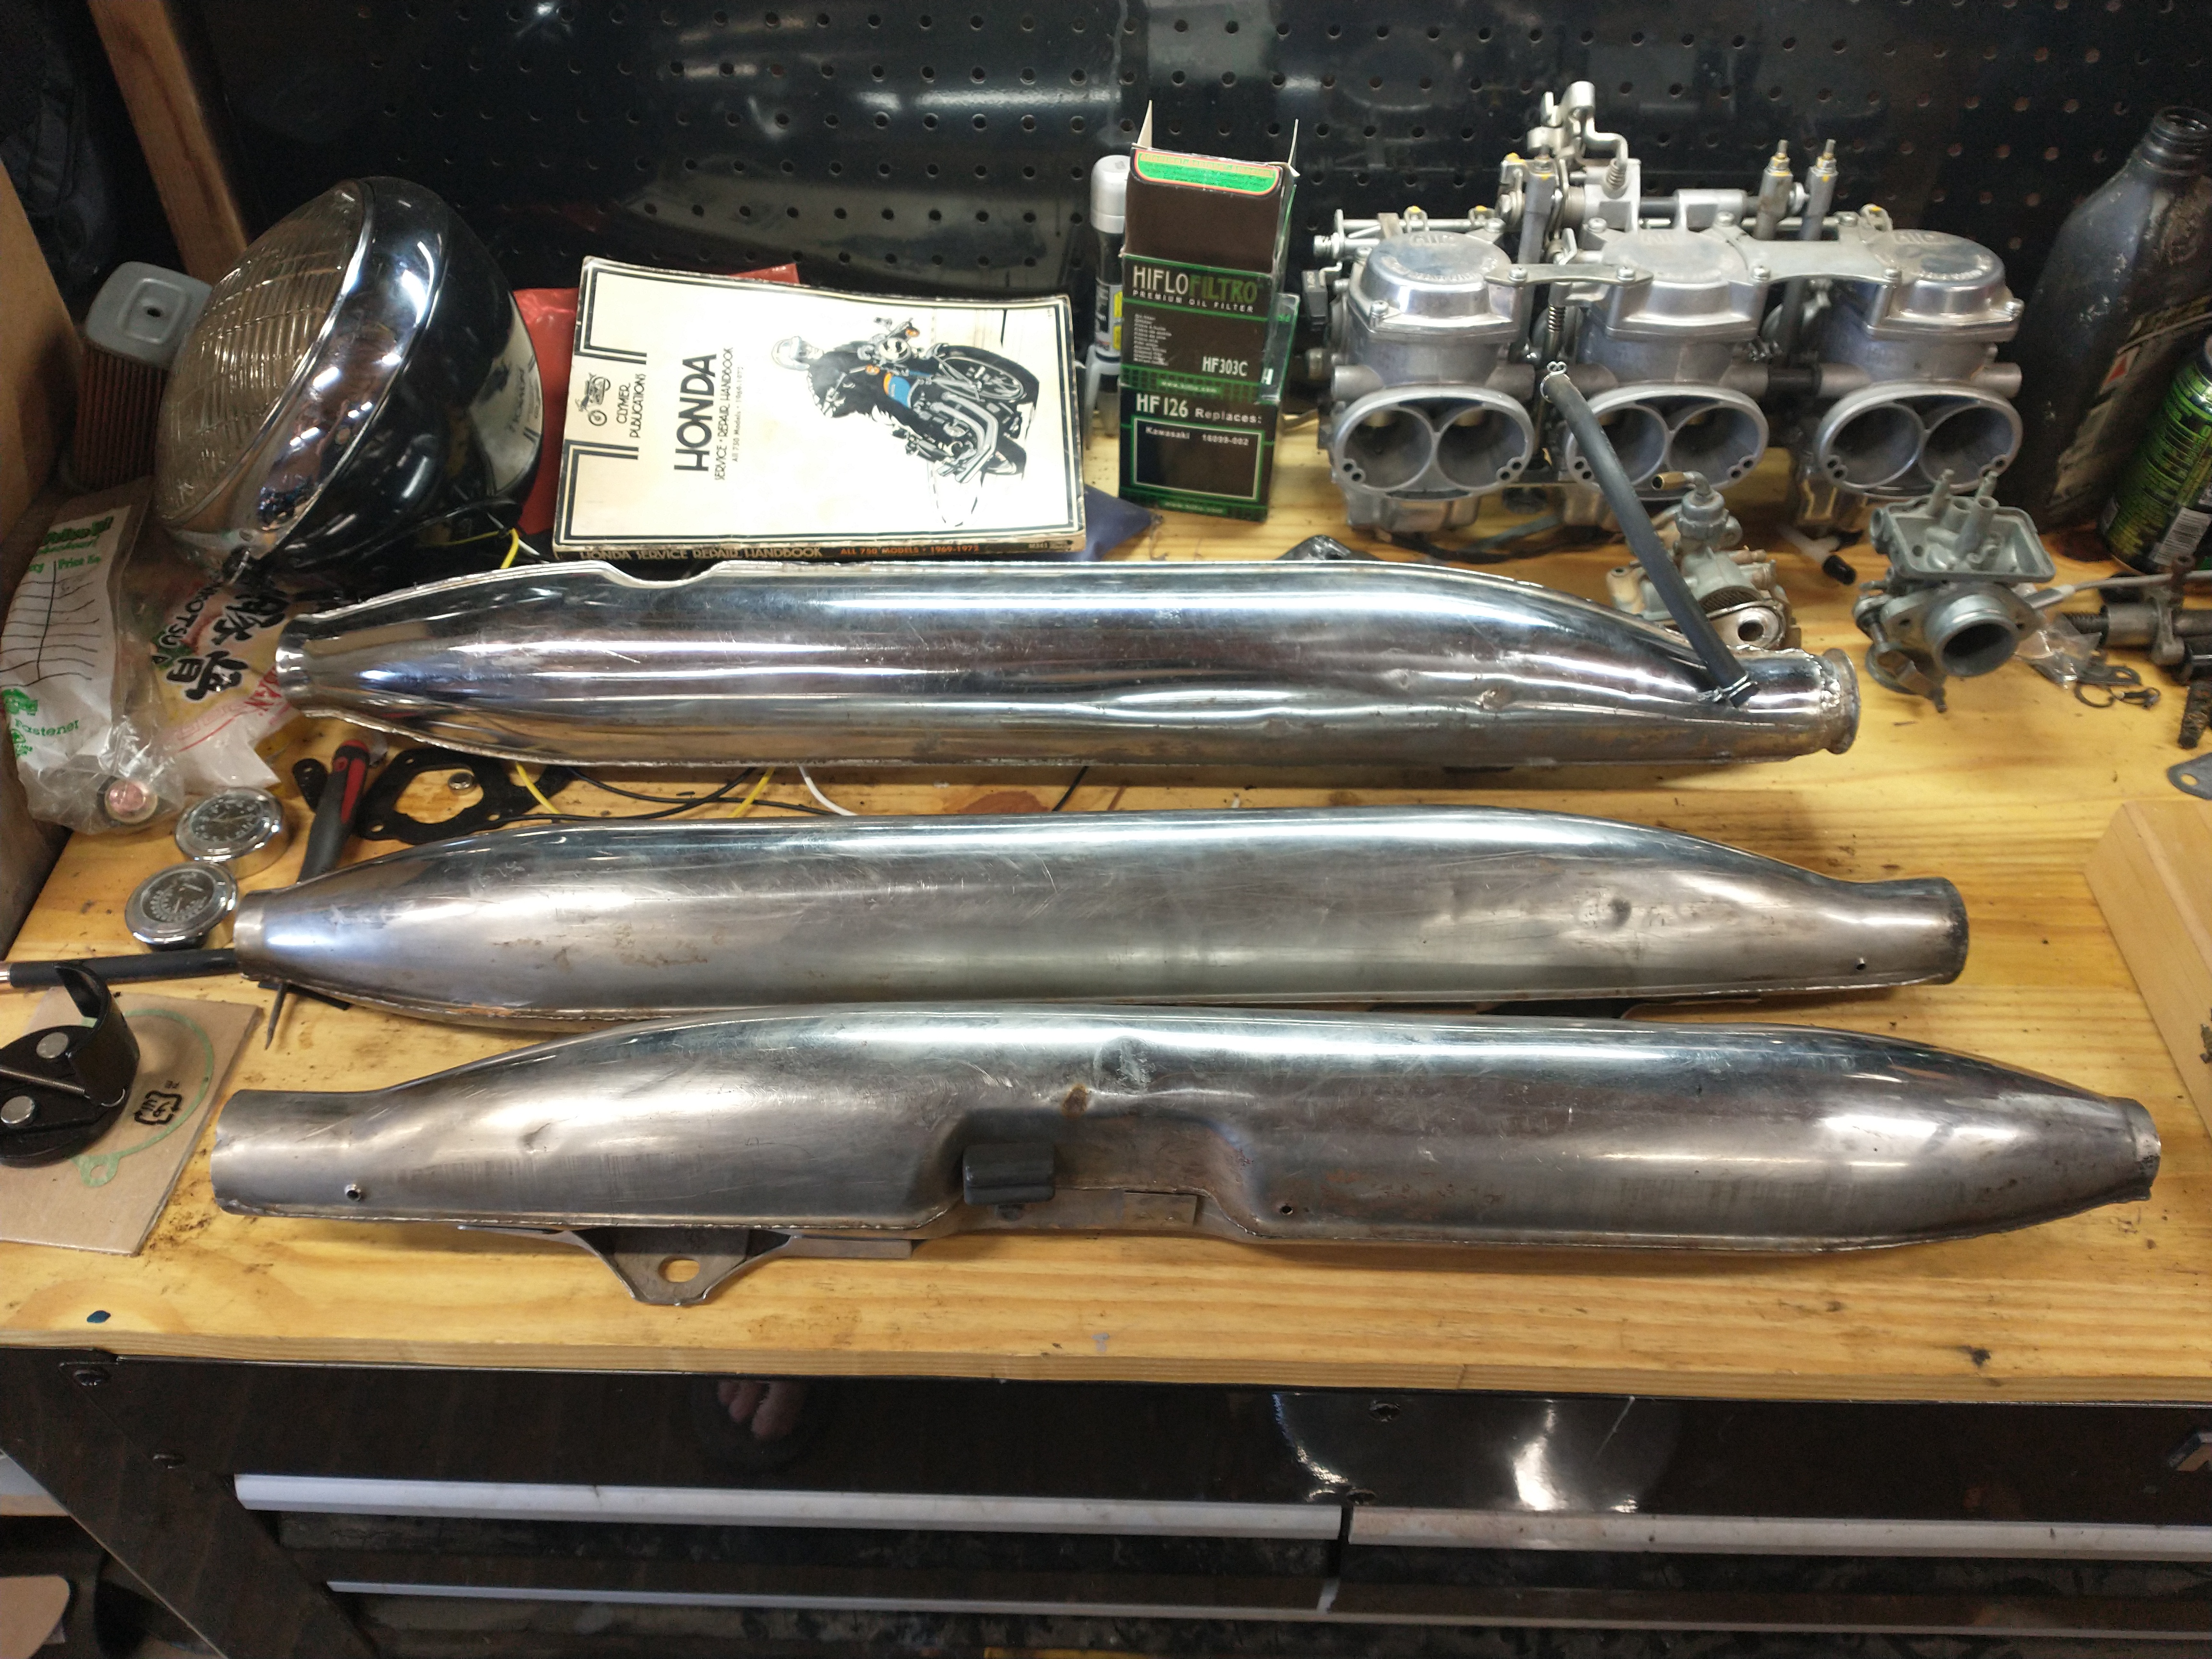
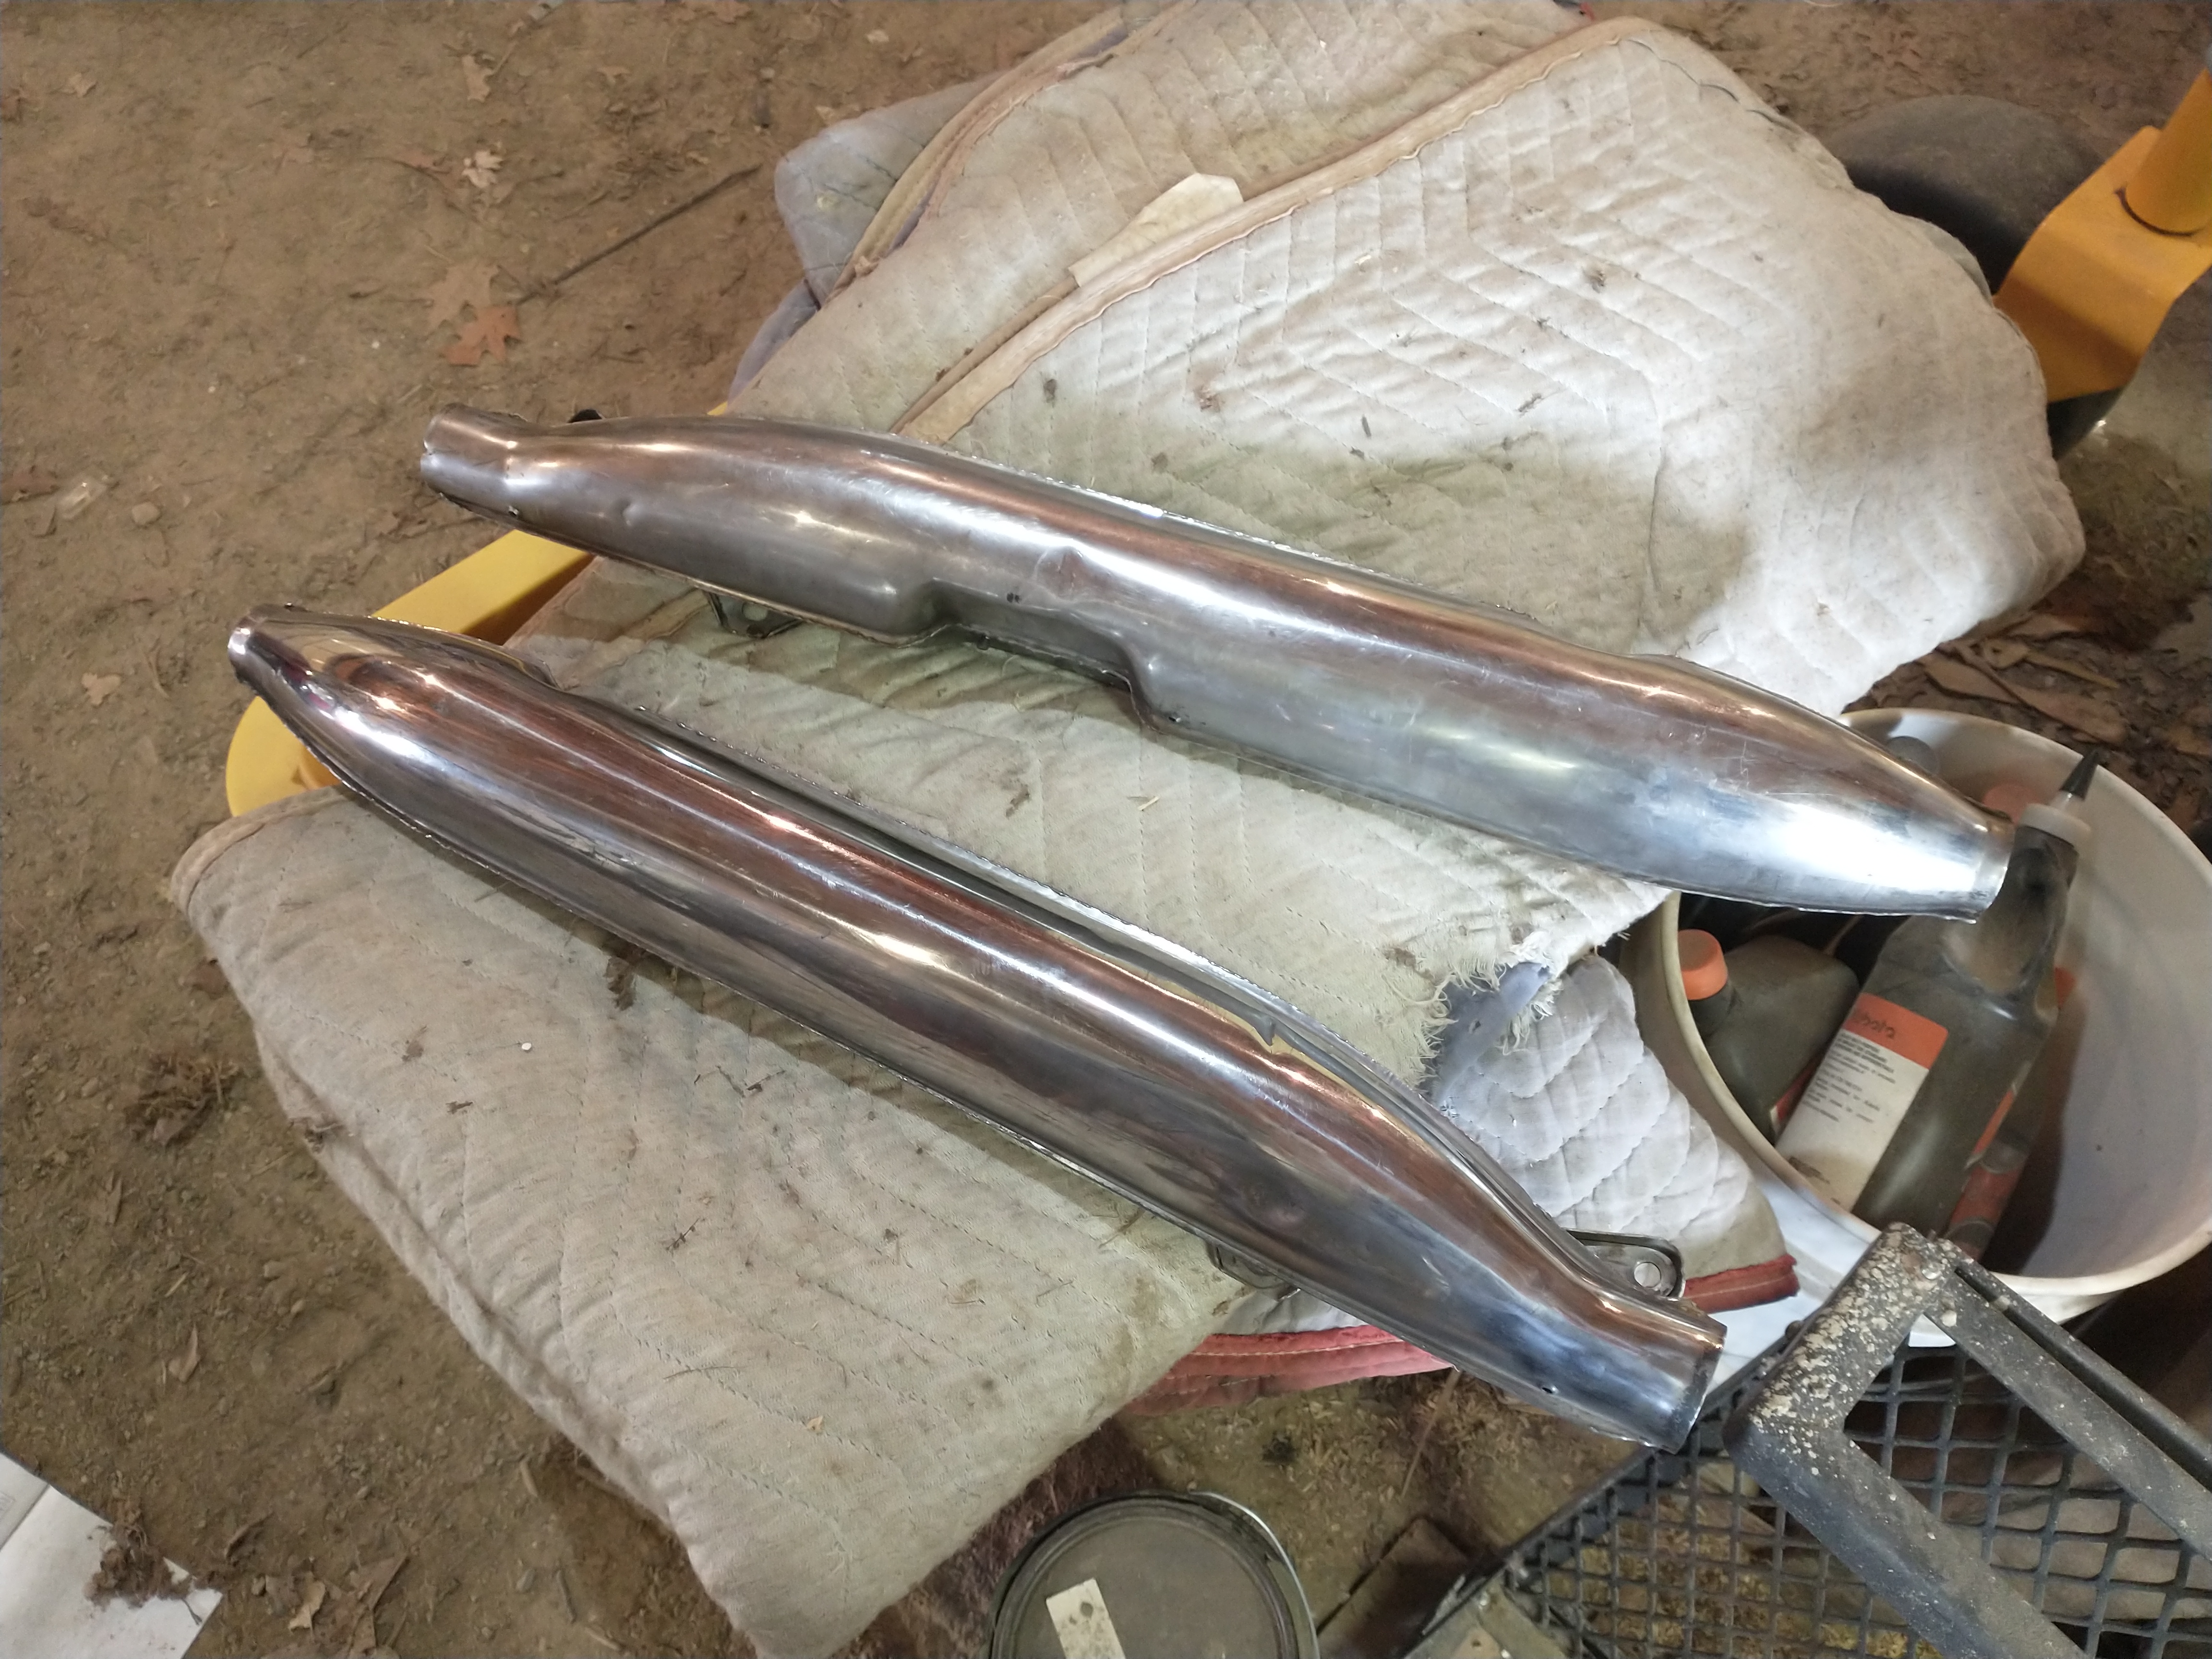
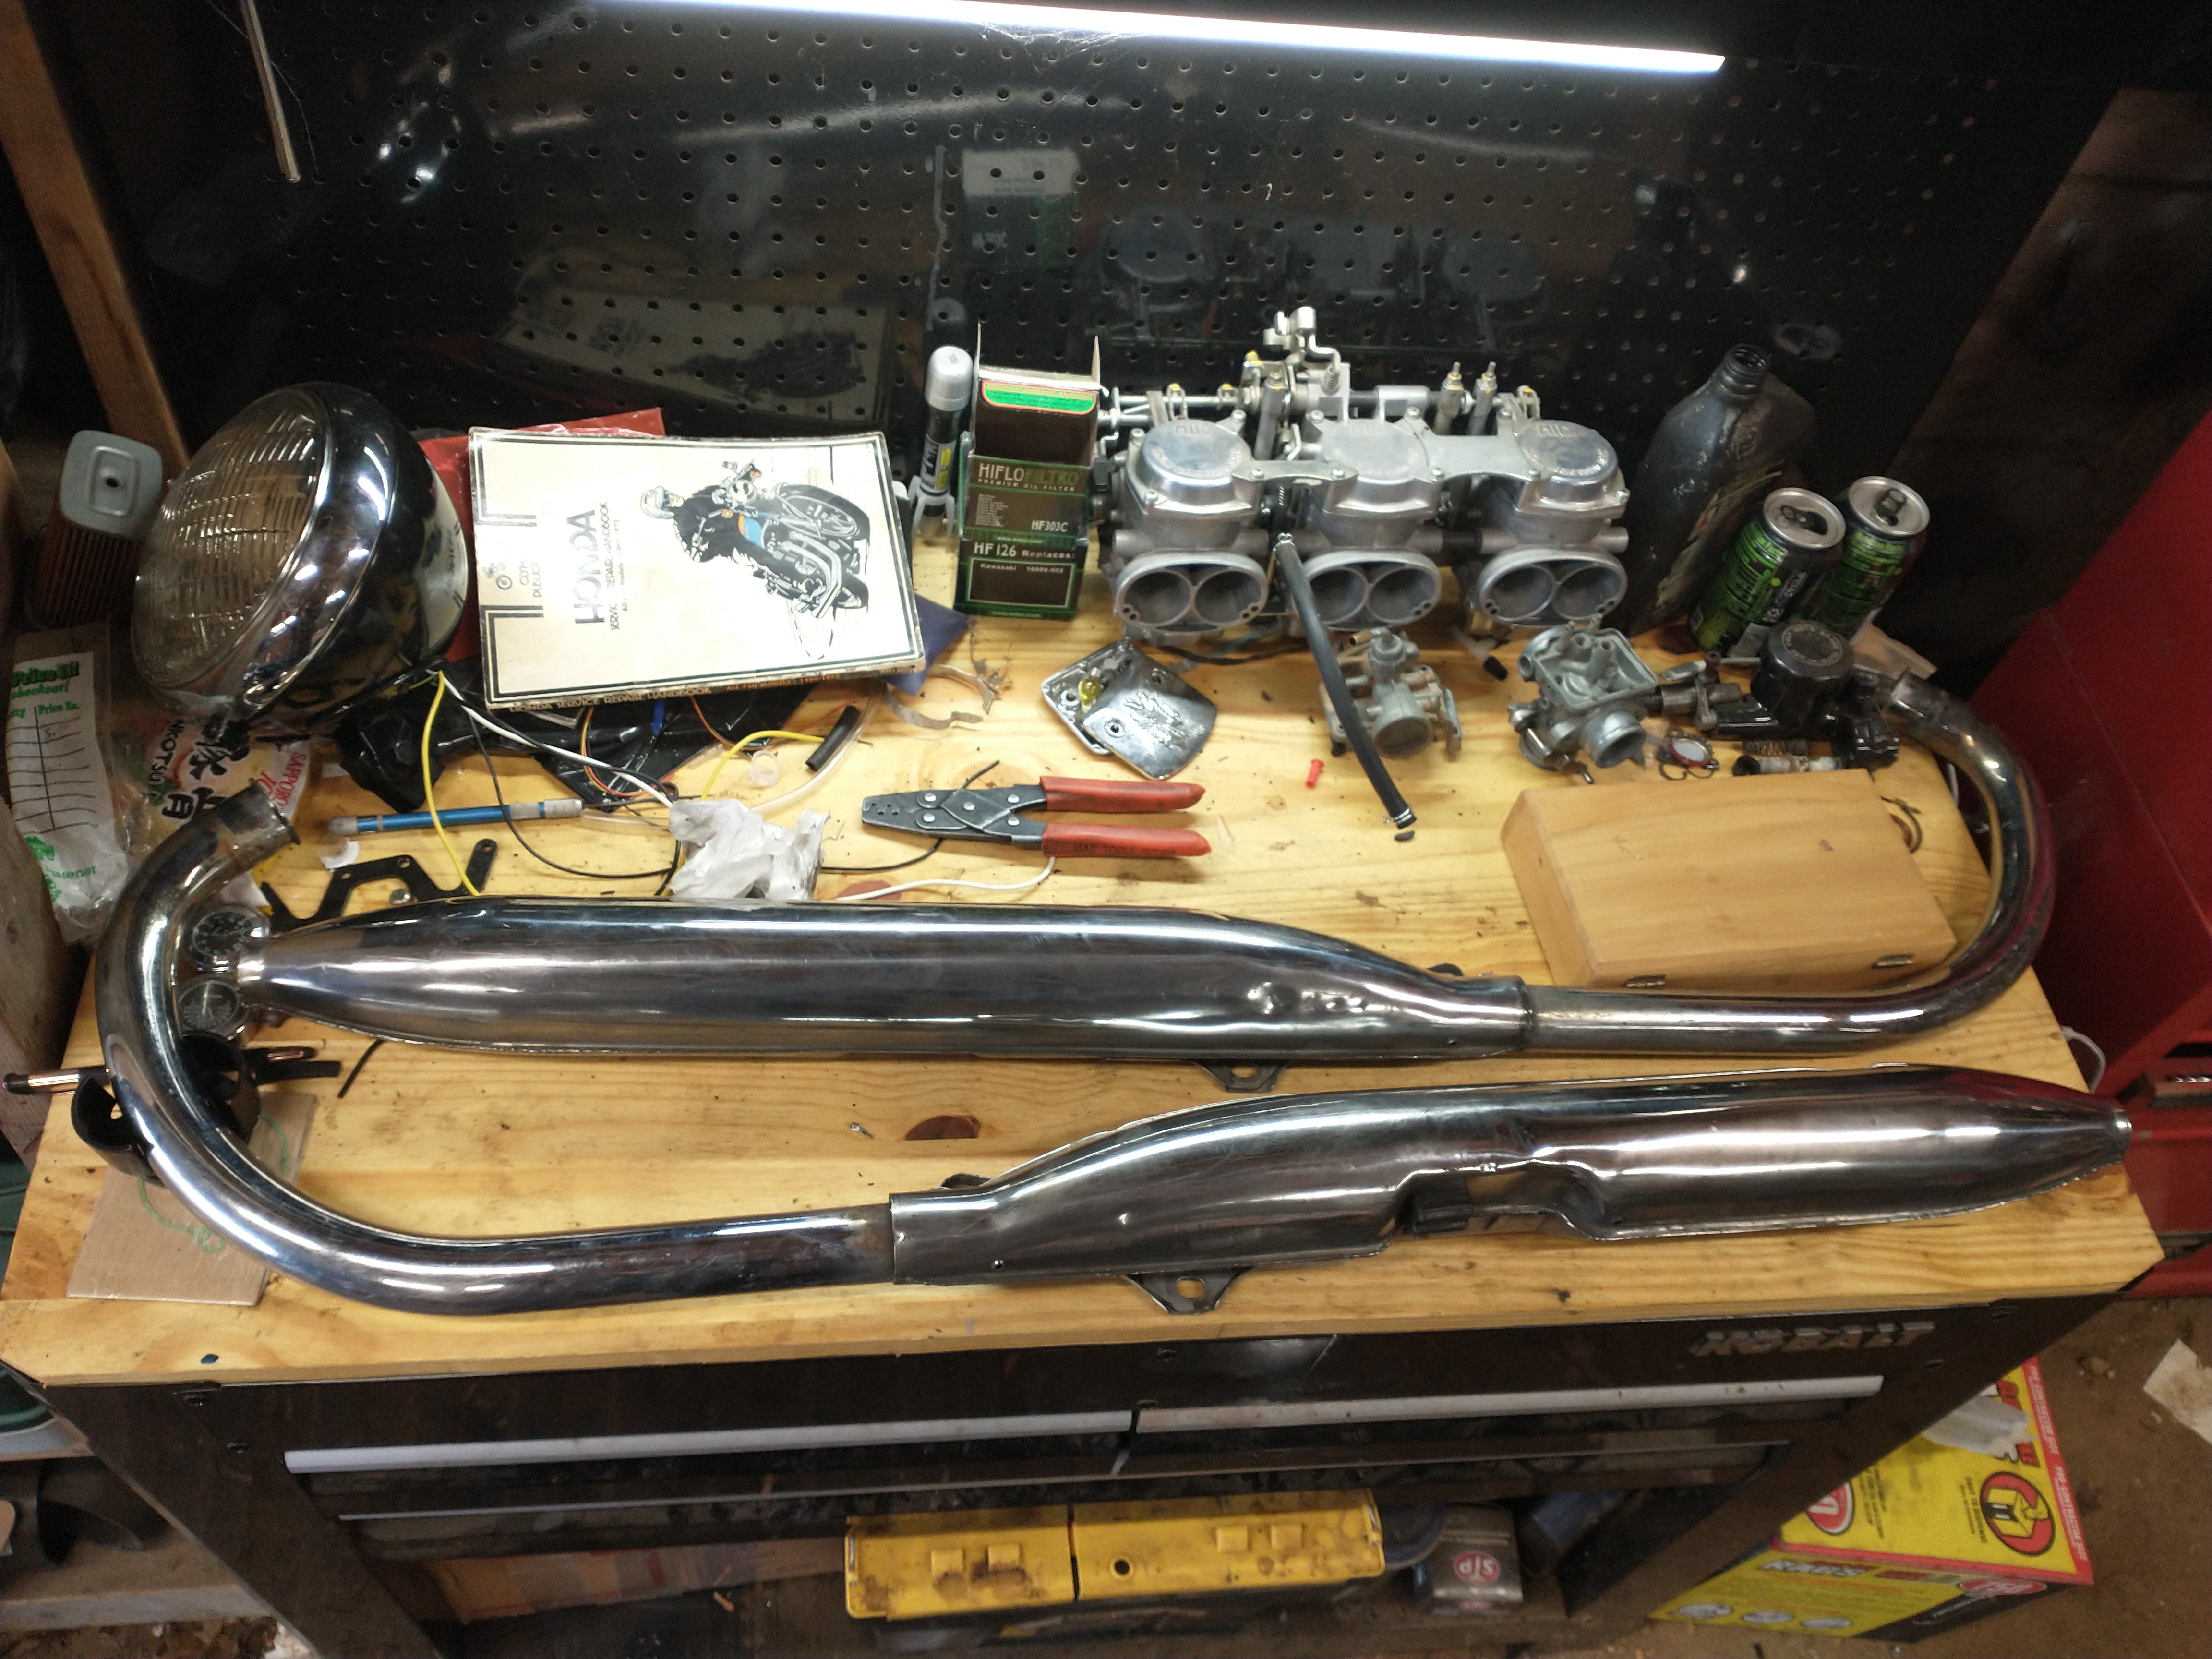
-Second, getting my mufflers re-chromed was always a long-term goal, but between the price and the fact most shops won't touch used mufflers, I wasn't having any luck. However, I got lucky with something better- just a couple days ago I saw a set of the stainless steel exhausts on ebay, and for about a third of what a chrome job would cost.

q5biohW.jpeg


A couple rounds on the buffing wheel, and they are good as new (and better than what I had).

YcPebwG.jpeg


yRnE3oH.jpeg


I was able to pull the baffles from my old pipes (after discovering that Honda welded the end of the baffle screws in '65), and after some paint touchup on the tips, they can get transferred to my new pipes, and one more major item can be crossed off the list.
 
So long time, no update. This bike is definitely a back-burner project, but I was able to make decent headway on a couple items.

-First, both hubs got polished and the wheels have been re-laced. I used the replacement rims from Thailand, and I found out too late that the spoke hole angle is wrong, so after futzing and drilling, the front rim got re-laced three times. Still, done is done.

-Second, getting my mufflers re-chromed was always a long-term goal, but between the price and the fact most shops won't touch used mufflers, I wasn't having any luck. However, I got lucky with something better- just a couple days ago I saw a set of the stainless steel exhausts on ebay, and for about a third of what a chrome job would cost.

q5biohW.jpeg


A couple rounds on the buffing wheel, and they are good as new (and better than what I had).

YcPebwG.jpeg


yRnE3oH.jpeg


I was able to pull the baffles from my old pipes (after discovering that Honda welded the end of the baffle screws in '65), and after some paint touchup on the tips, they can get transferred to my new pipes, and one more major item can be crossed off the list.
I see the KZ1300 carbs in the background you giving it a complete fix-up?
I like seeing those SS mufflers shiny !
 
Back
Top Bottom