Juneaudave
Veteran Member
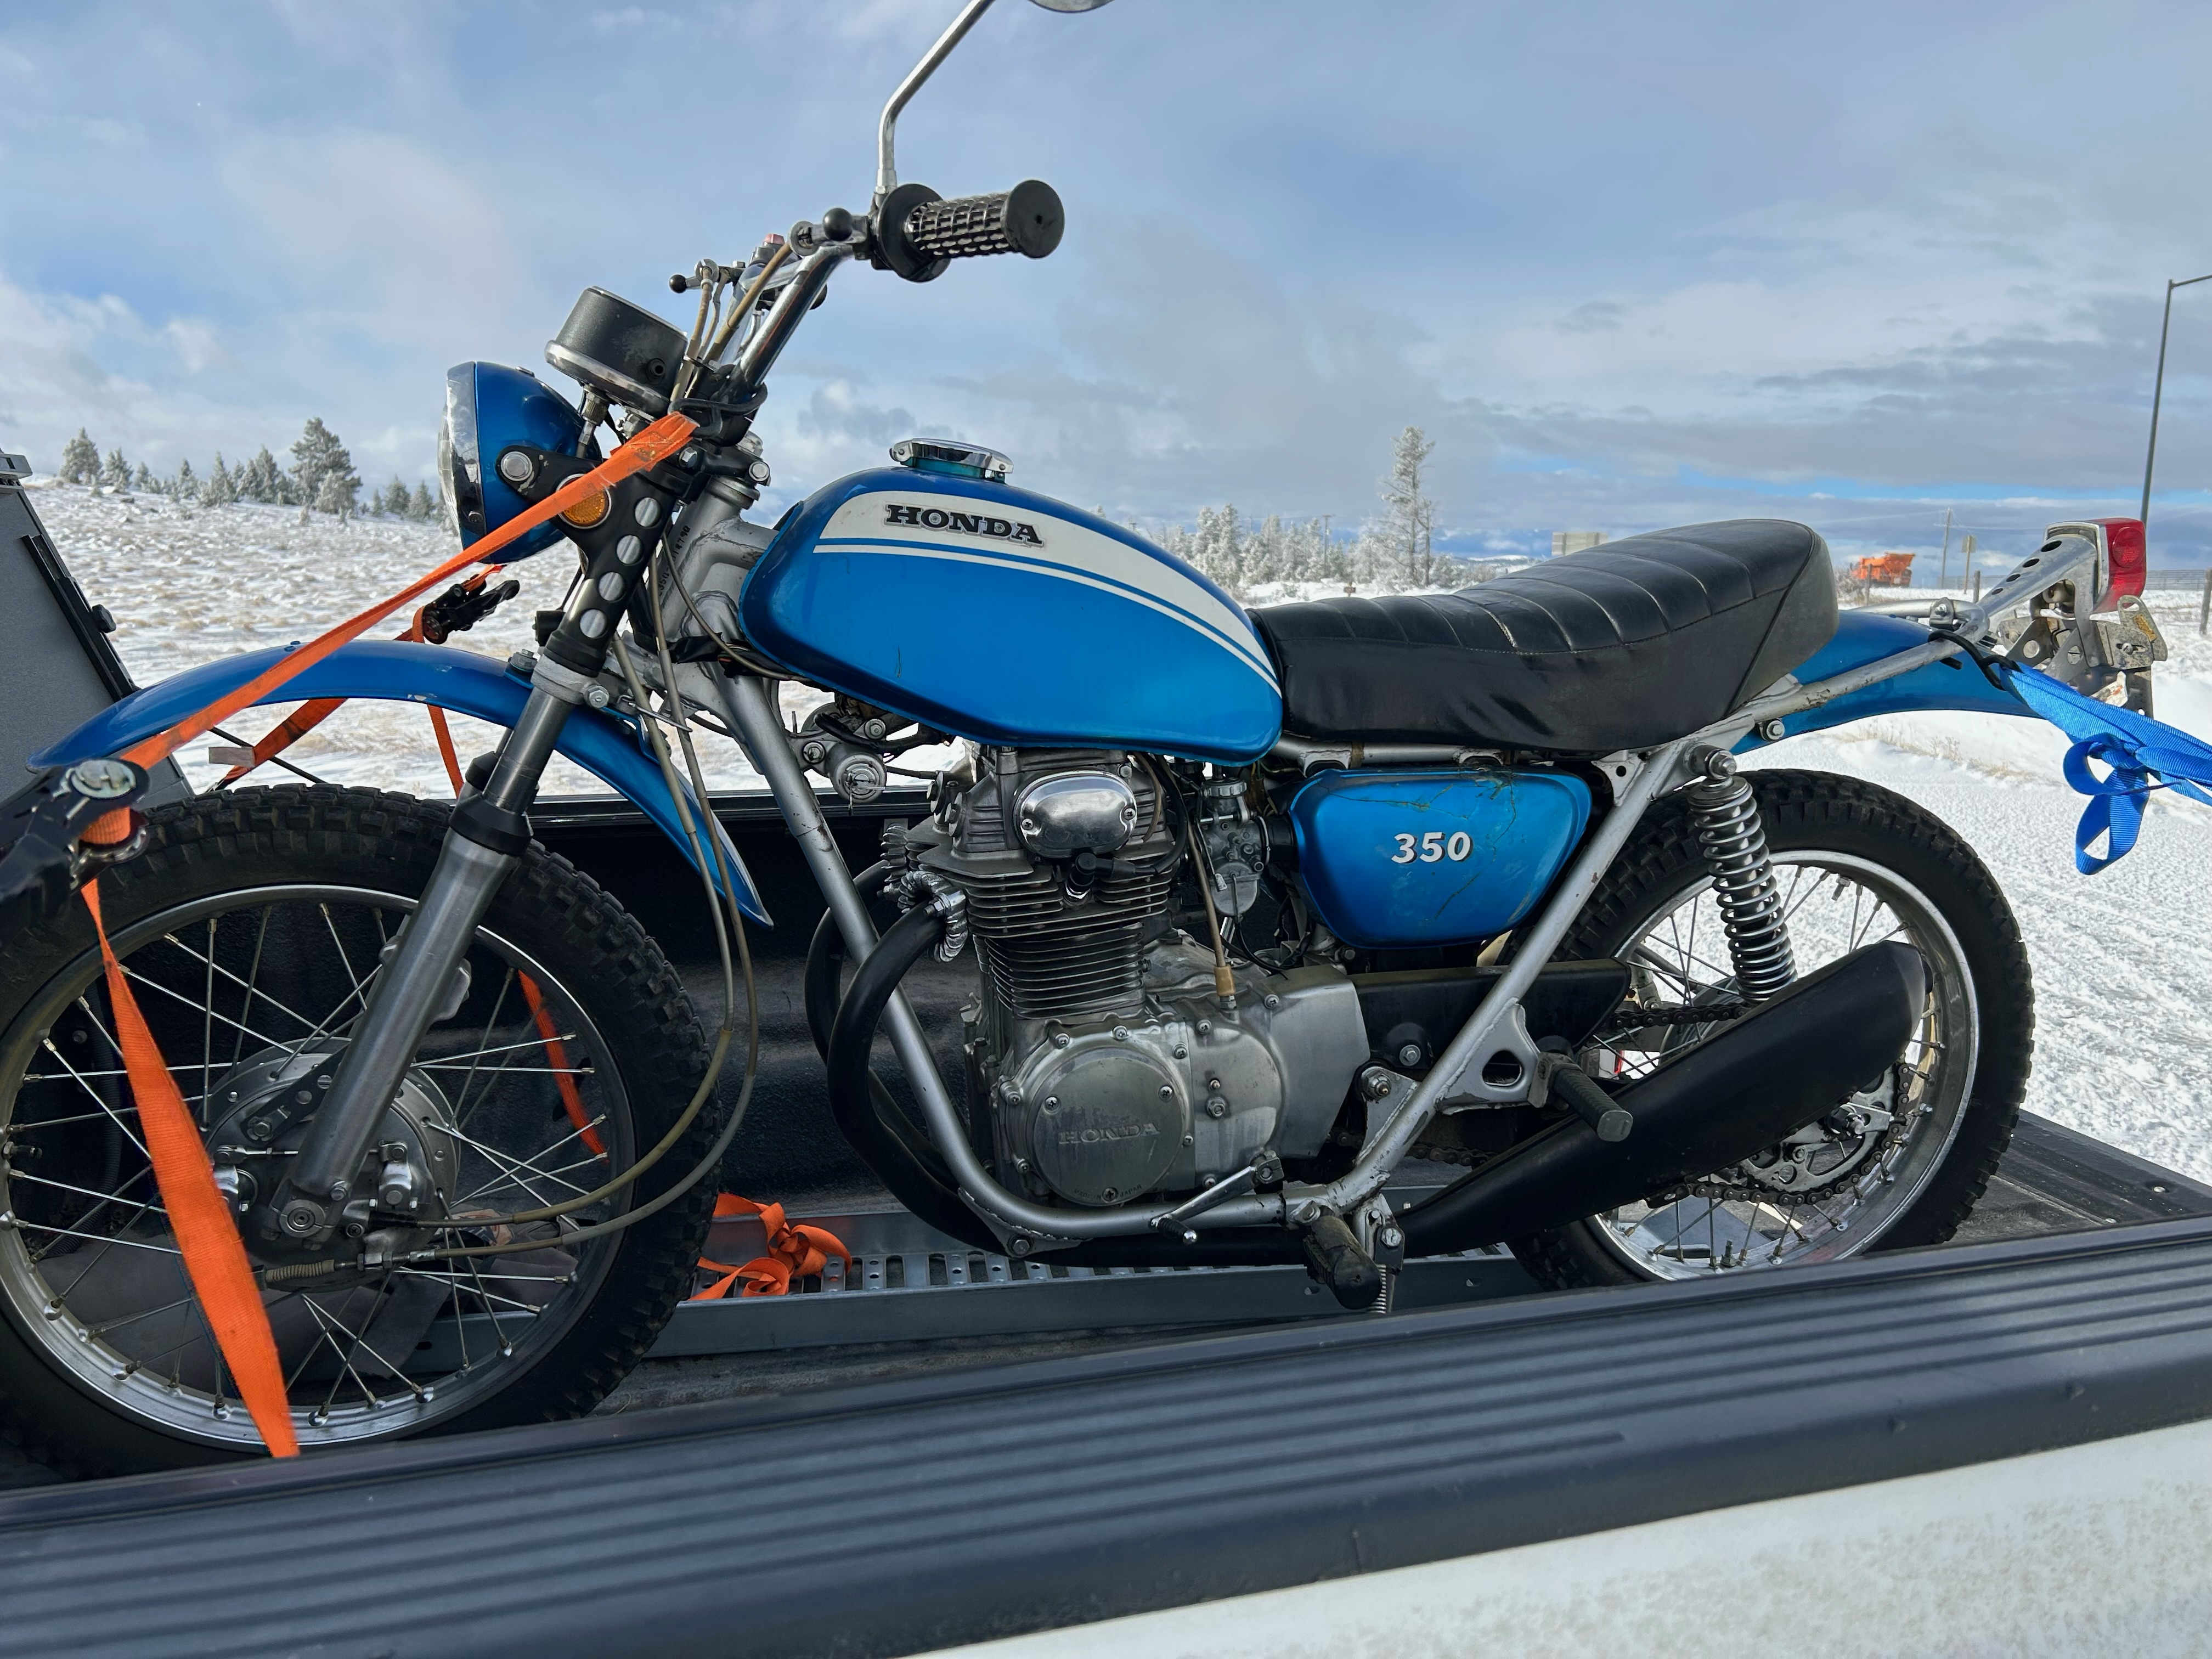
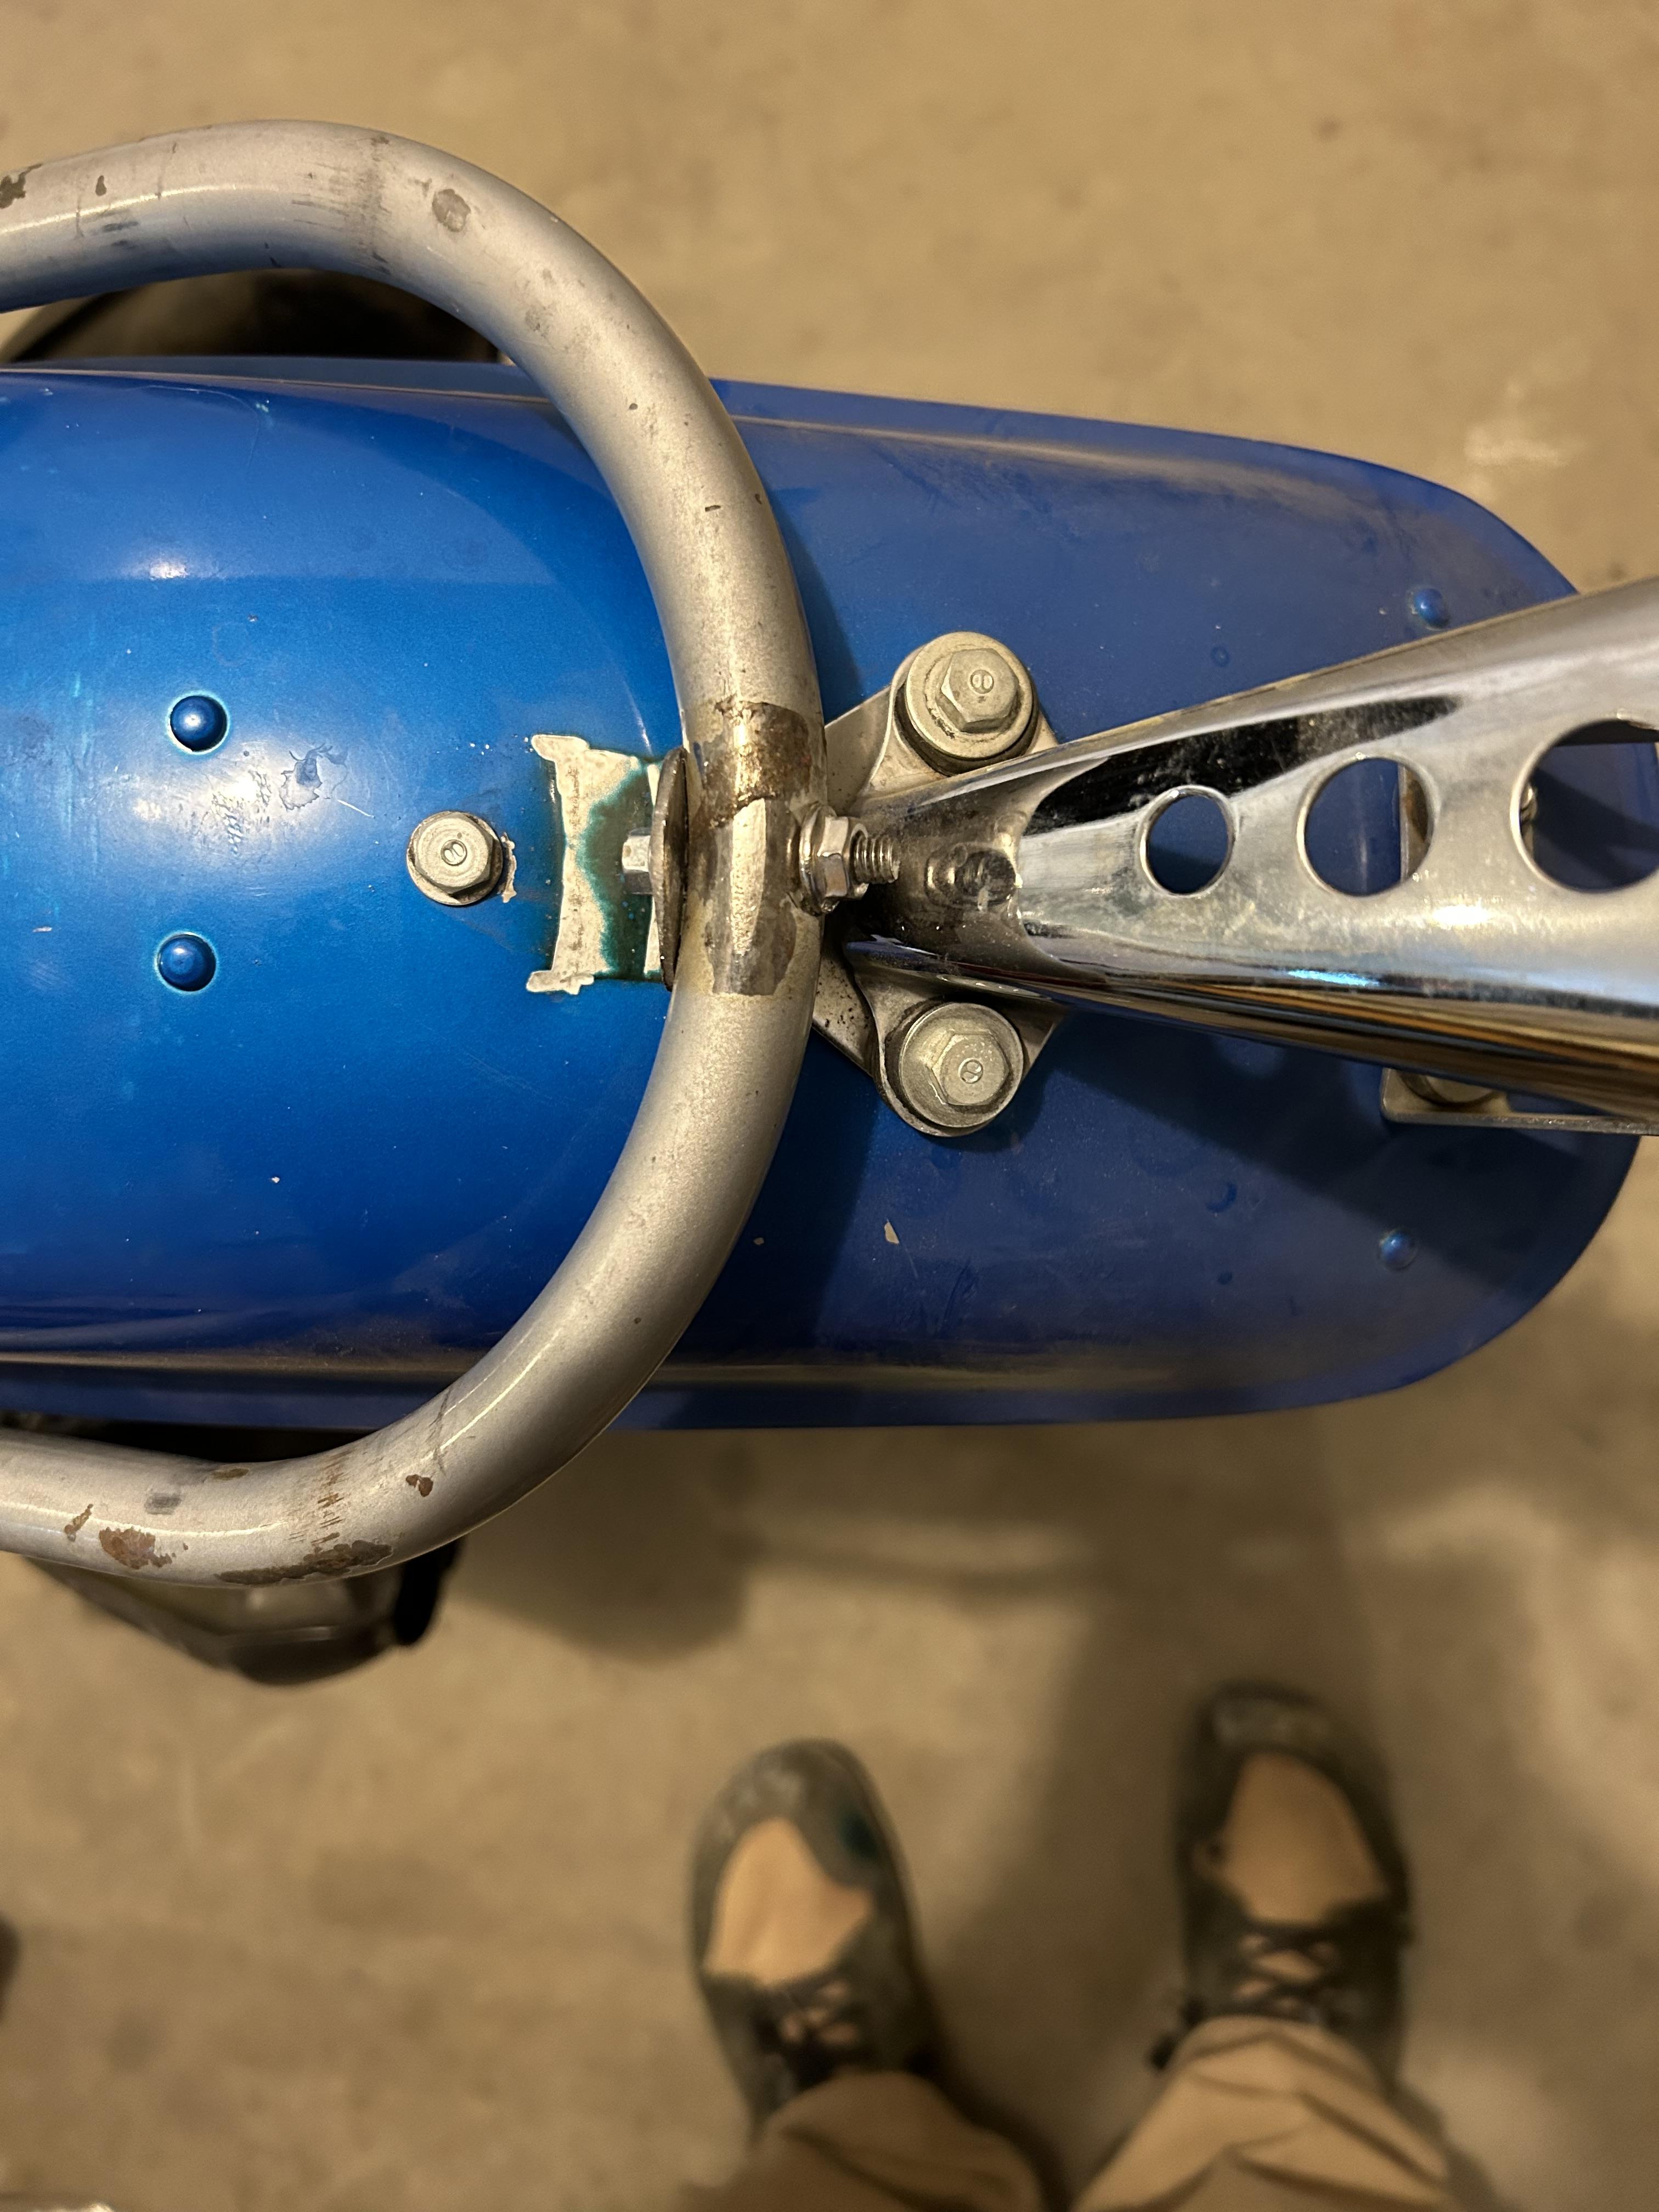
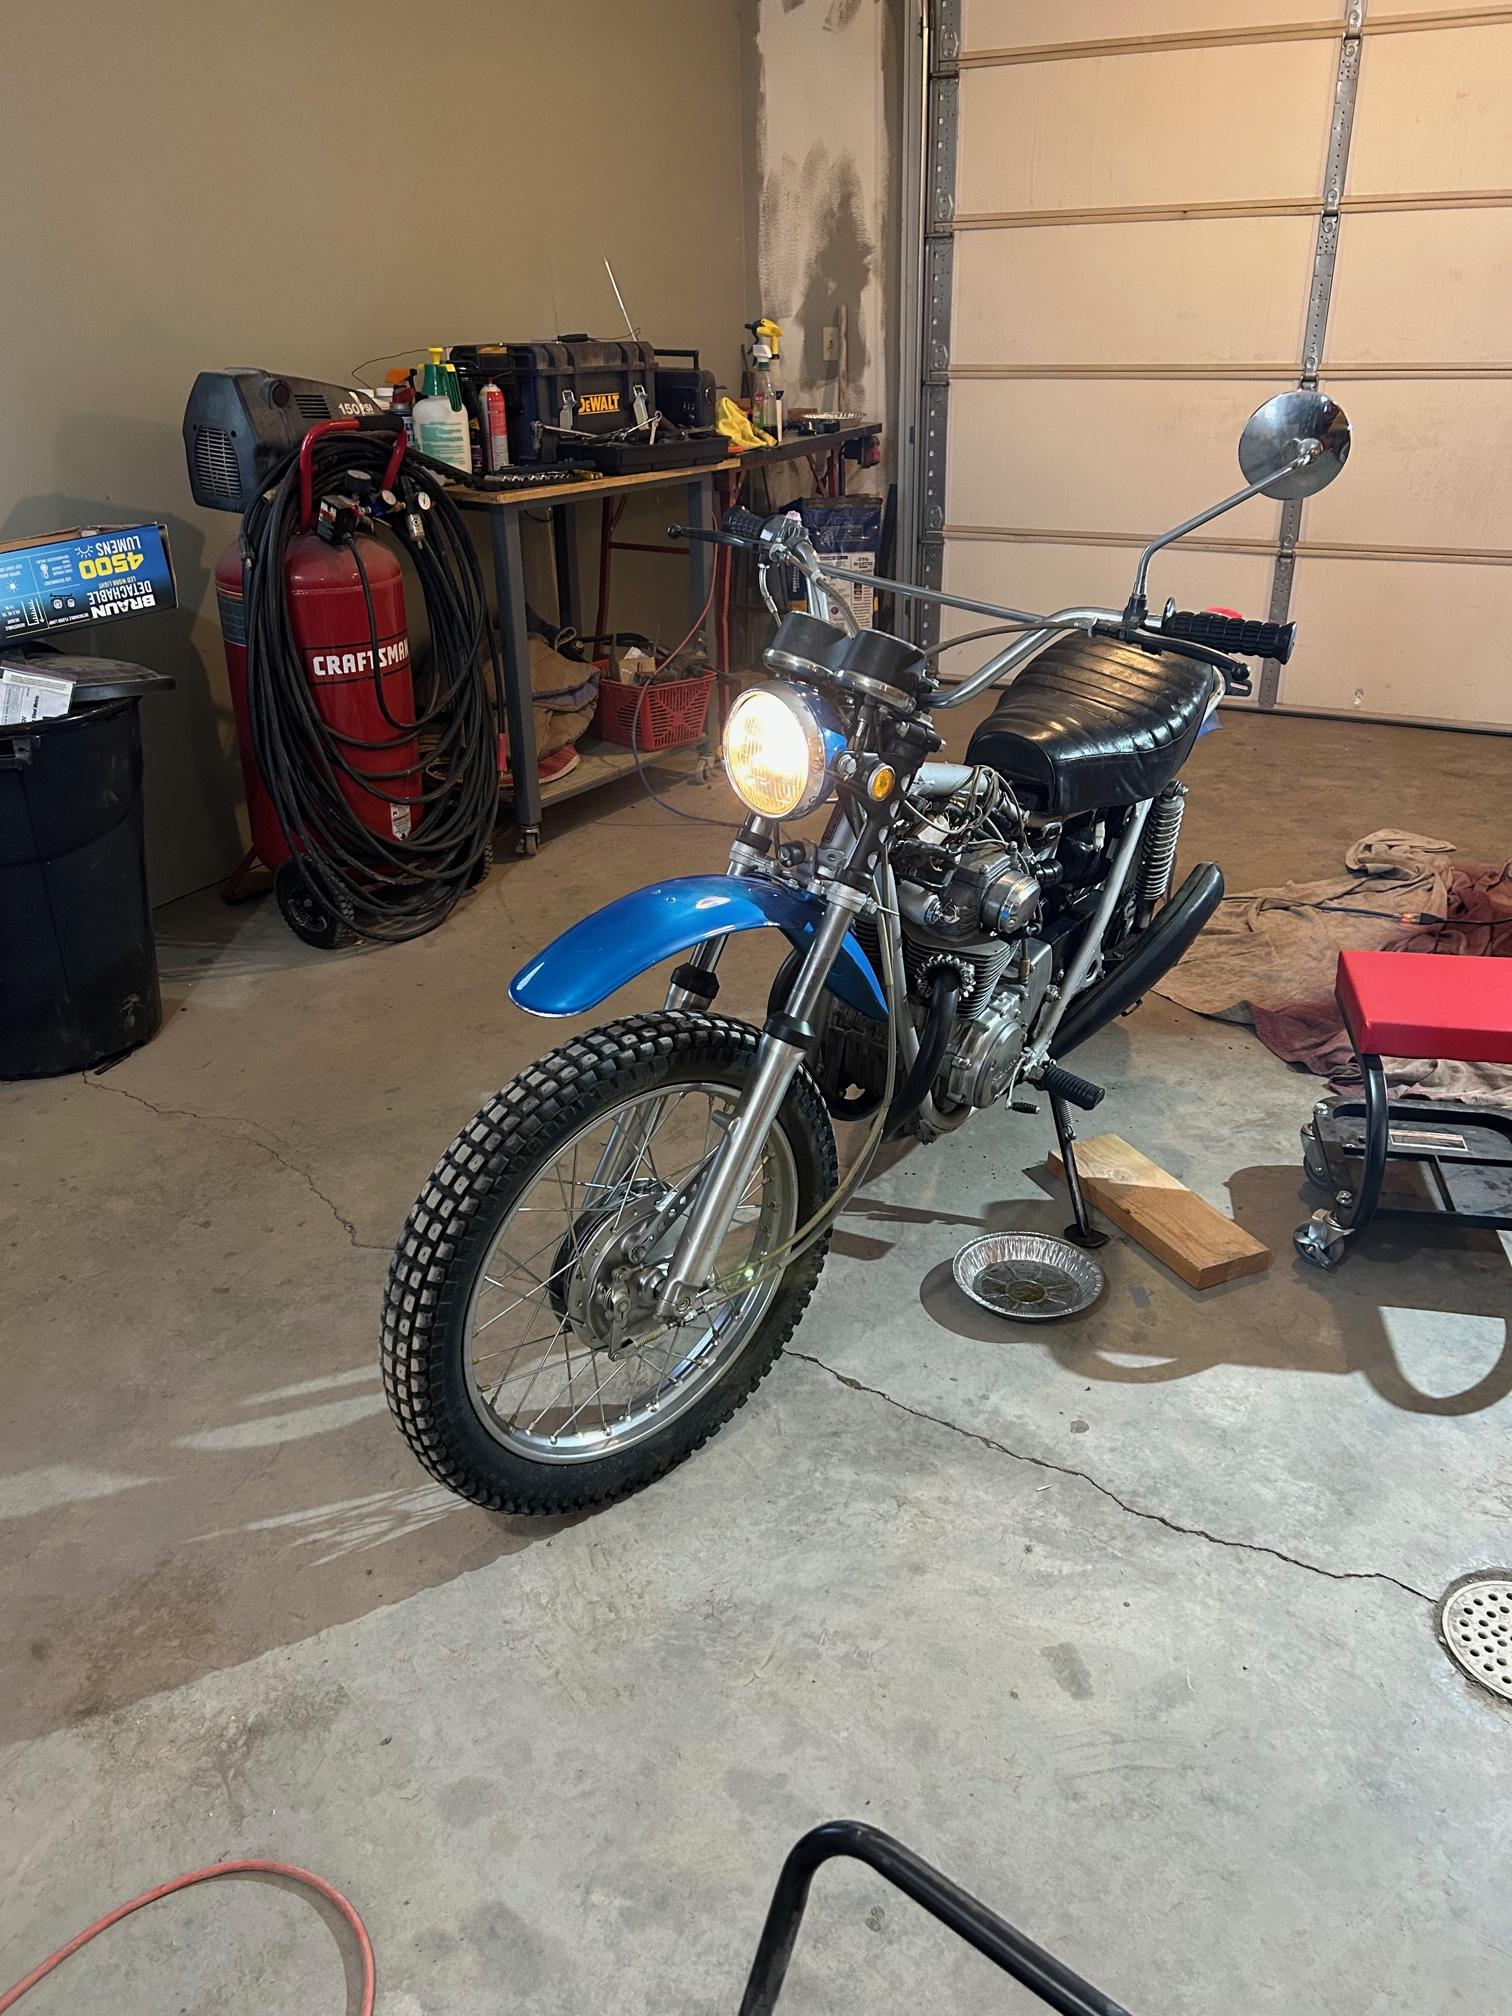
I braved fearsome storms to bring this 1971 home this morning...it's heavy on patina but is straight and rust free. Last registered in 1995.
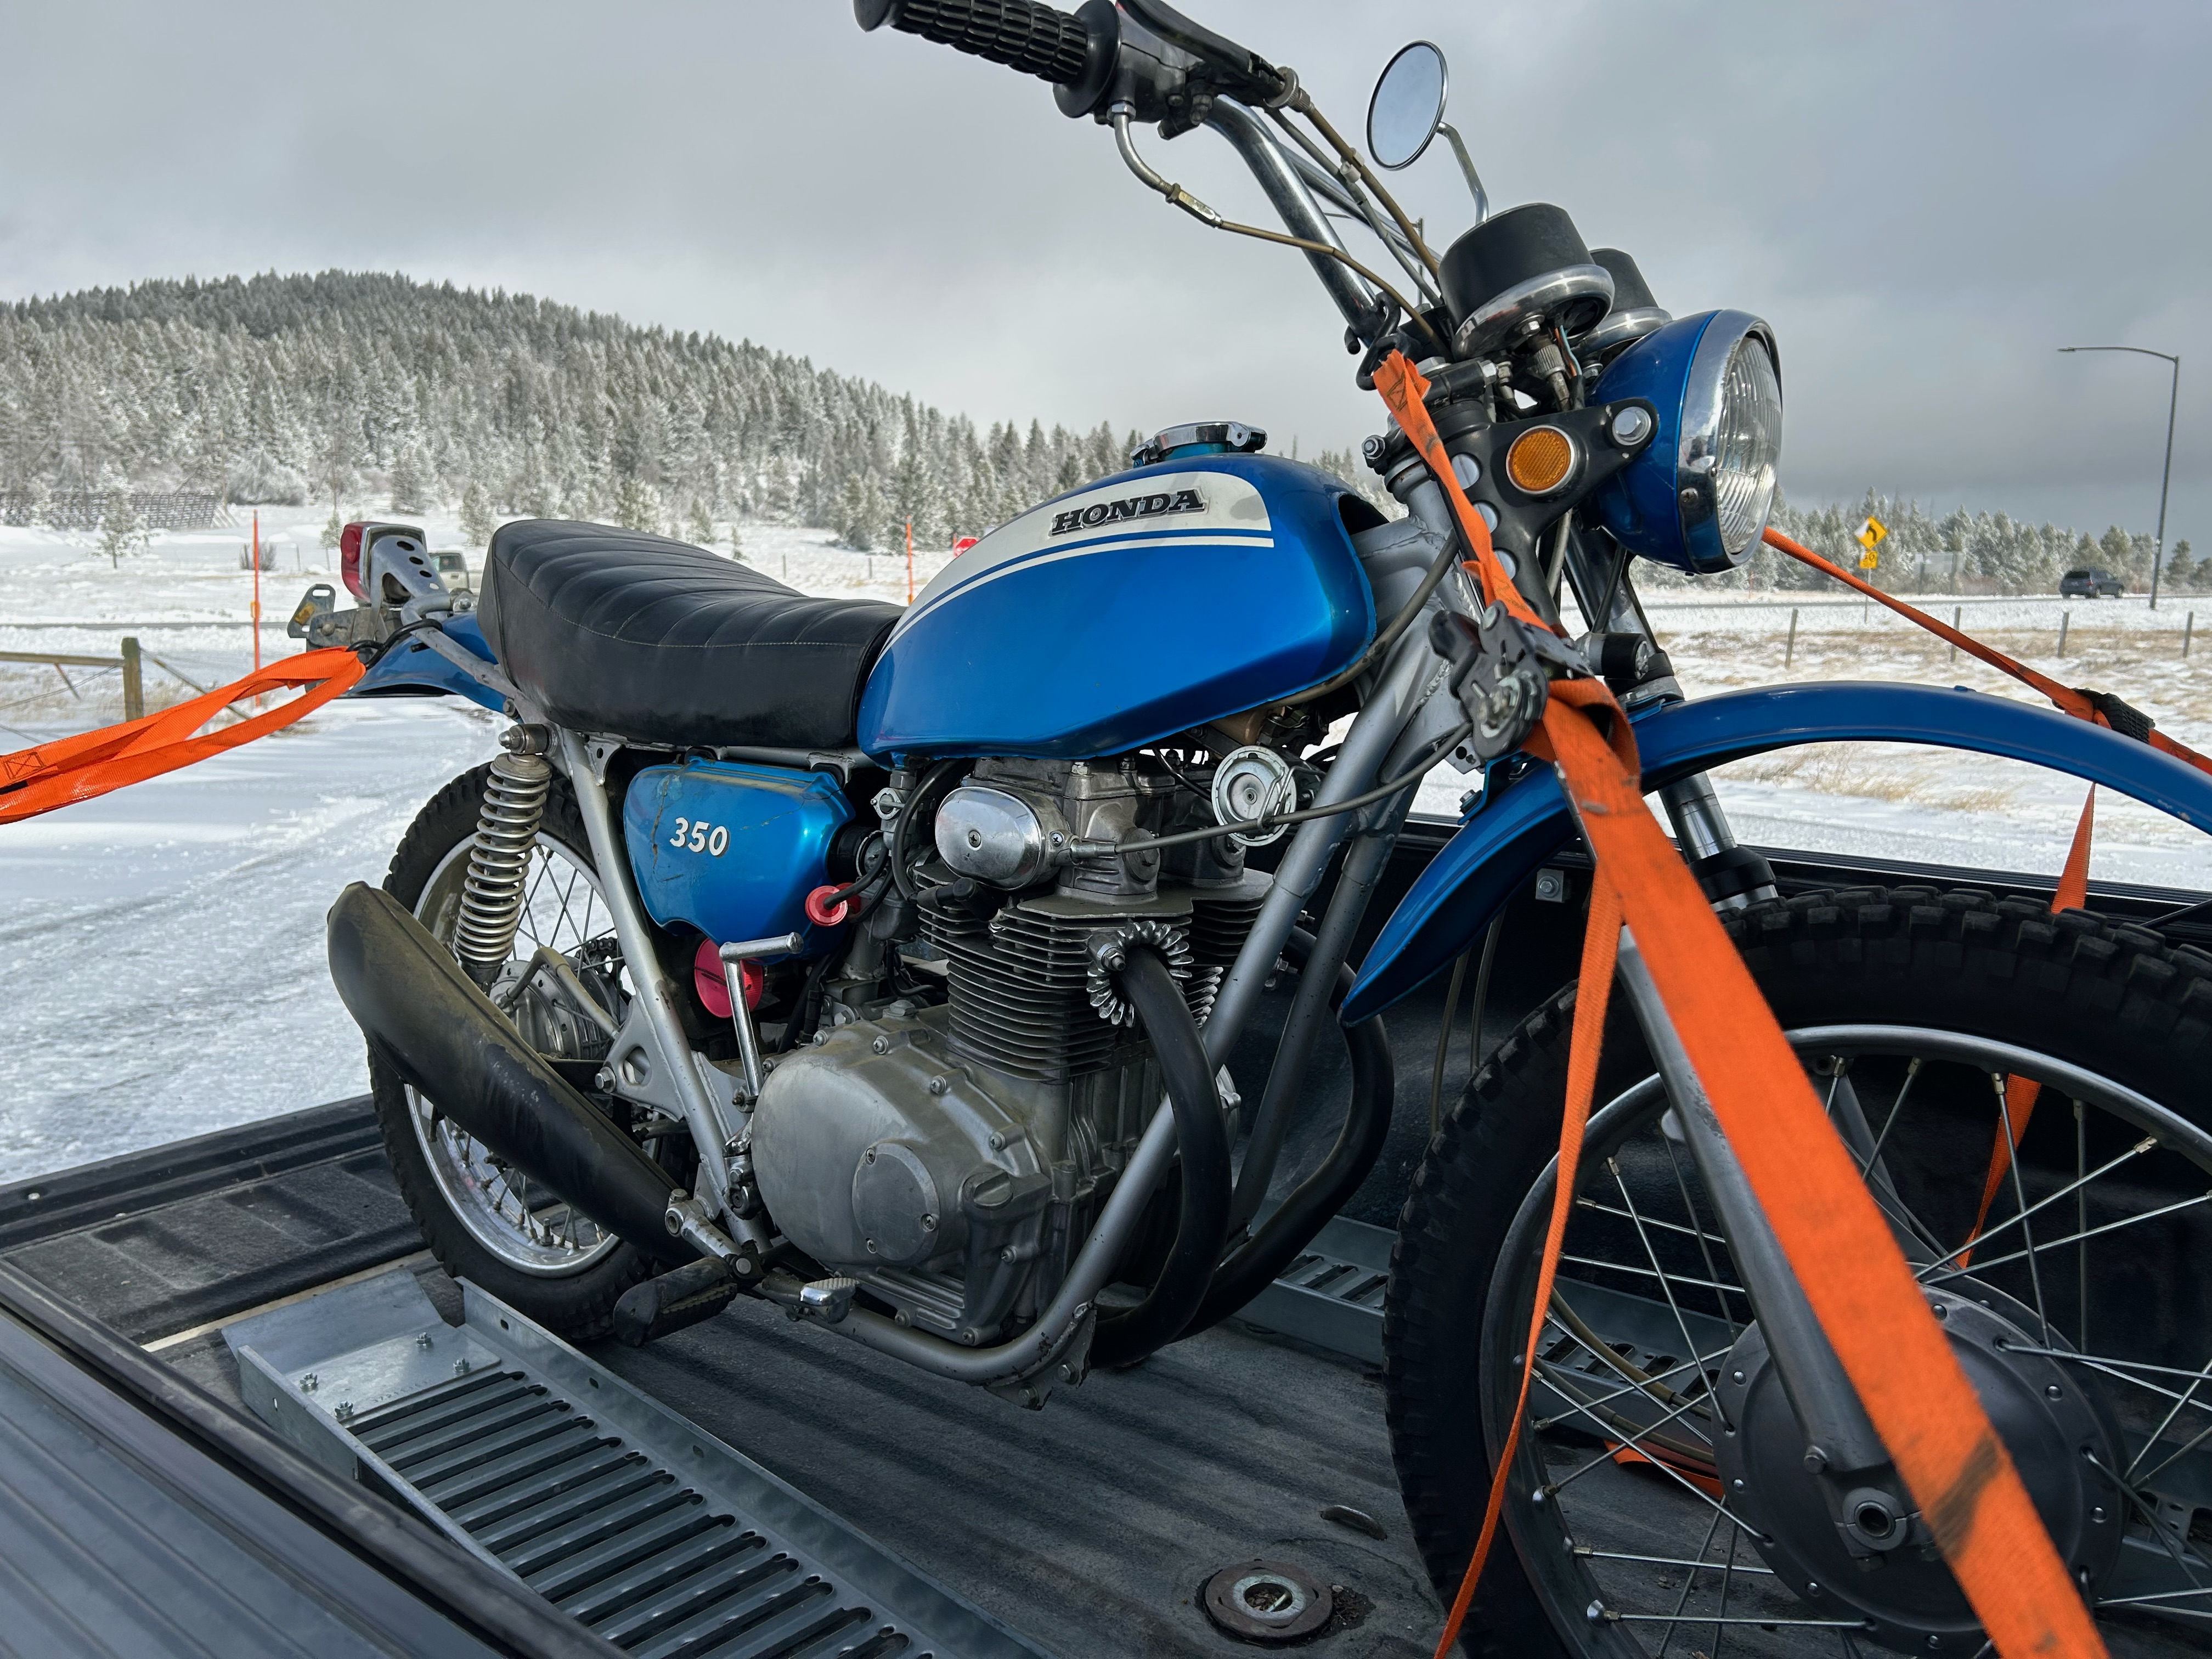
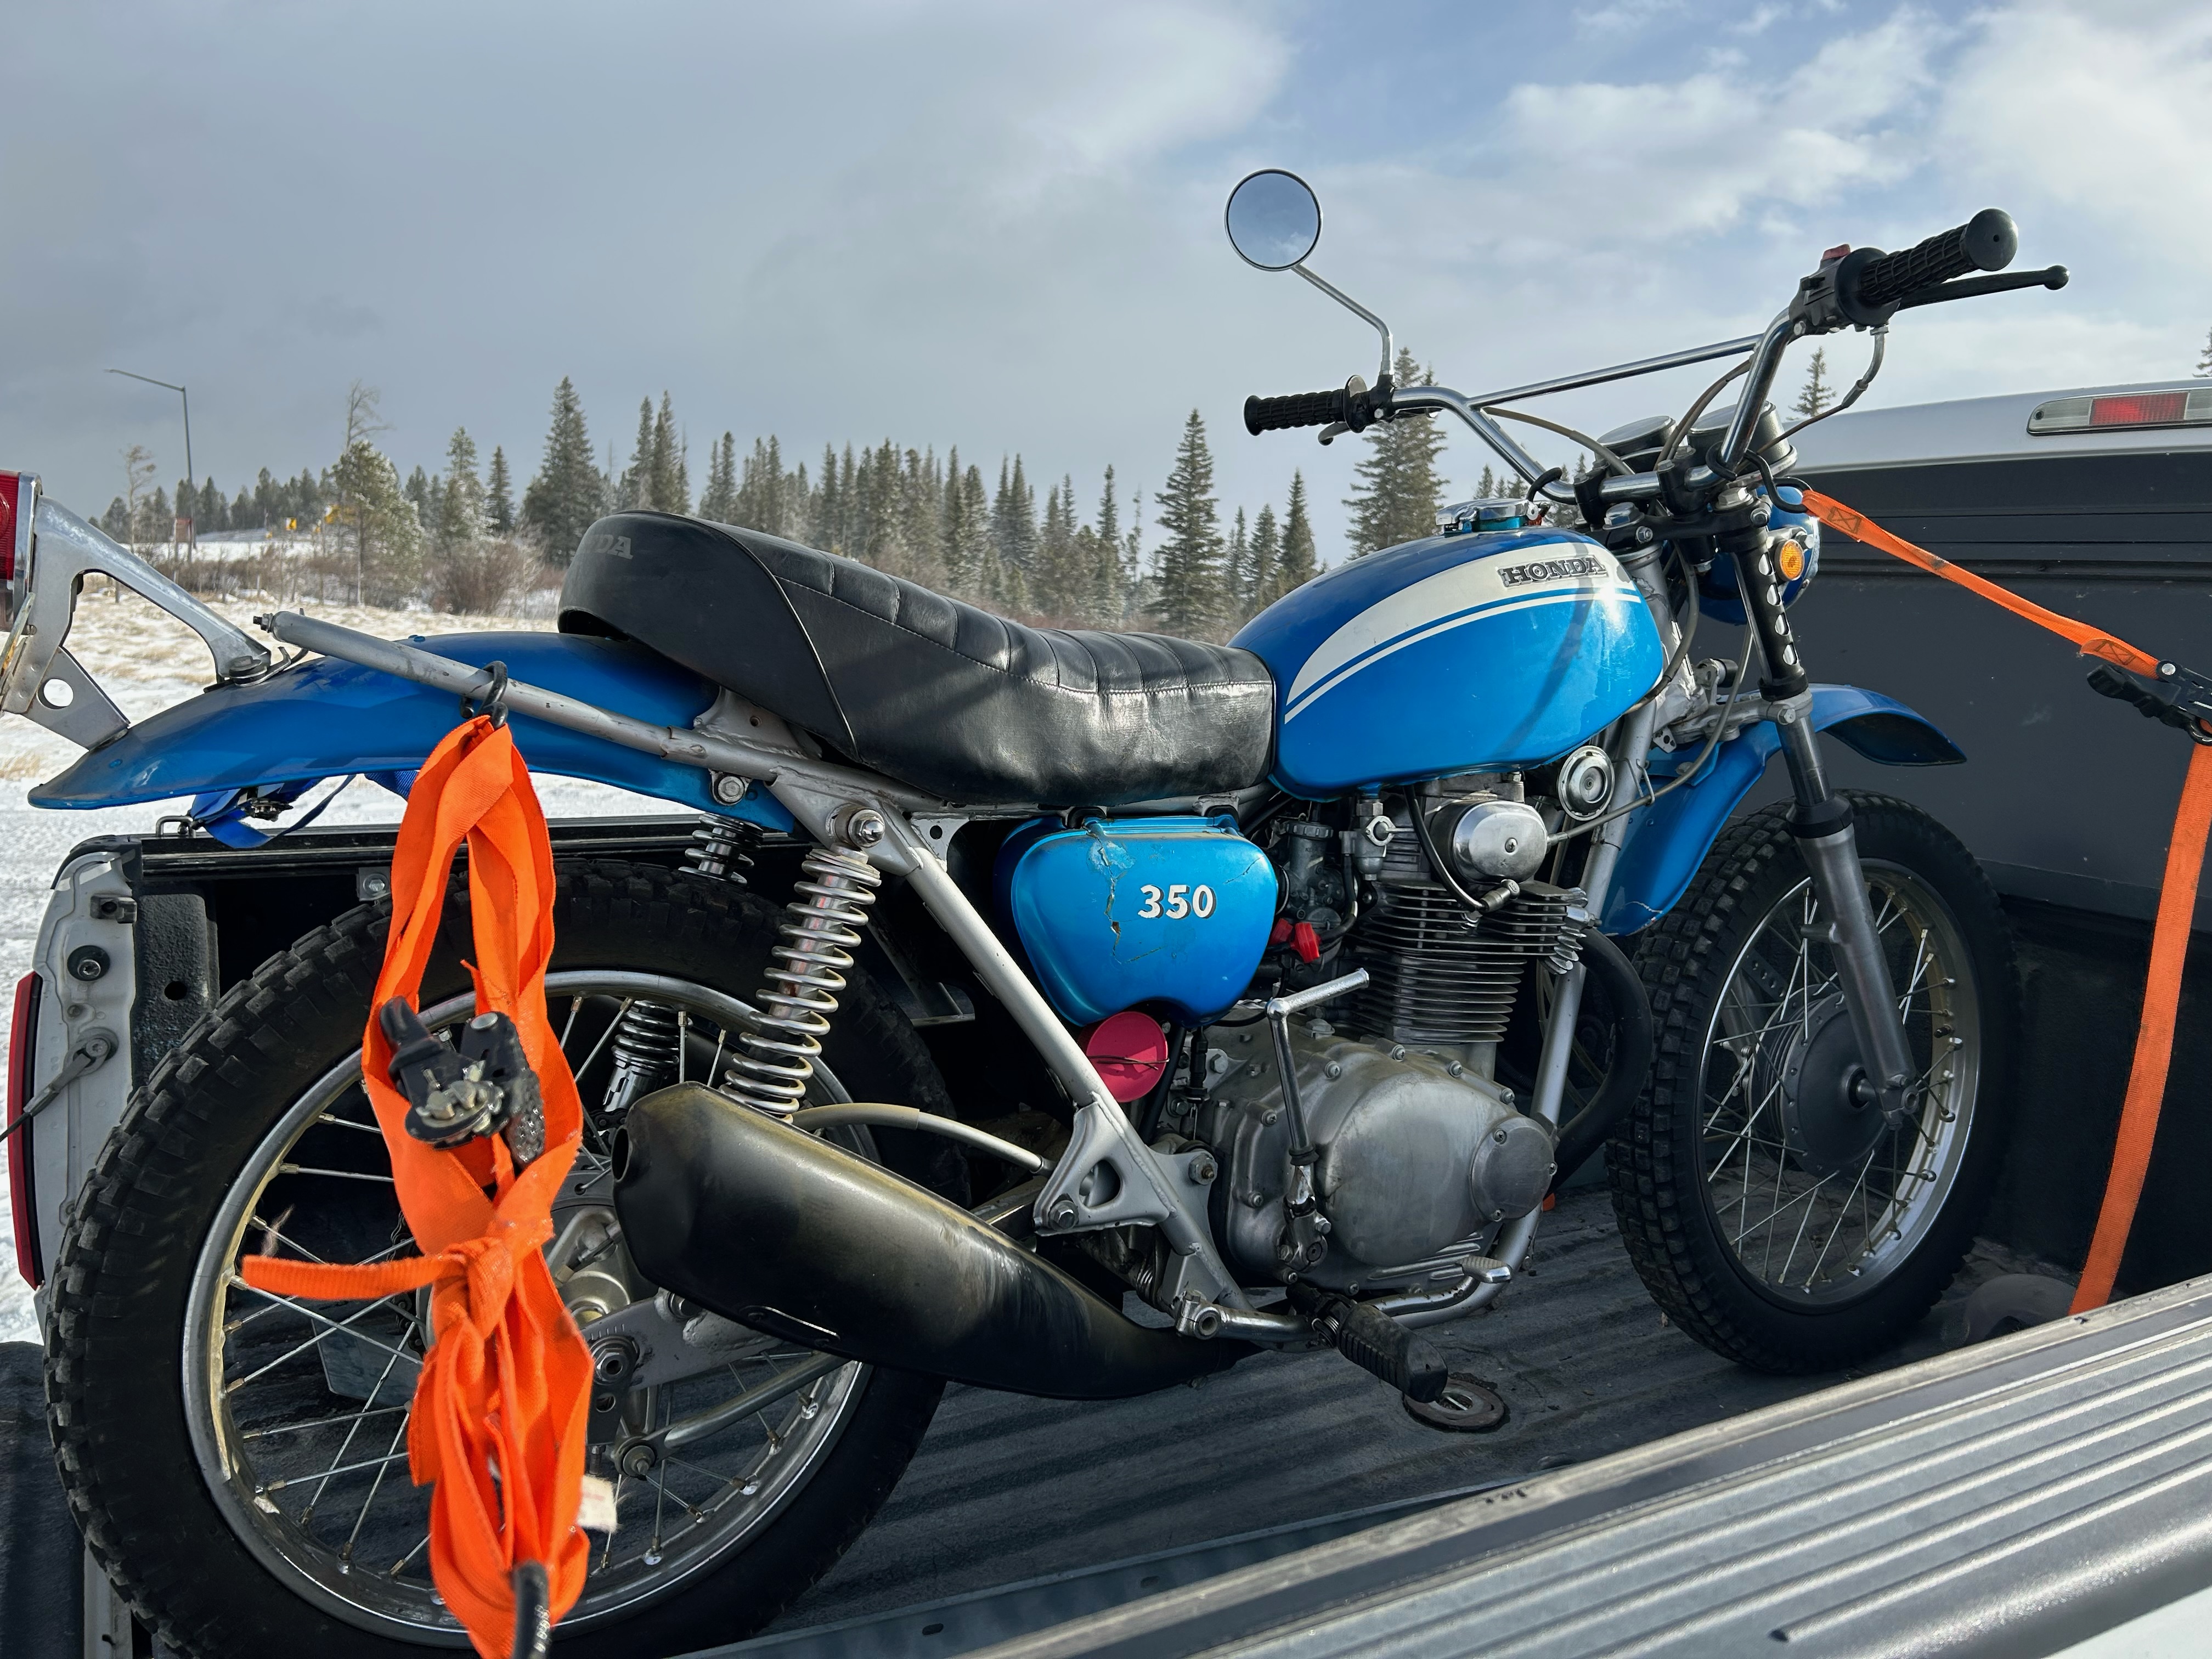

Wow, nice find indeed. I'm only slightly envious :sad: and as expected, the toolbox cover is missing. Hope the original mufflers are in decent shape since they're outrageously-priced unobtanium
I think AD posted something a while back on someone reproducing them now, a little pricey but available.
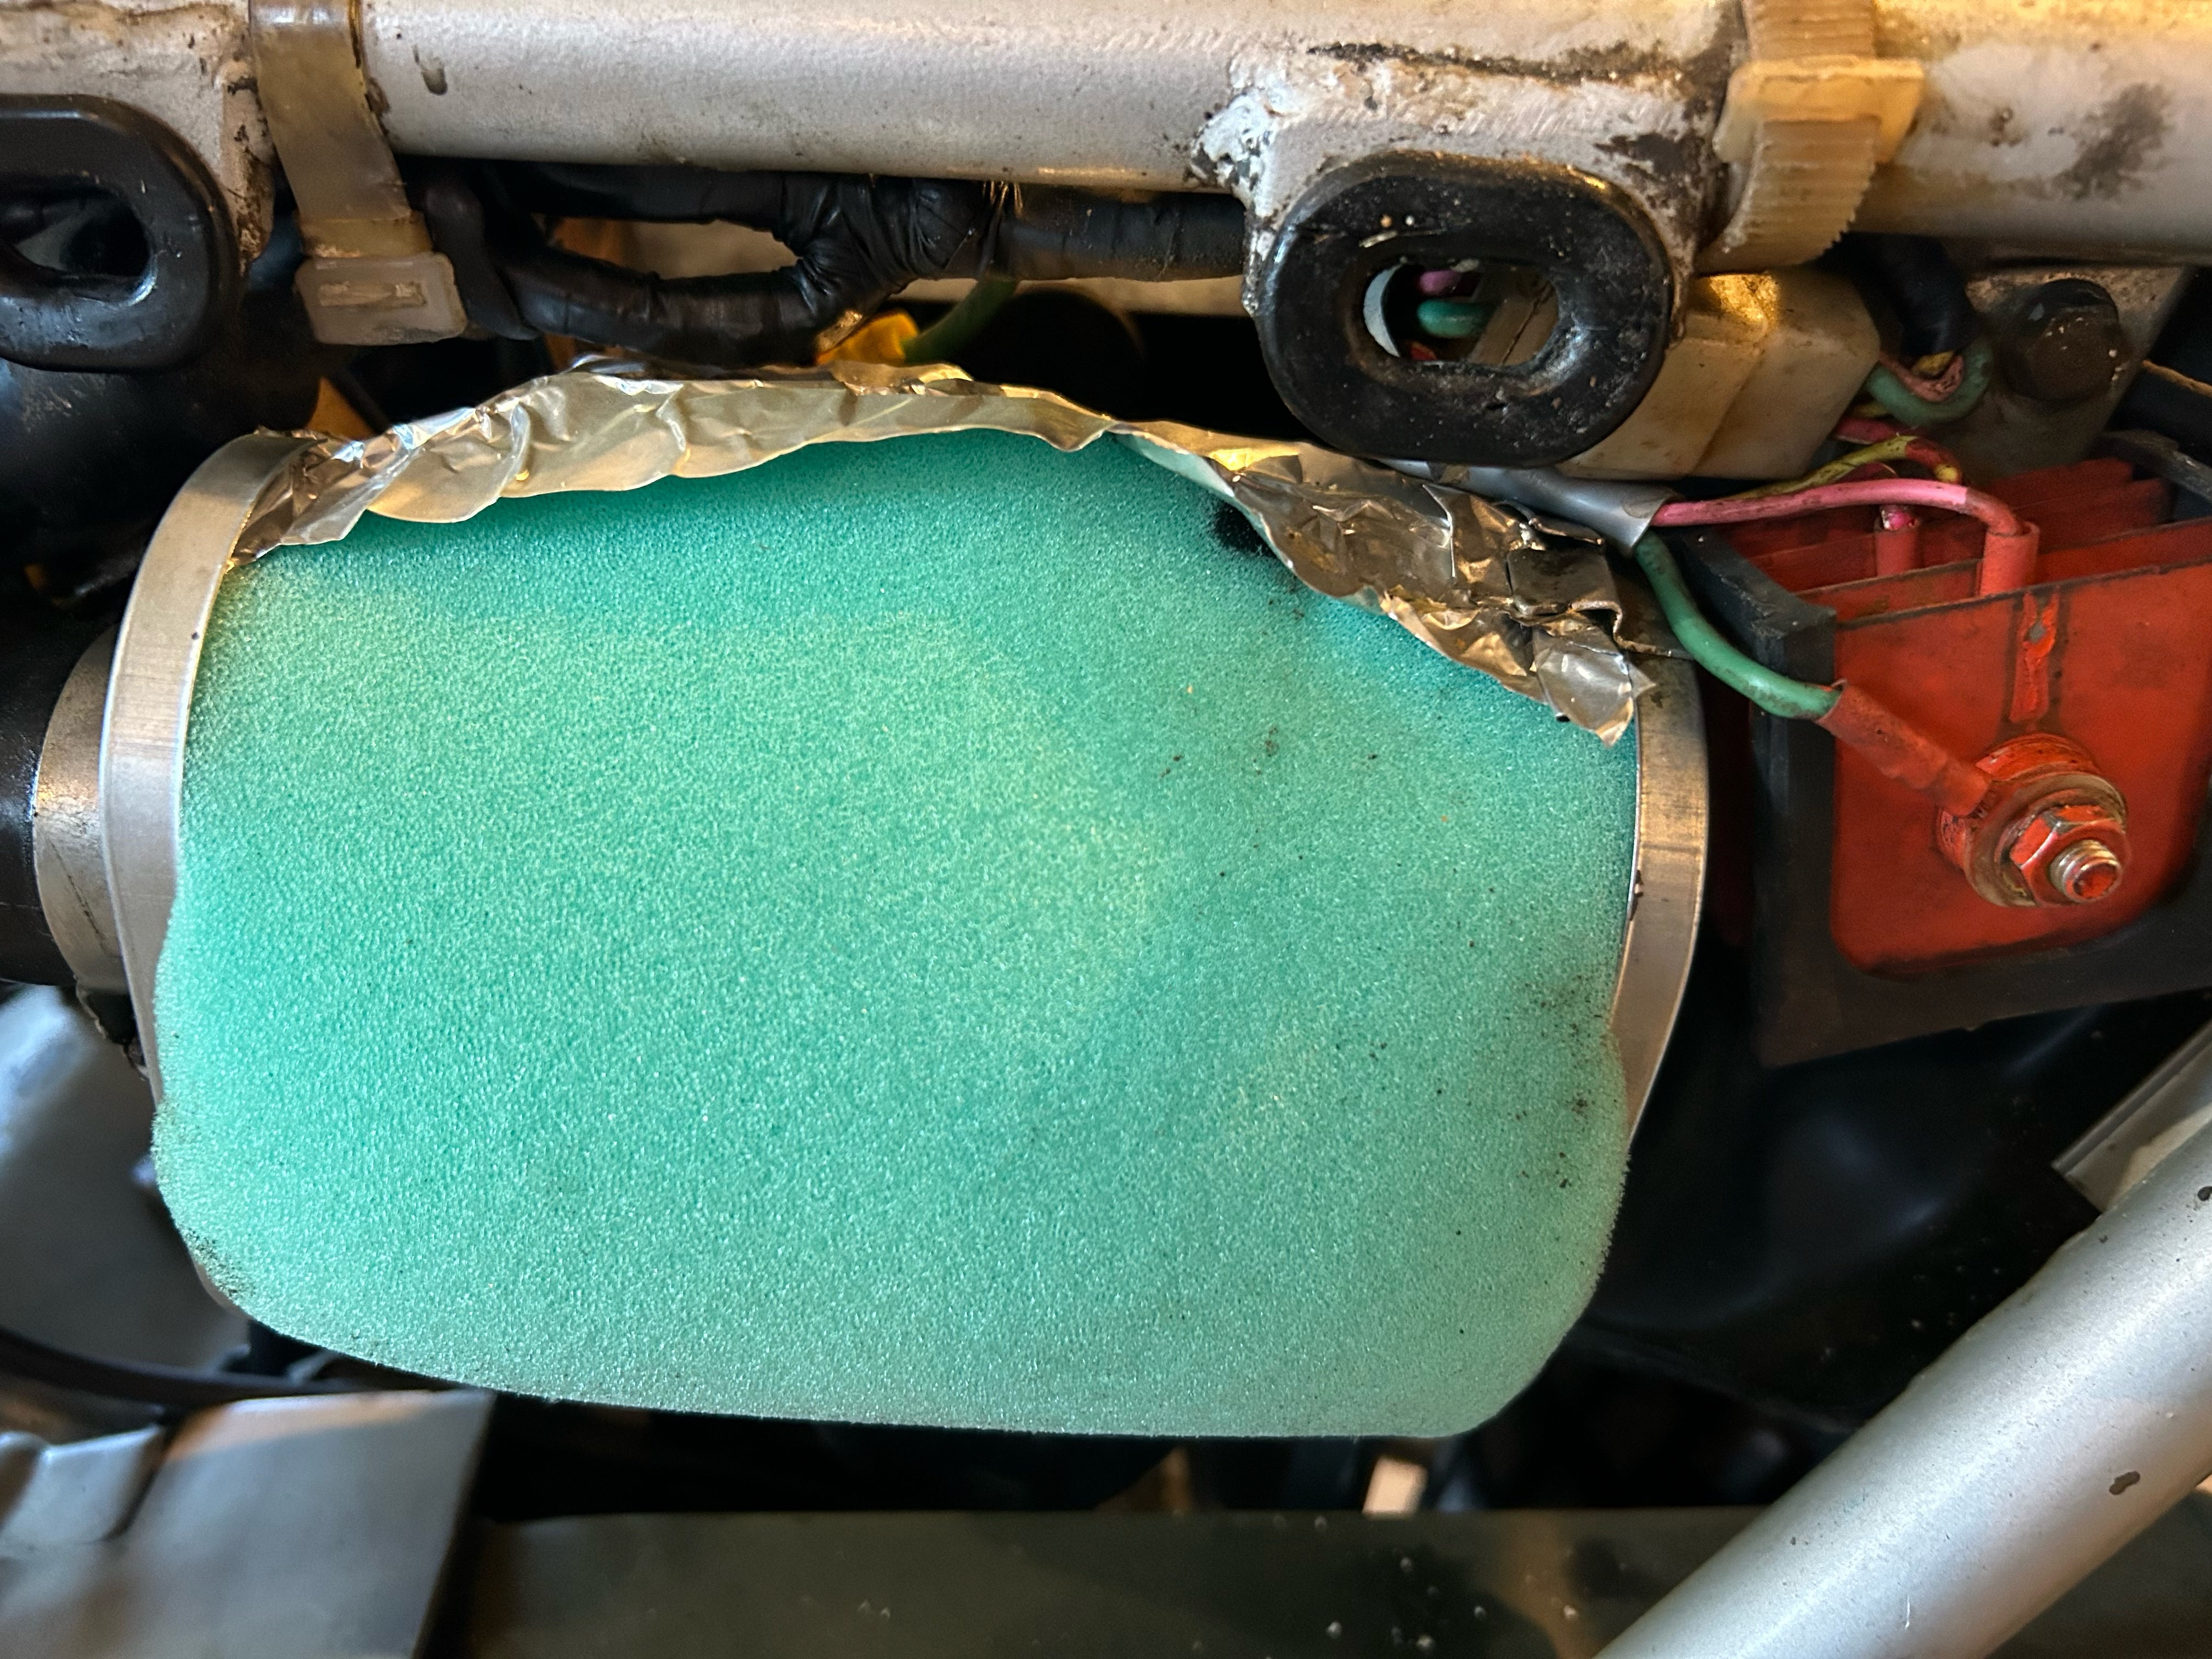
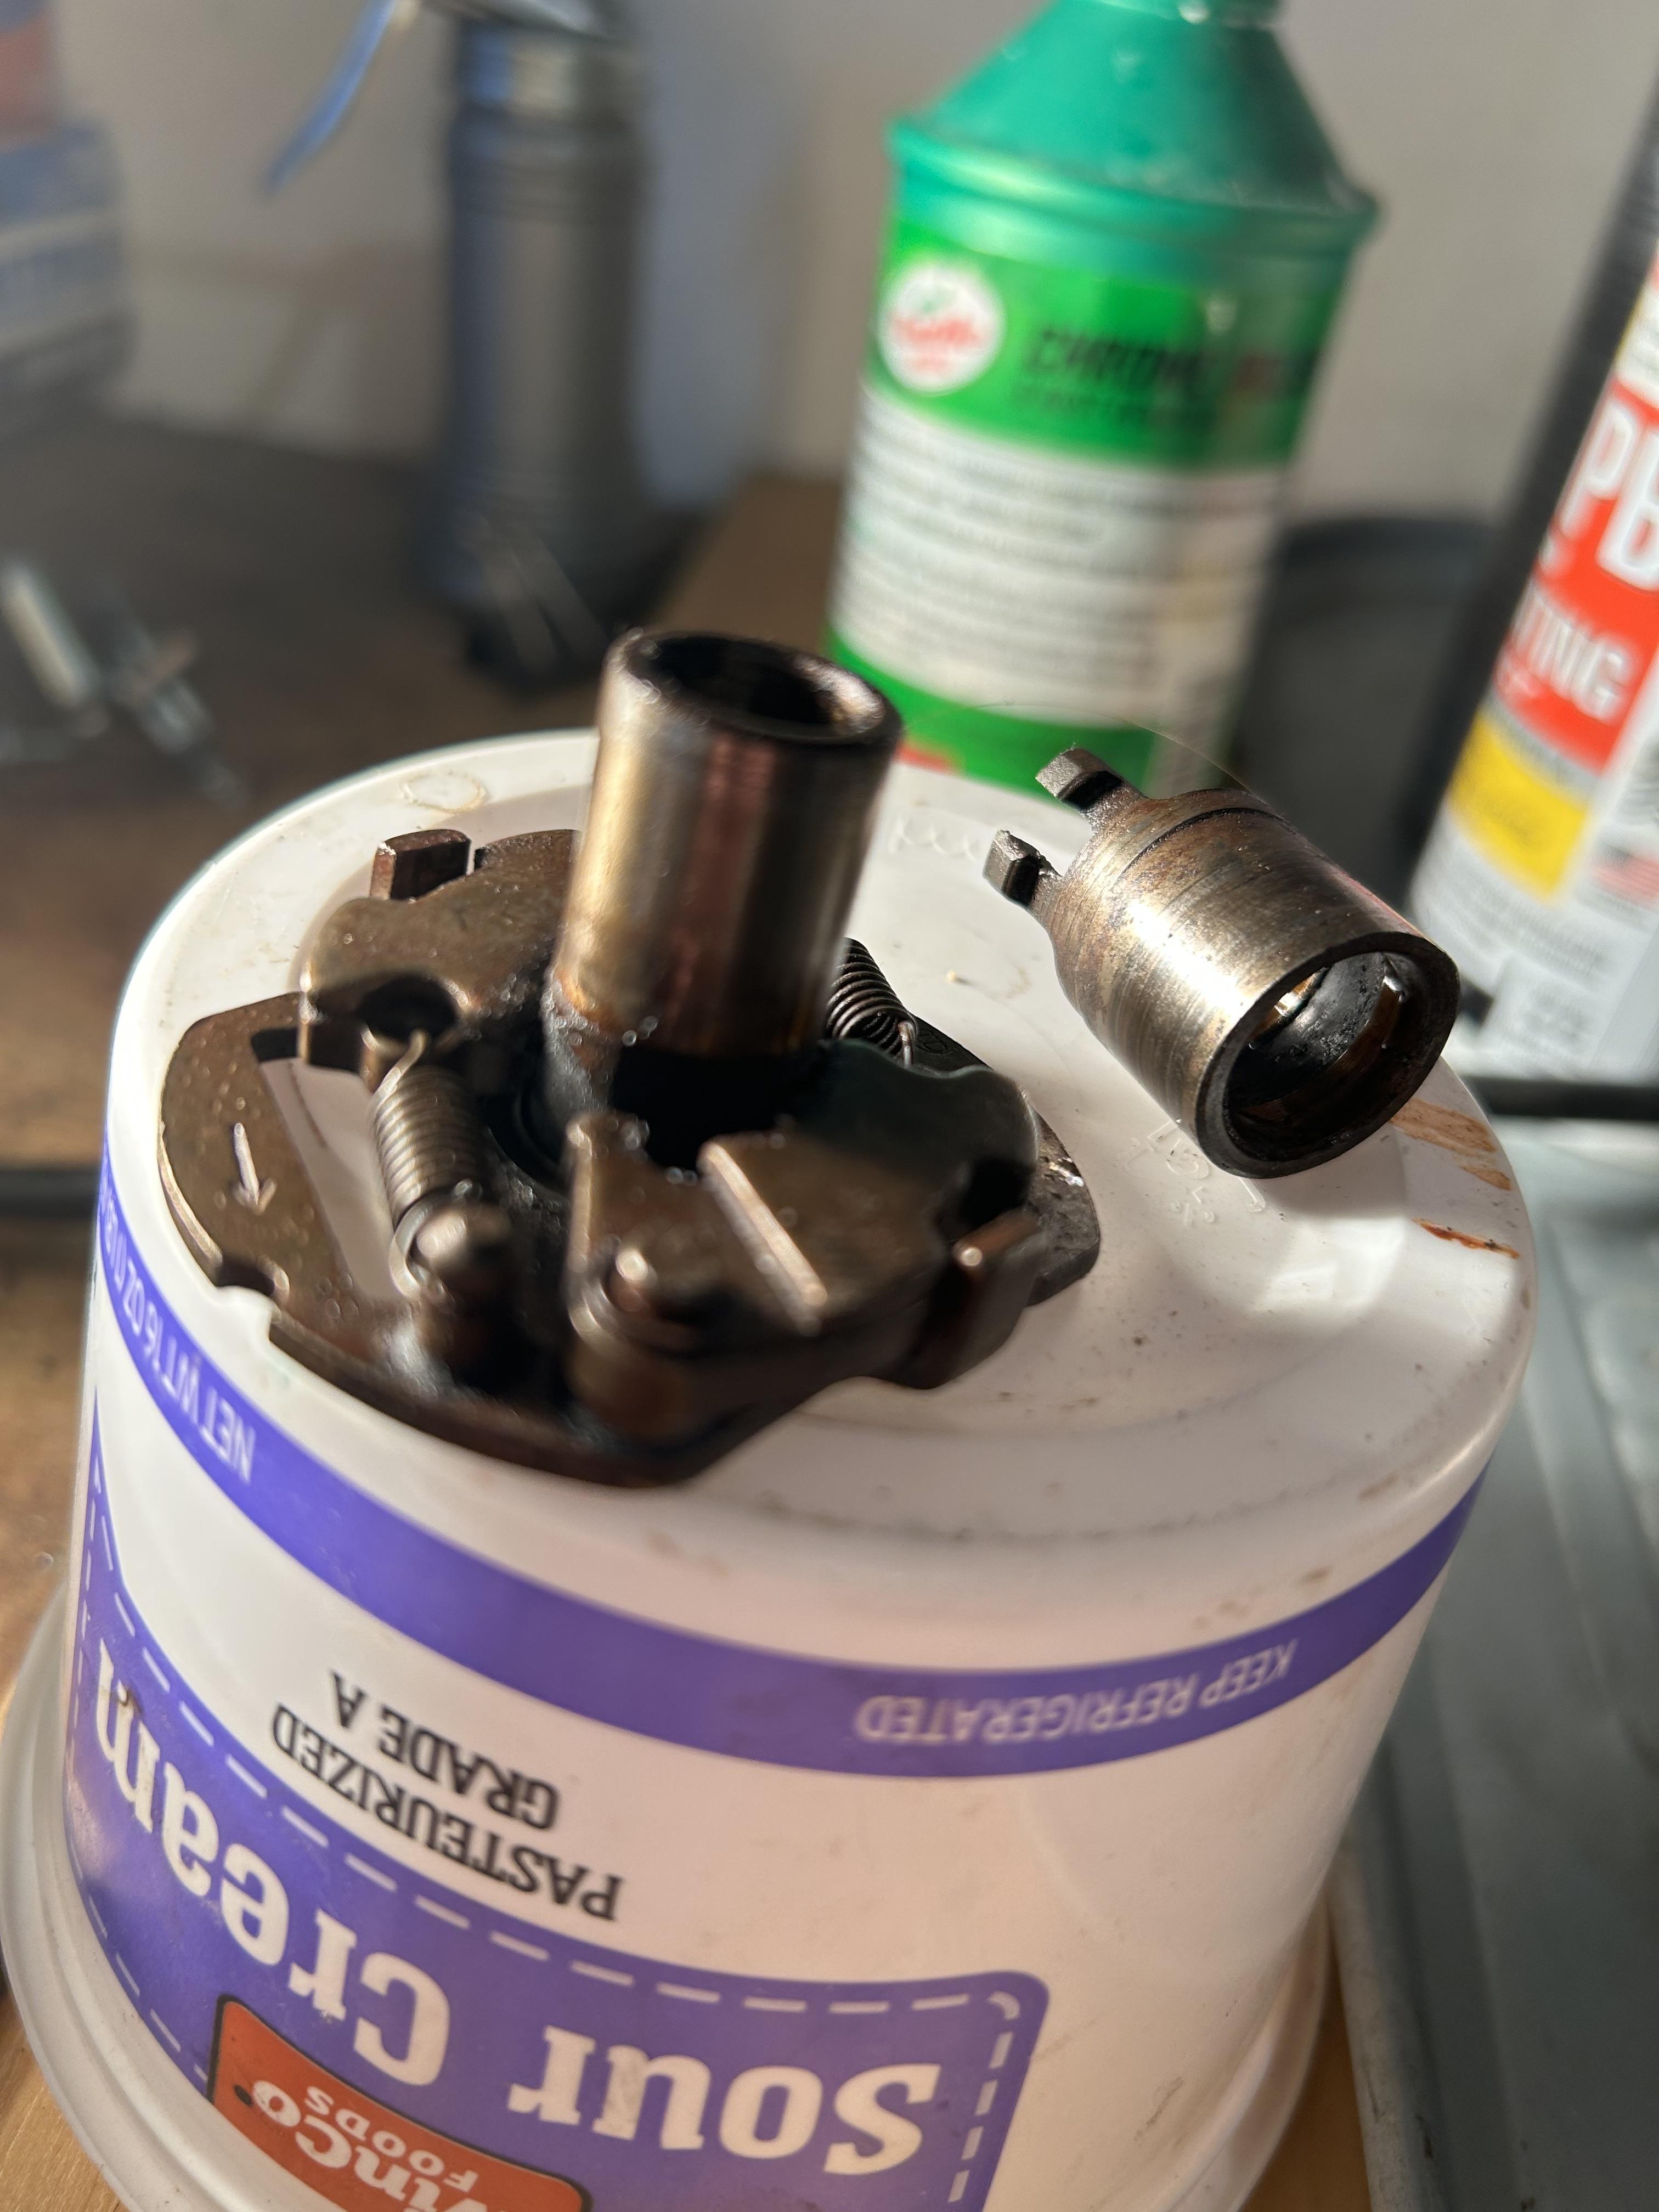
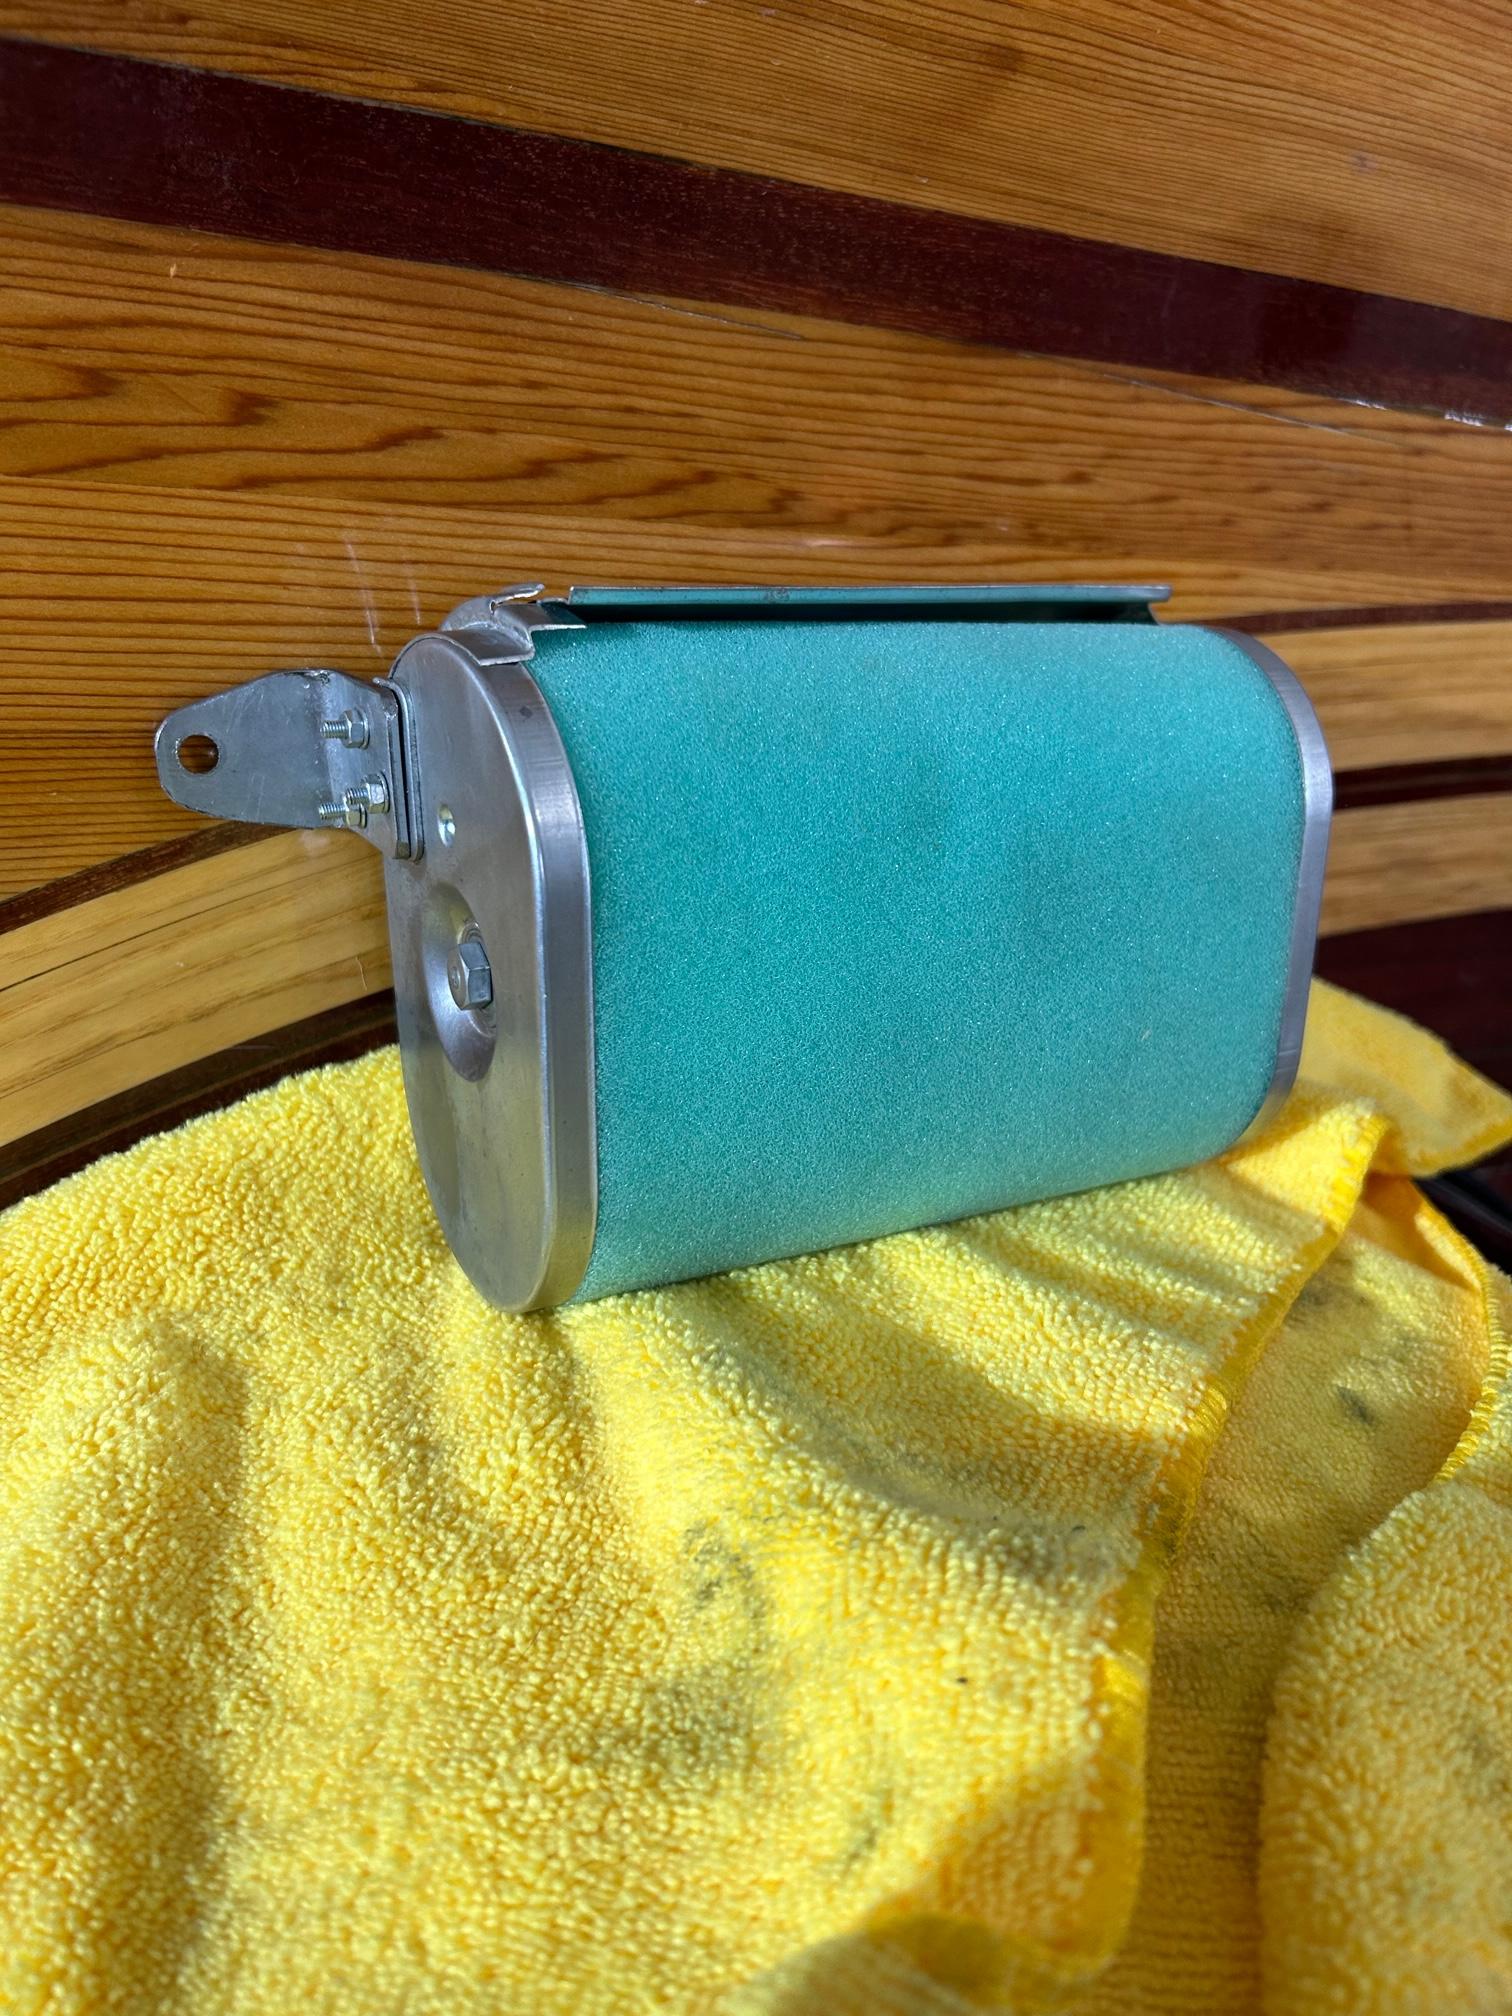
Very nice find, just like my first new bike when I was 18. The air cleaner housings are fairly regularly available on eBay and they reproduce the air filter element also. First thing I would do is see if the kick starter engages correctly, that gear is hard to find and if it's bad that would be my first priority in locating. I think AD posted something a while back on someone reproducing them now, a little pricey but available.
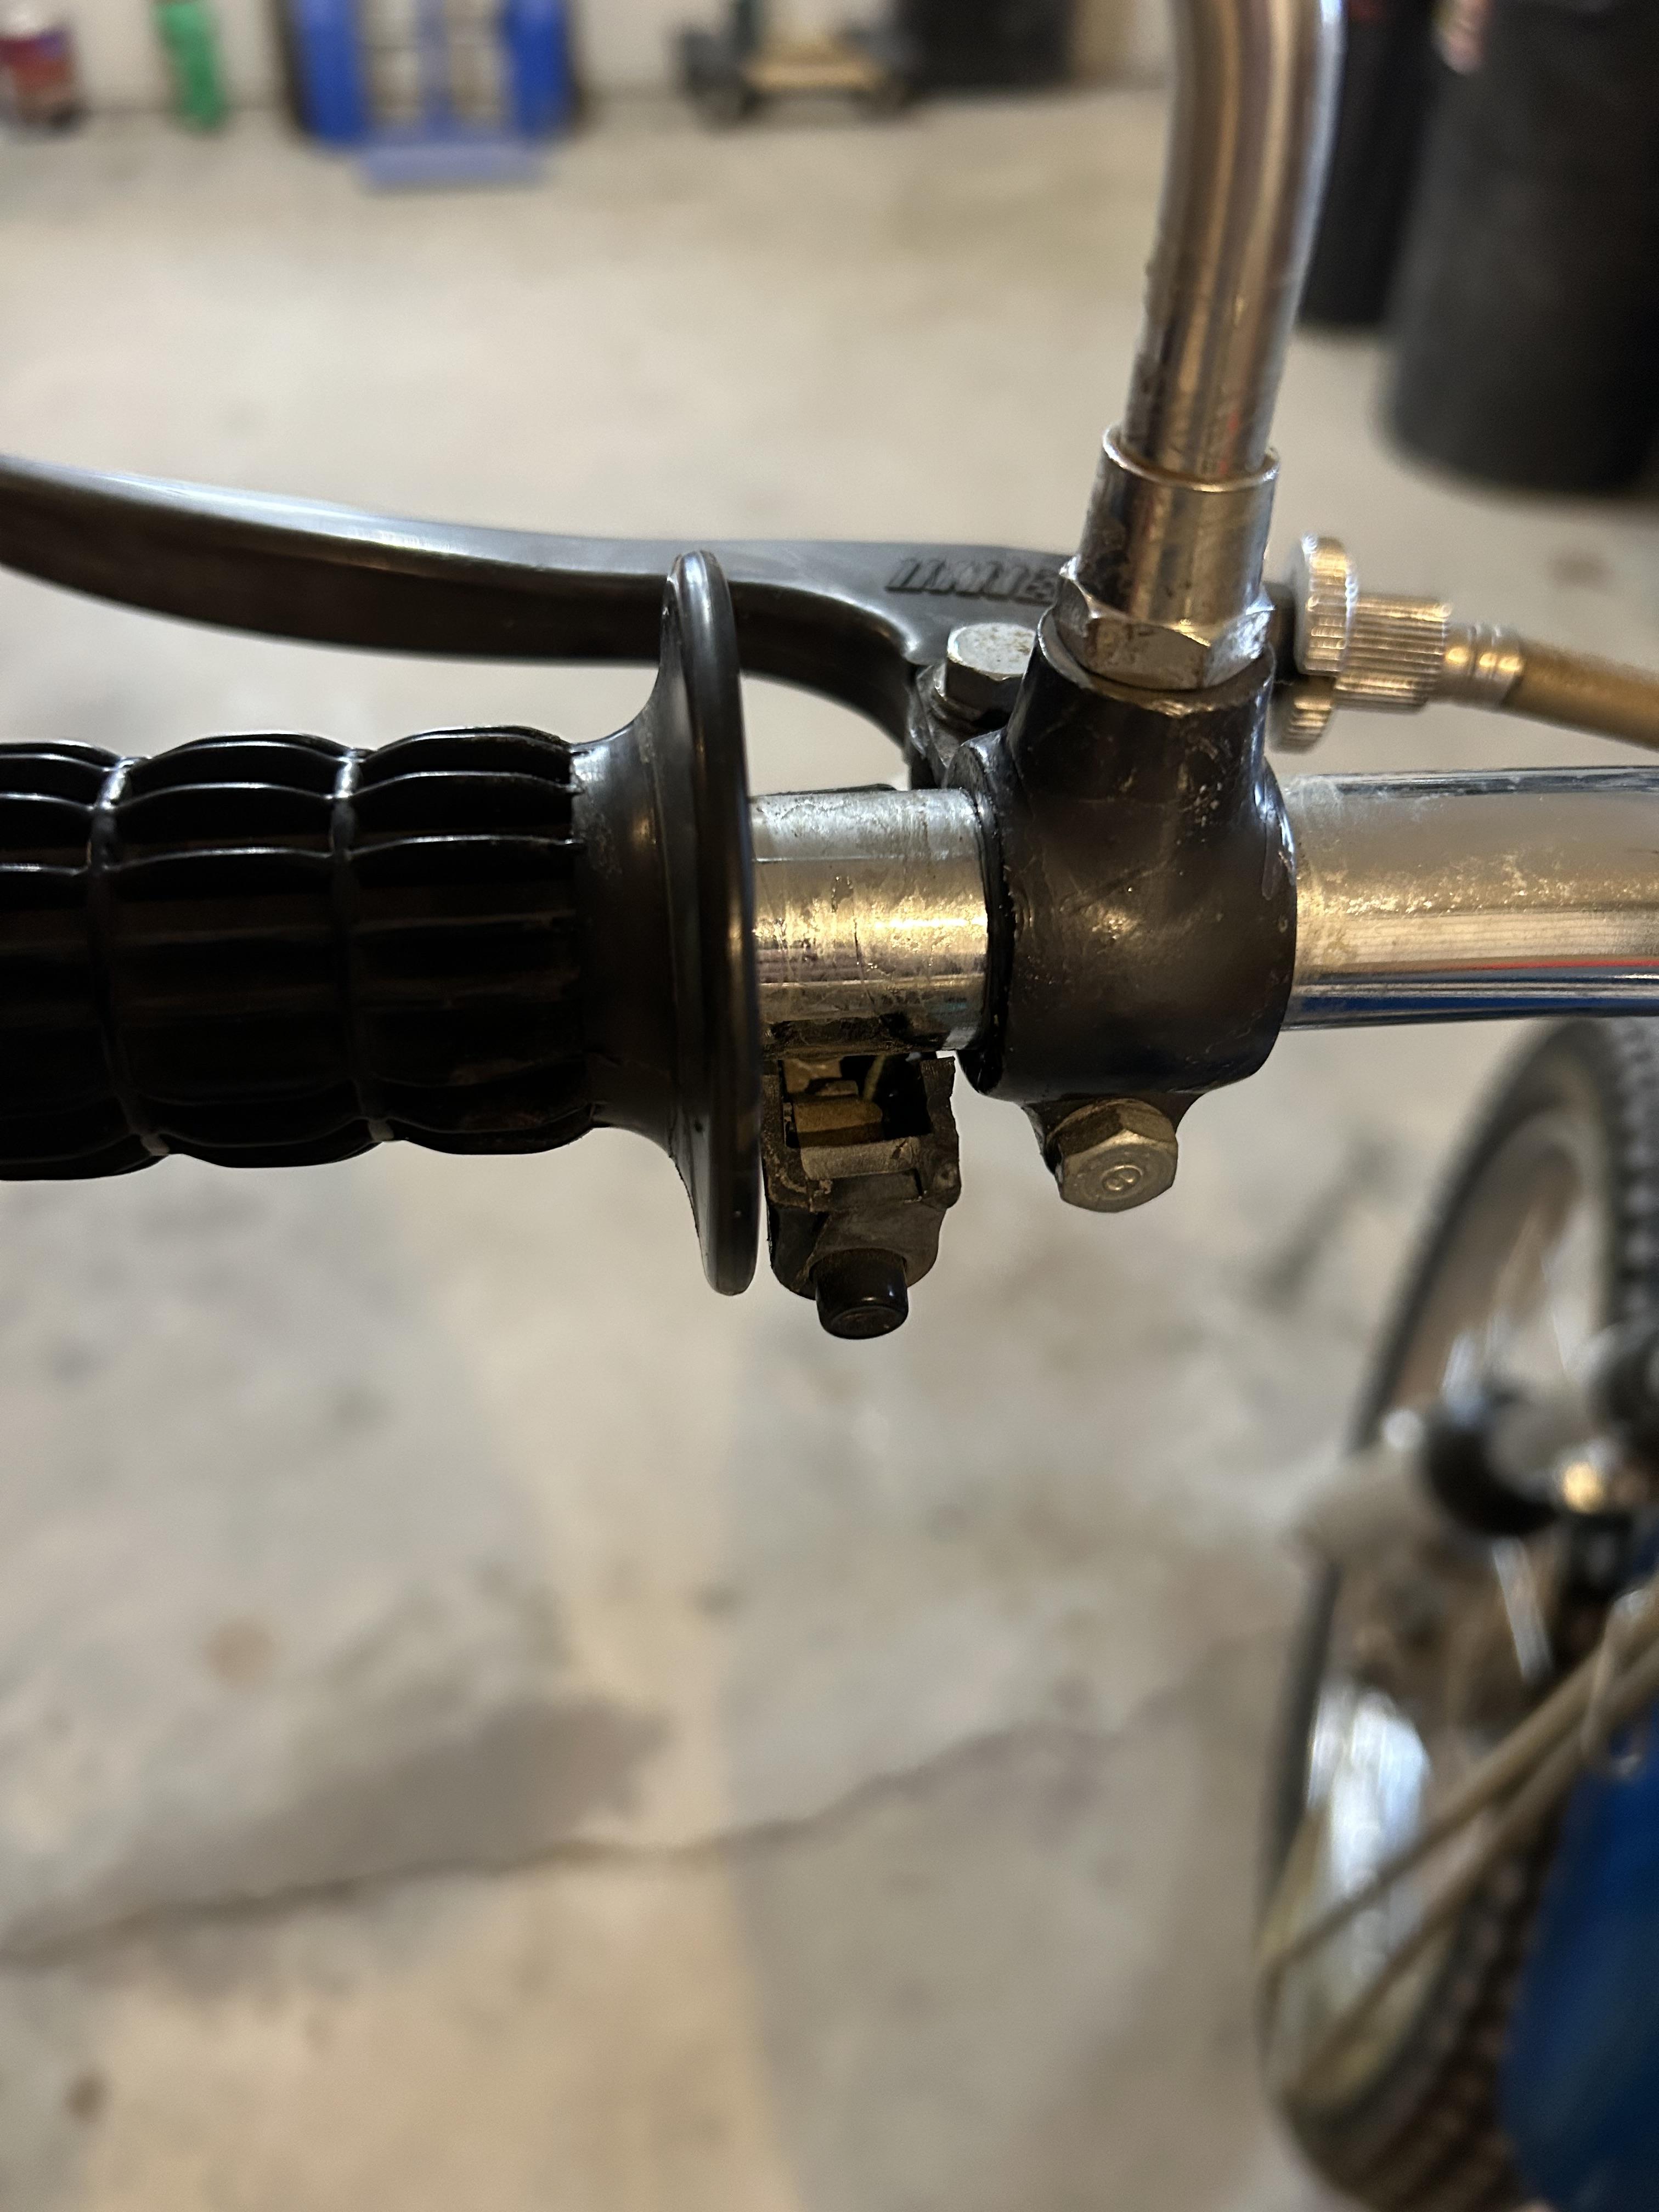
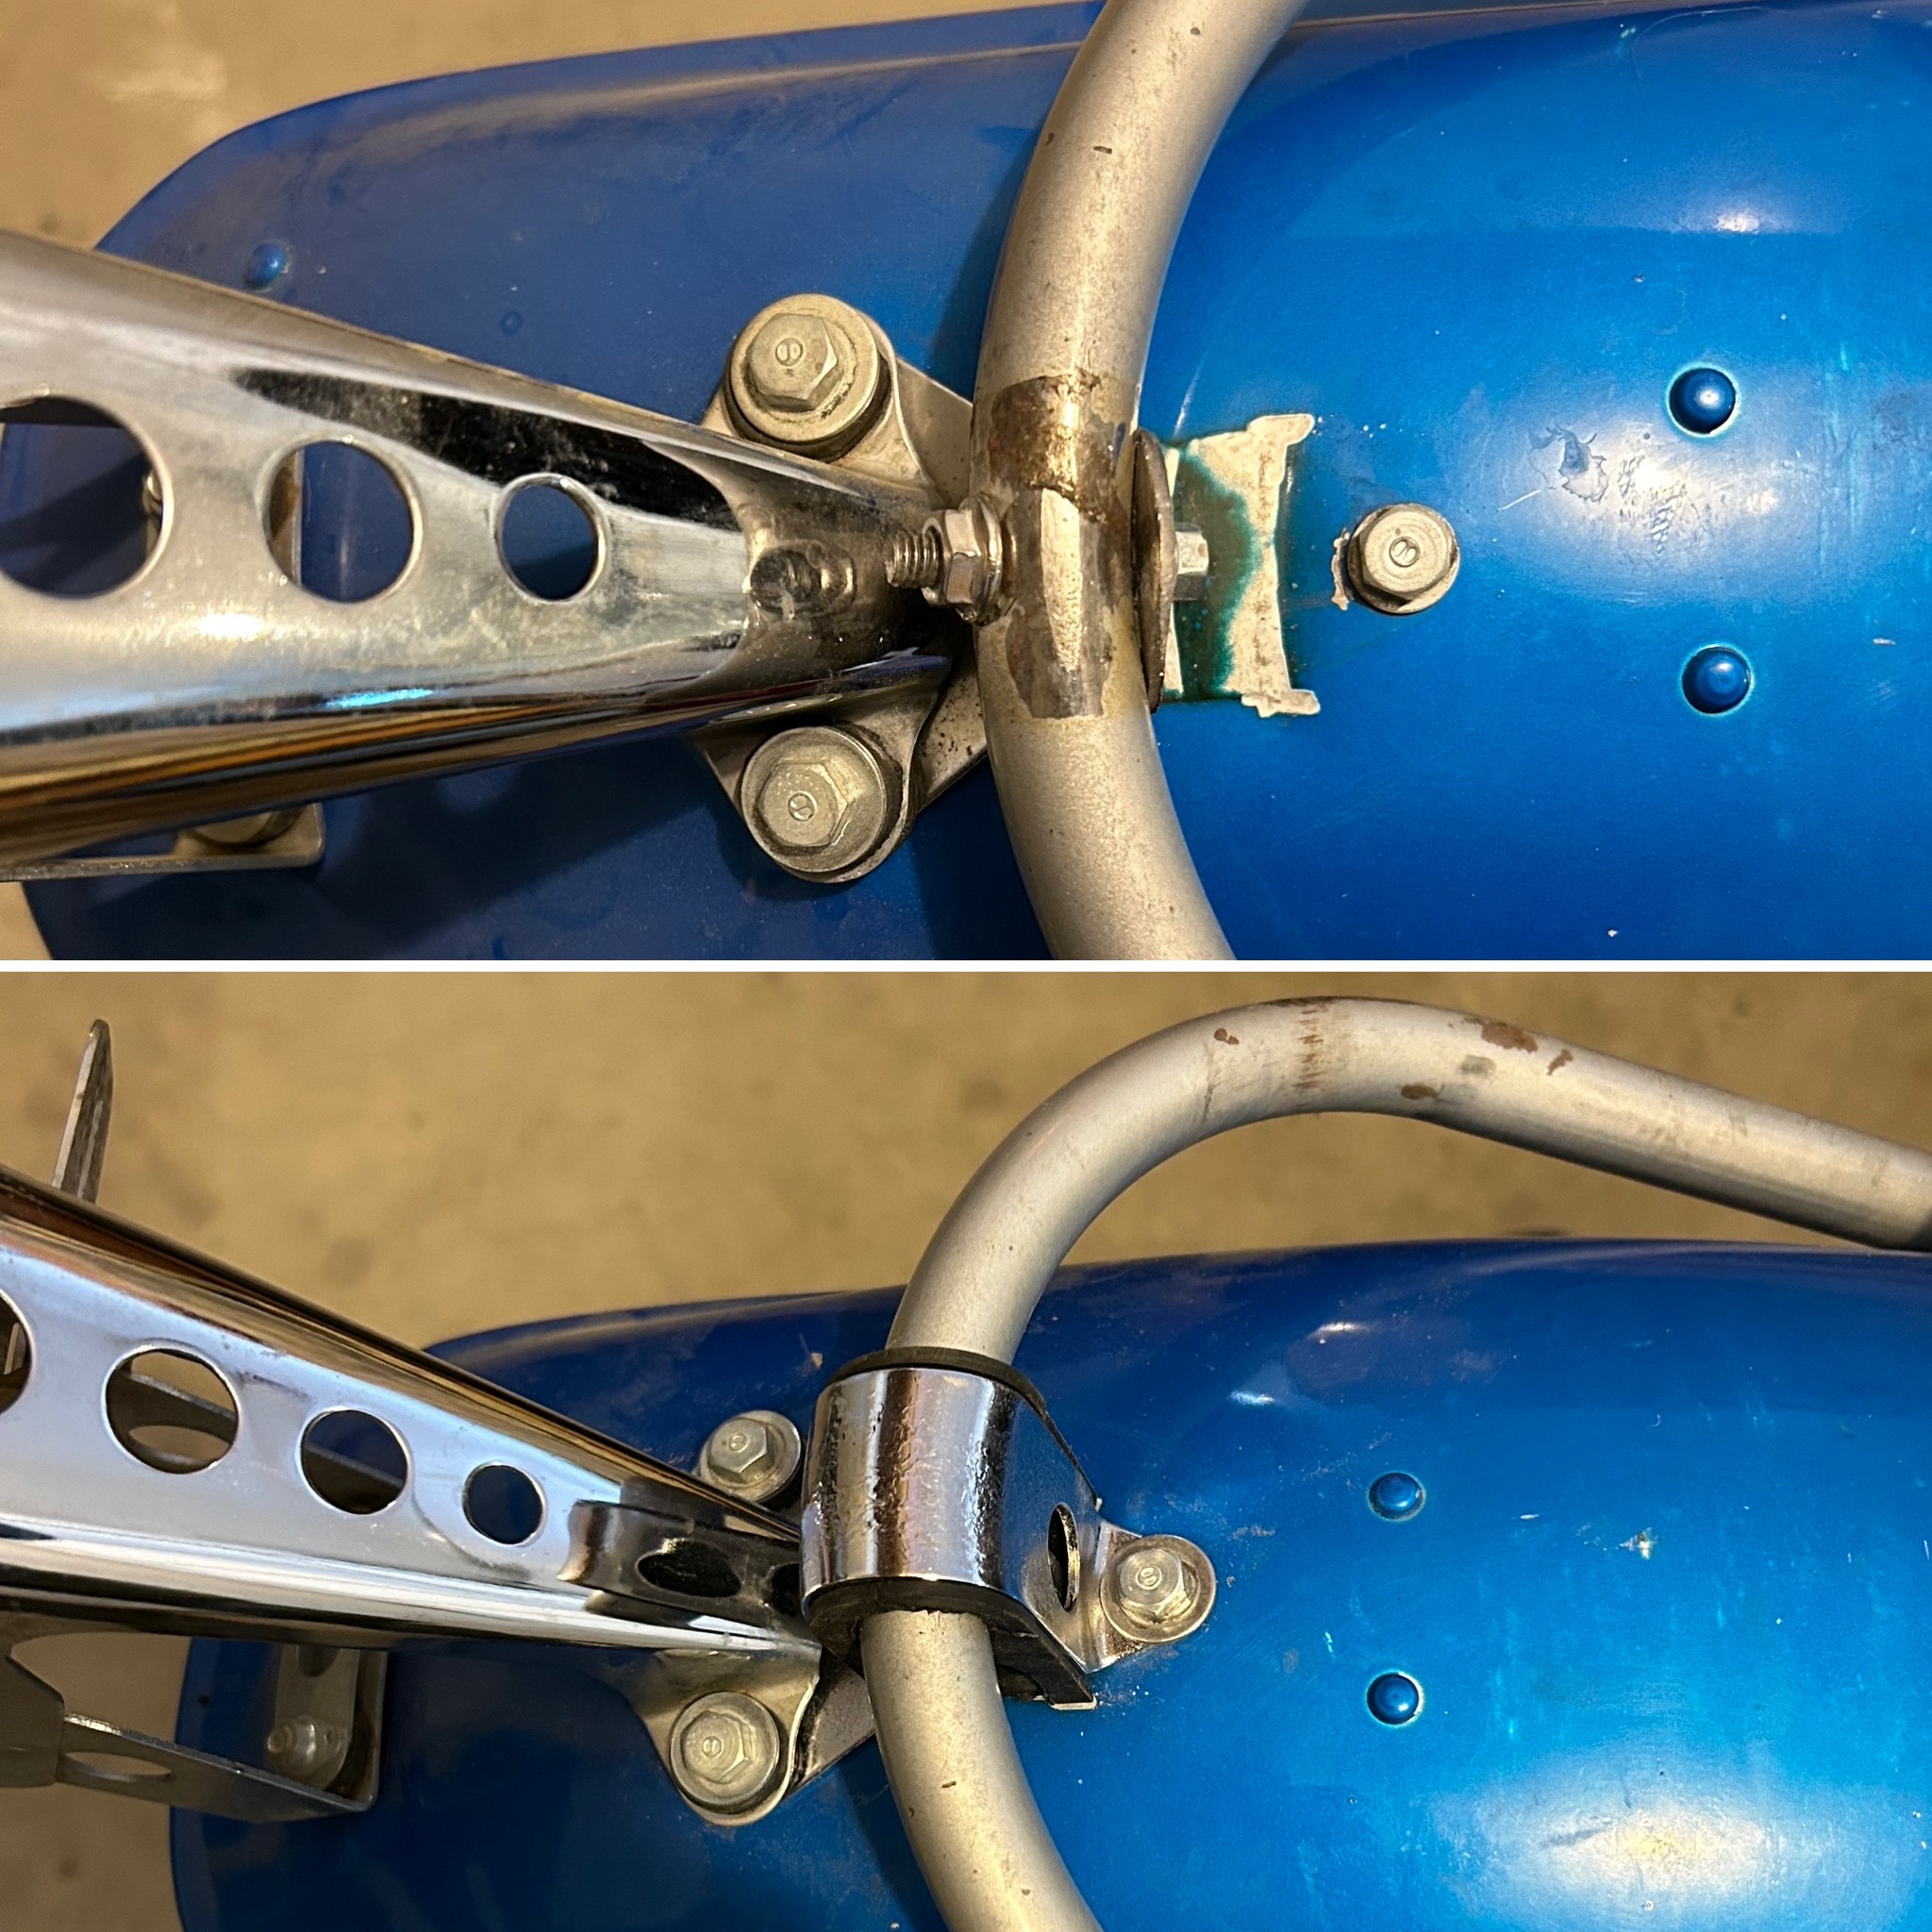
Yes, the separate, single-purpose plastic horn button assembly is as unobtanium as the kickstart idler gear, I've seen them for half that ridiculous price at $250 and that is already well beyond highway robbery for a piece of plastic with a single contact to a ground wire. The XL250 and maybe a smaller SL or XL also used it.
Jay, aka Jays100, is working on getting these into production. Re-engineered from an OEM NOS gear I found.Very nice find, just like my first new bike when I was 18. The air cleaner housings are fairly regularly available on eBay and they reproduce the air filter element also. First thing I would do is see if the kick starter engages correctly, that gear is hard to find and if it's bad that would be my first priority in locating. I think AD posted something a while back on someone reproducing them now, a little pricey but available.
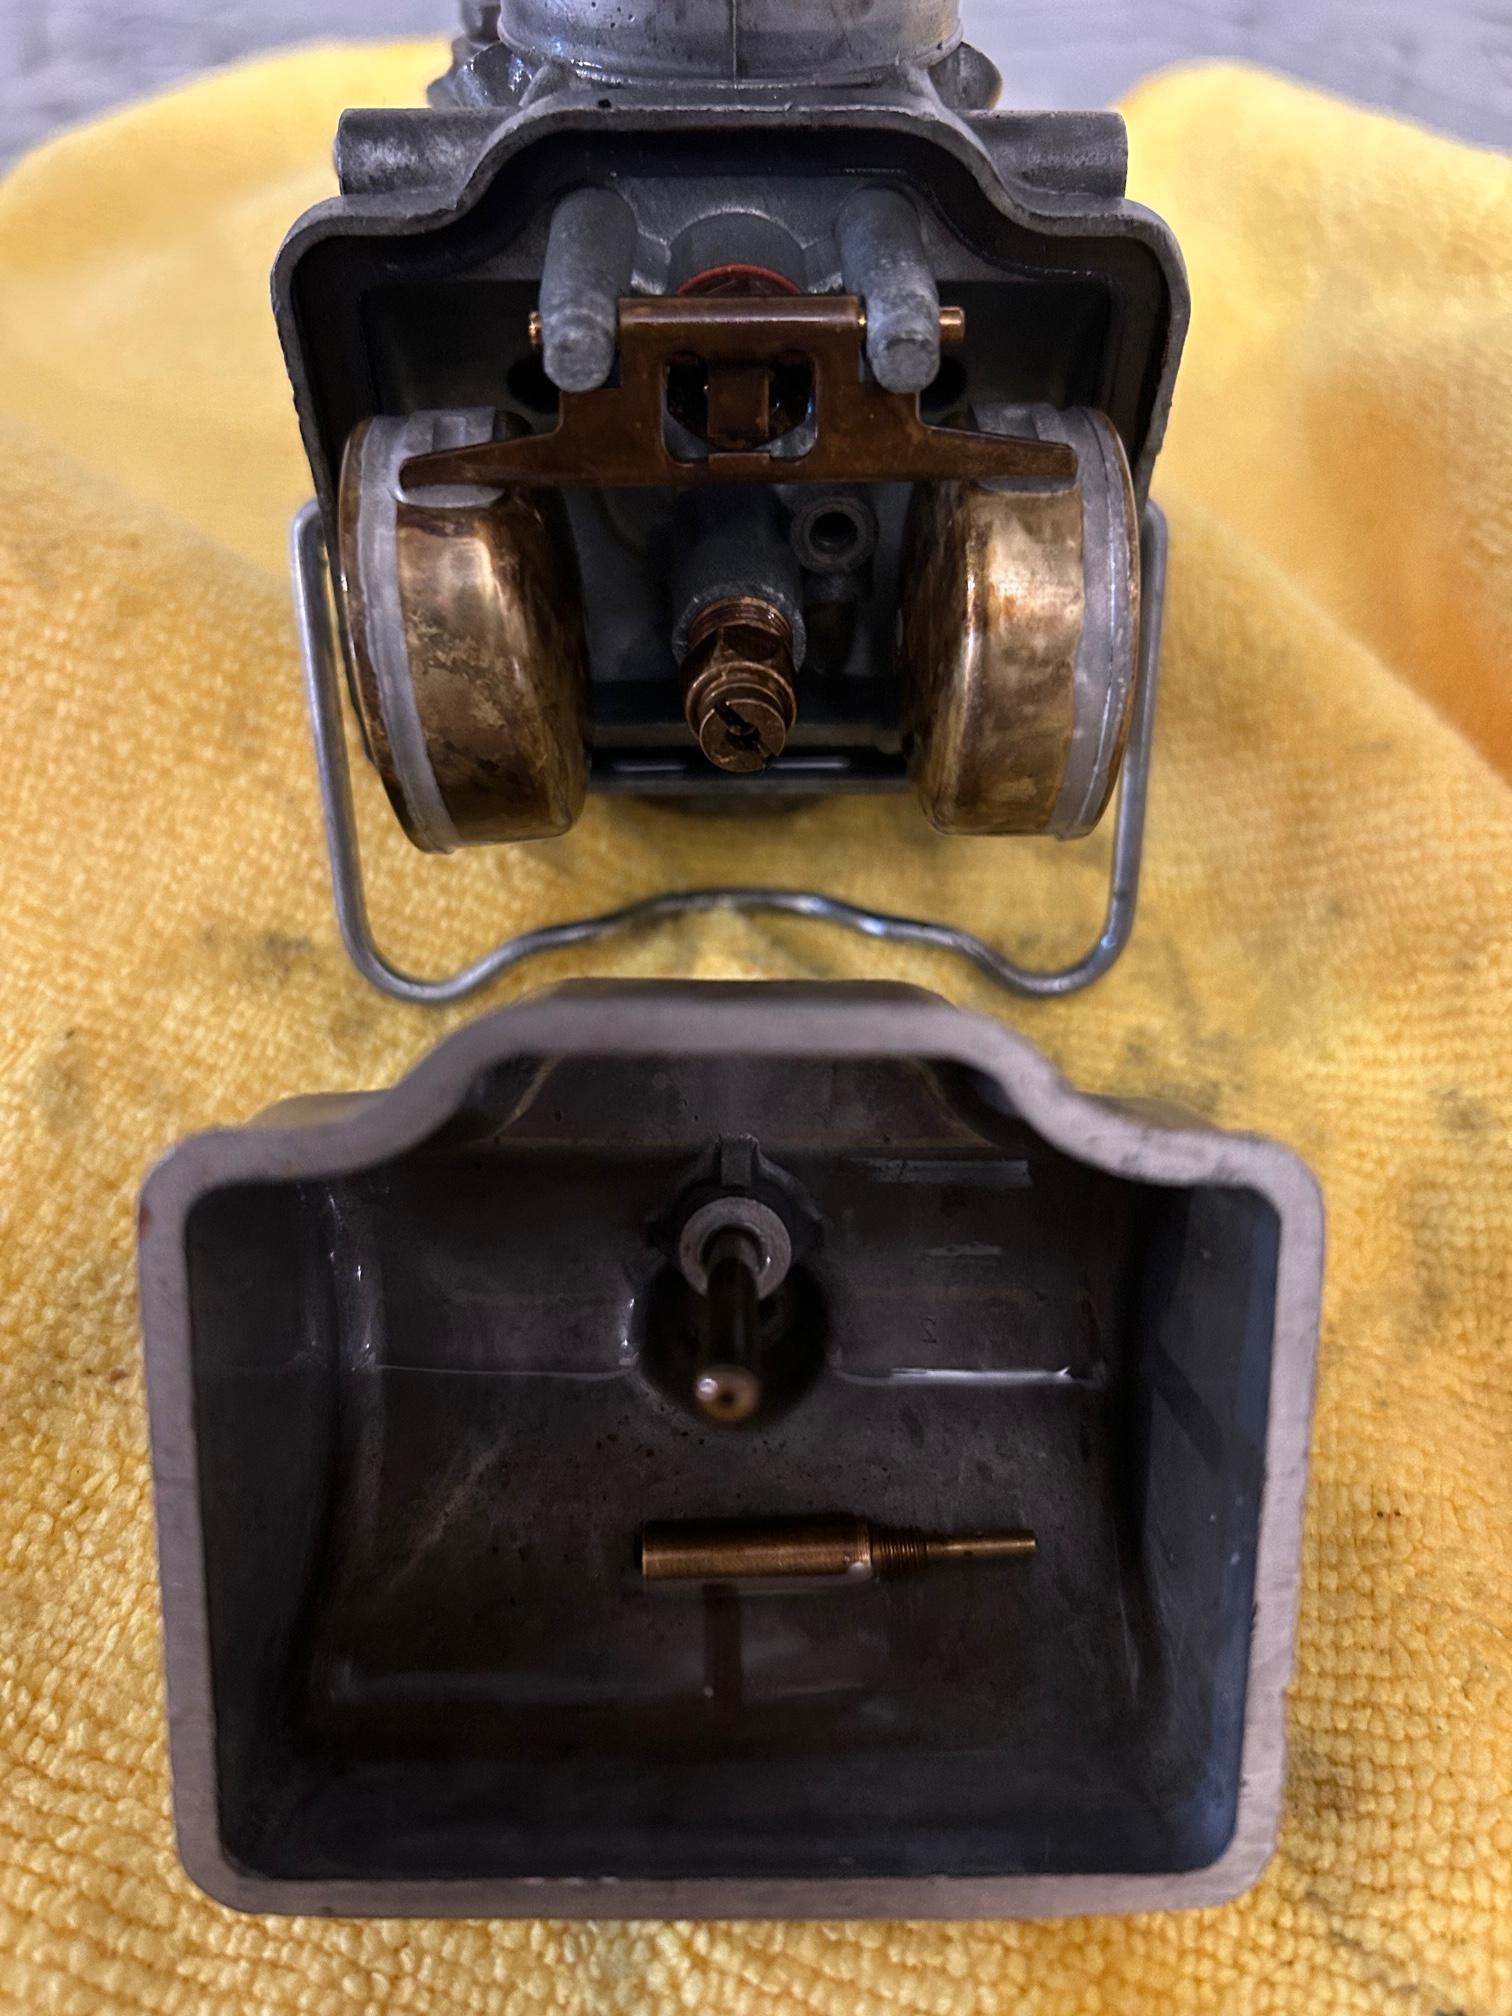
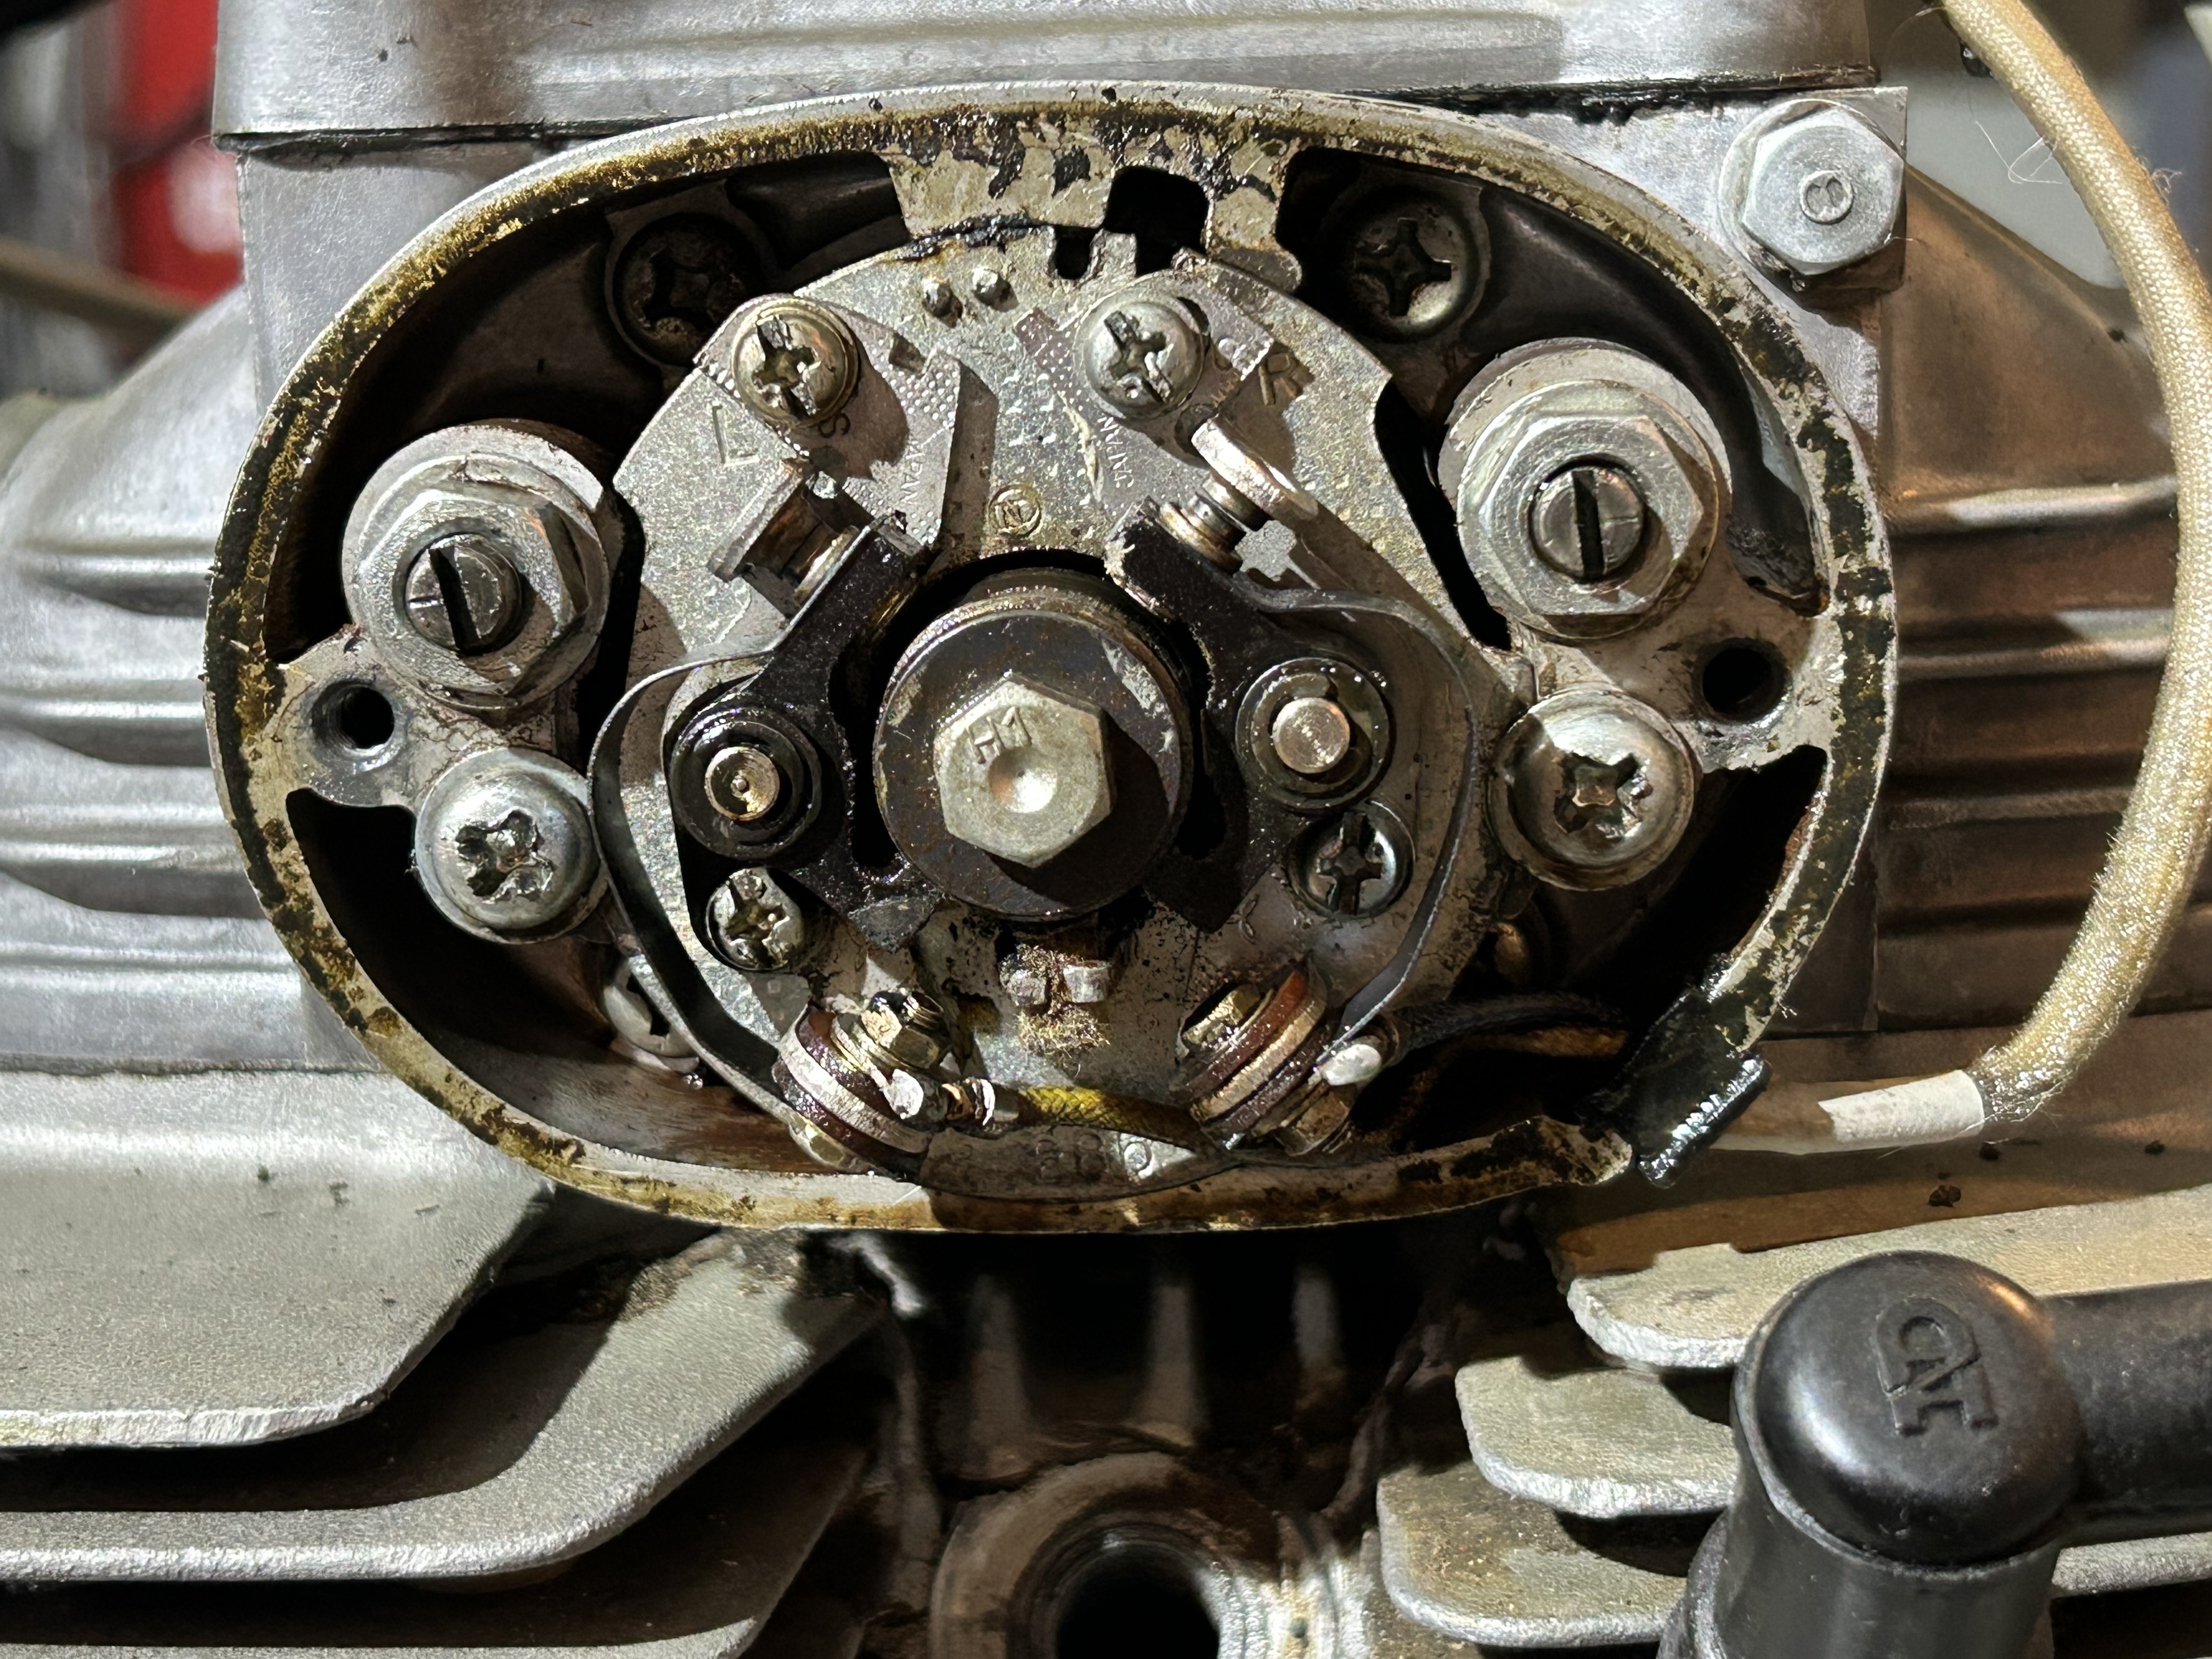
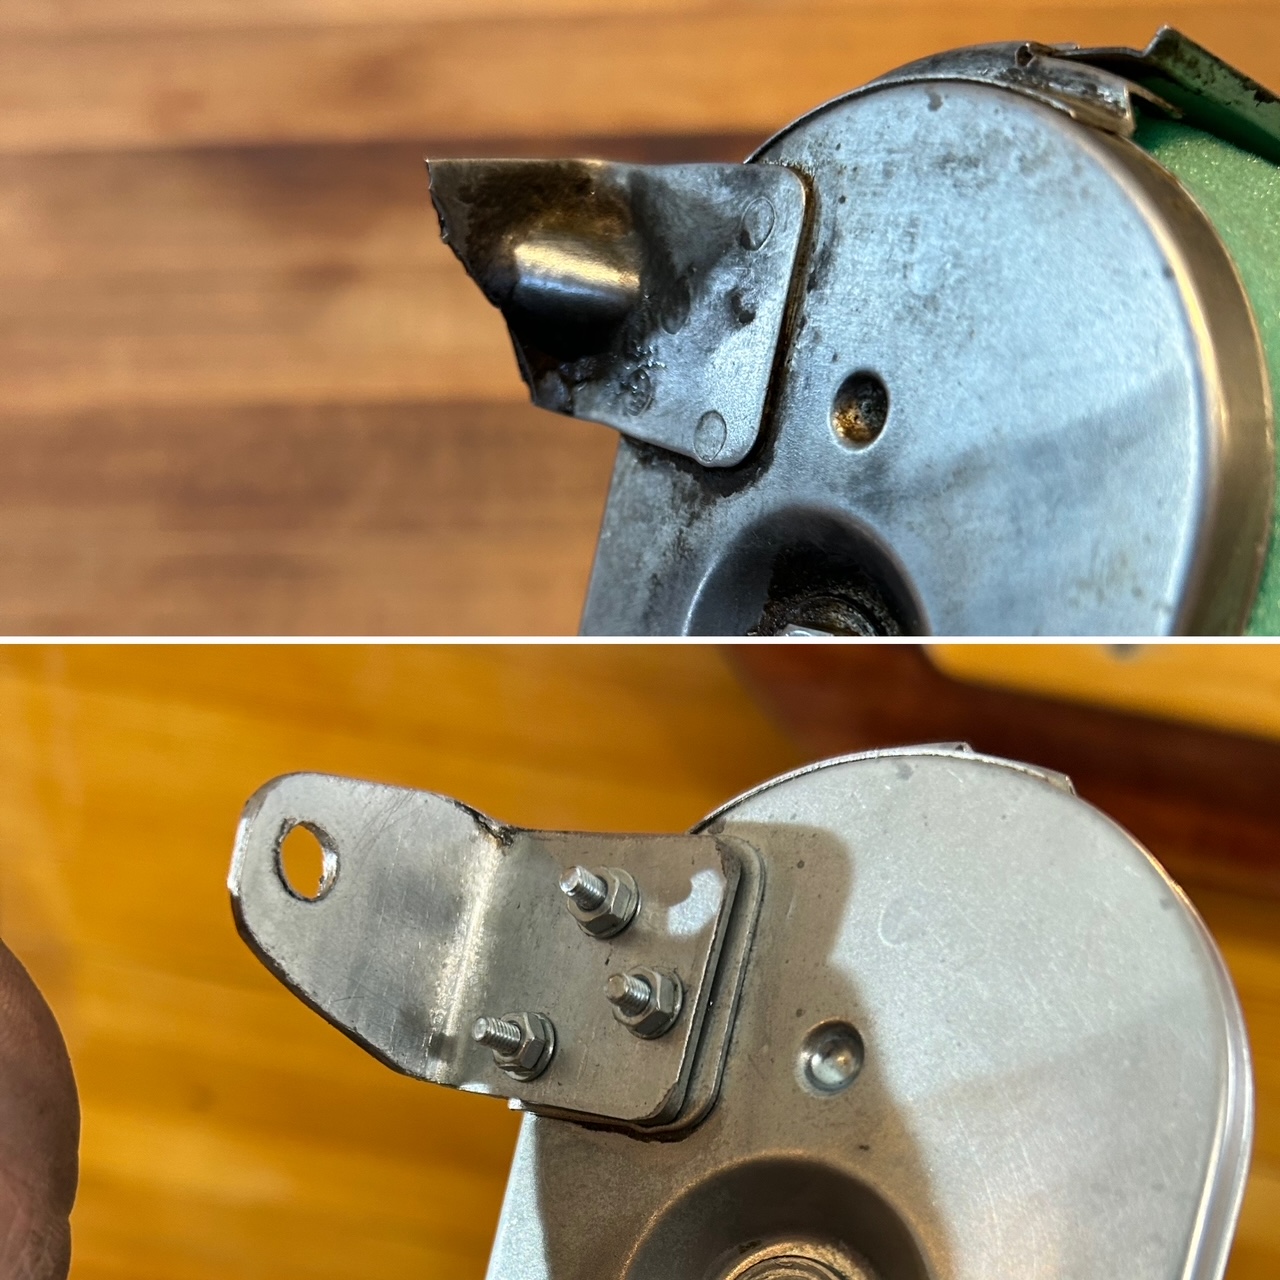
Just for curiosity's sake you might check compression. And I'd be curious to see a picture of that crack in the right cam bearing cover
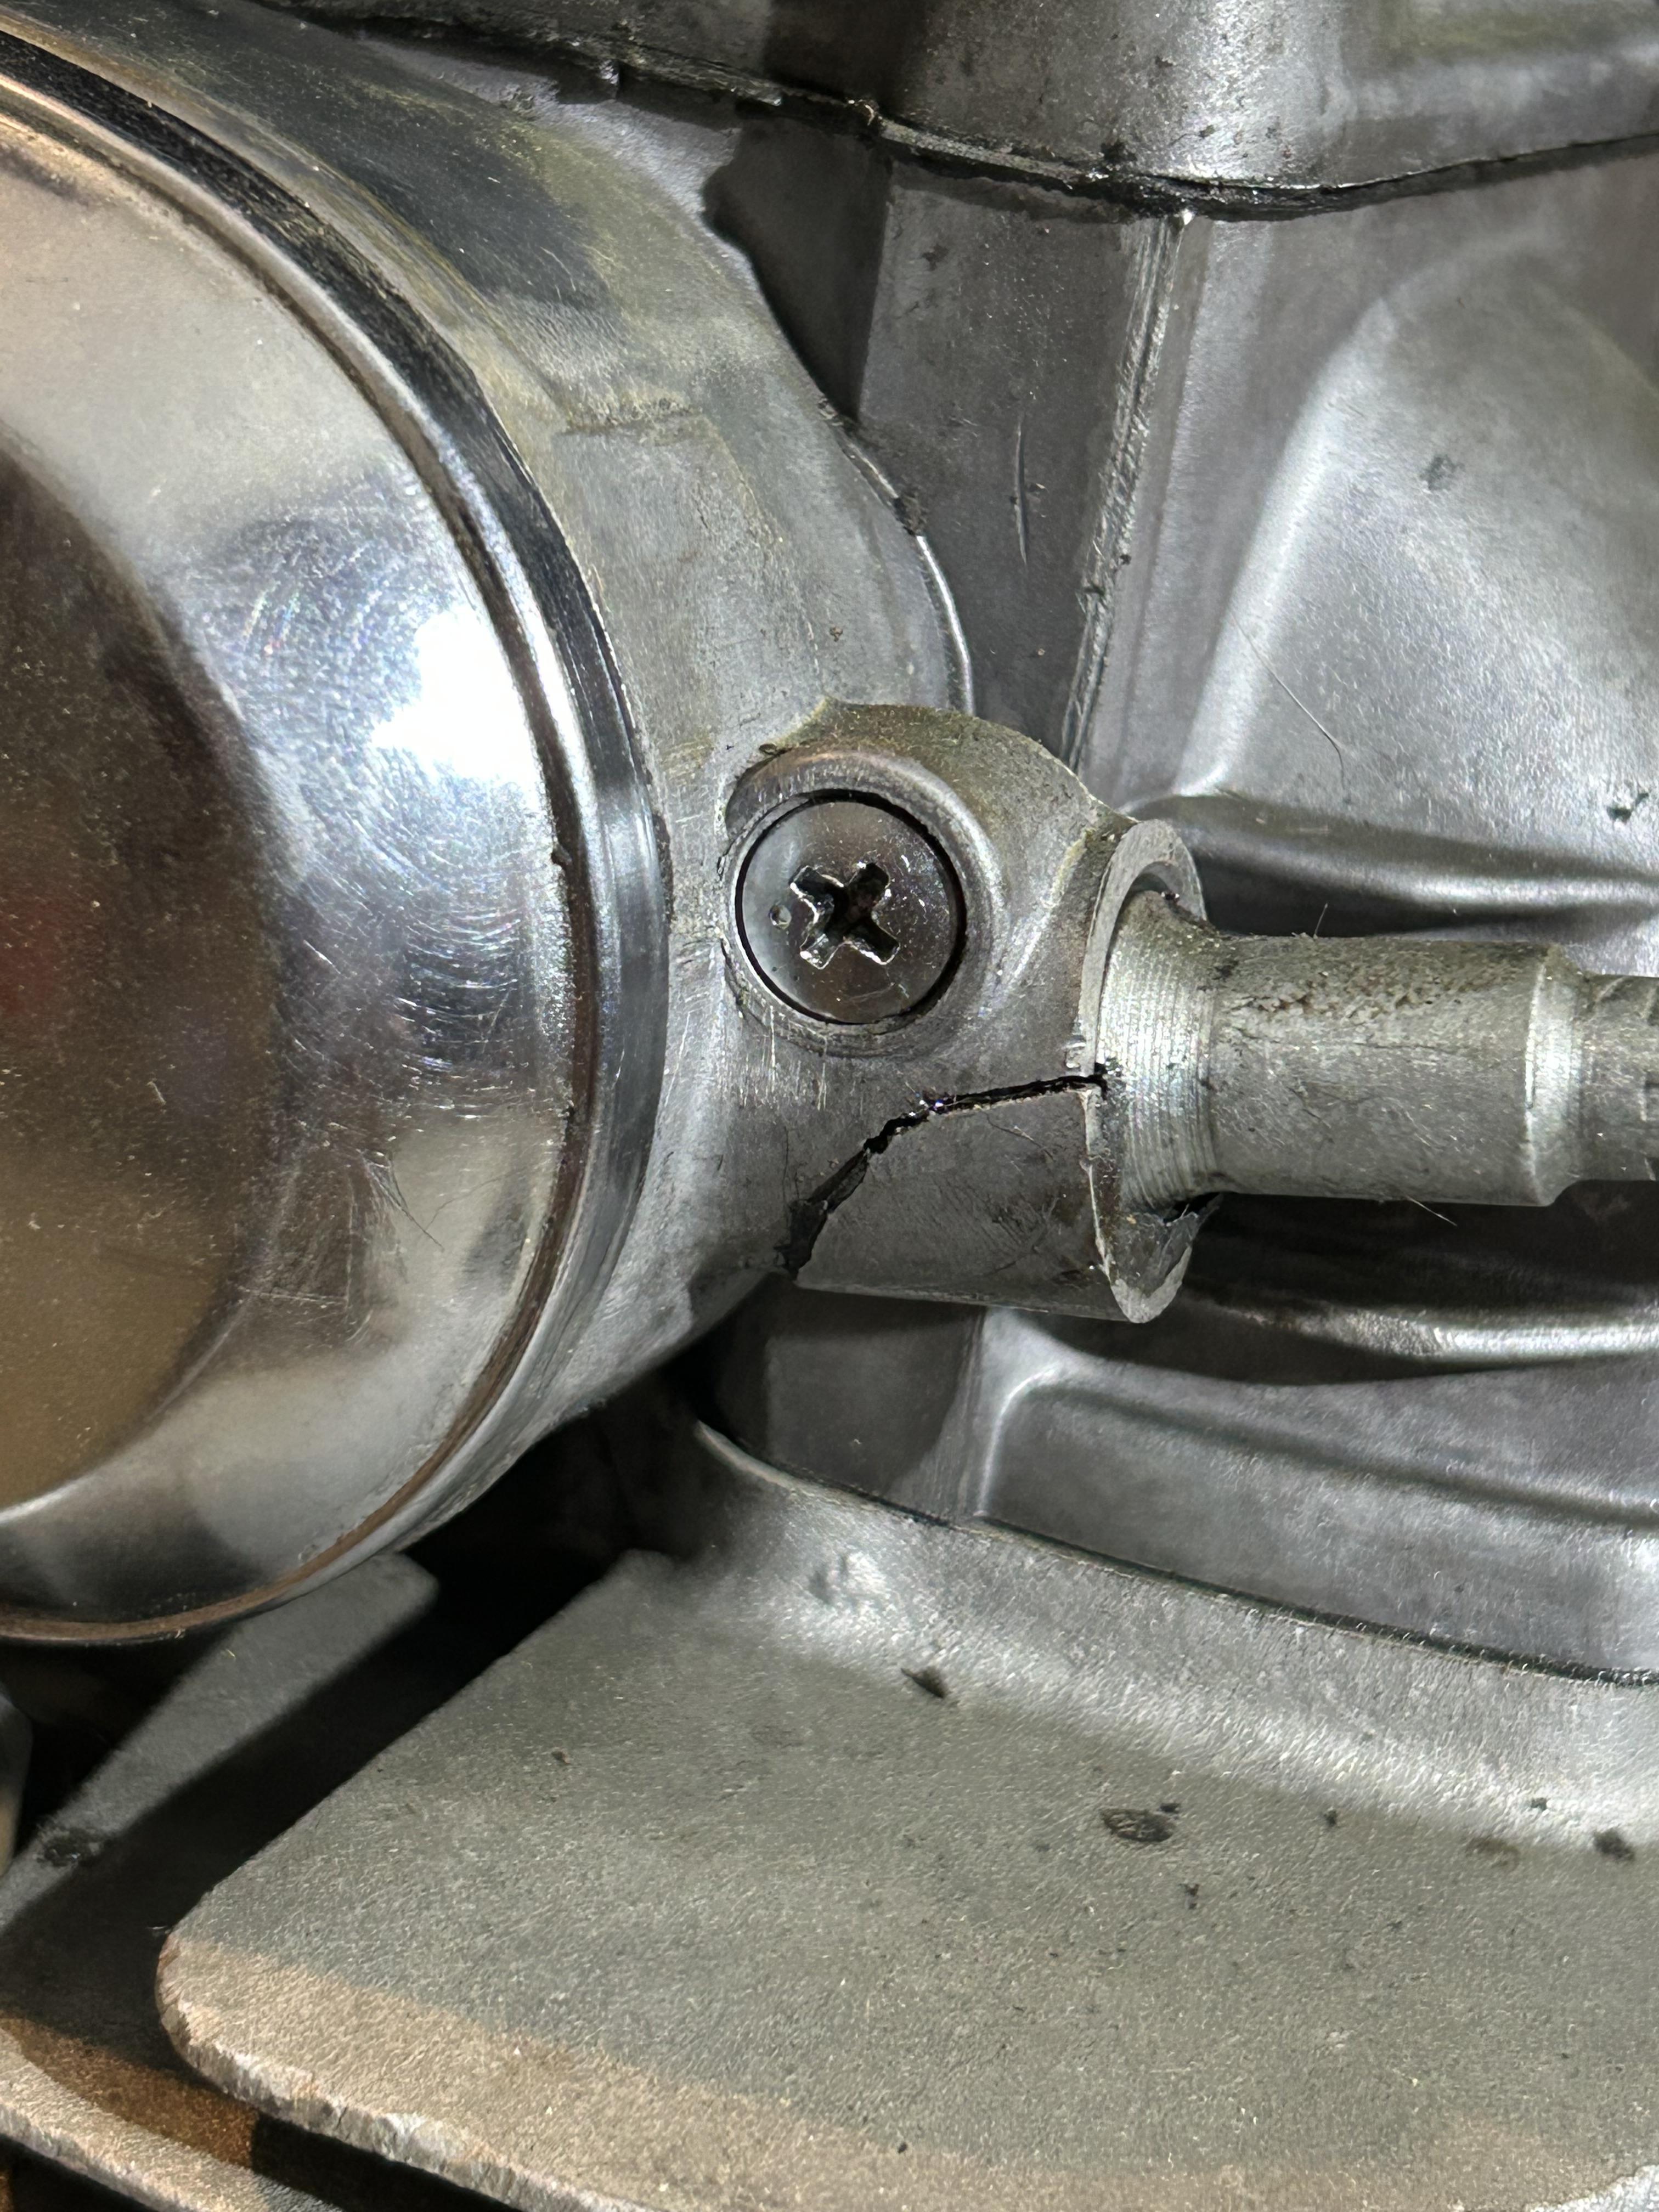


Can you weld a washer to it? I love saving old parts and I'm cheap.
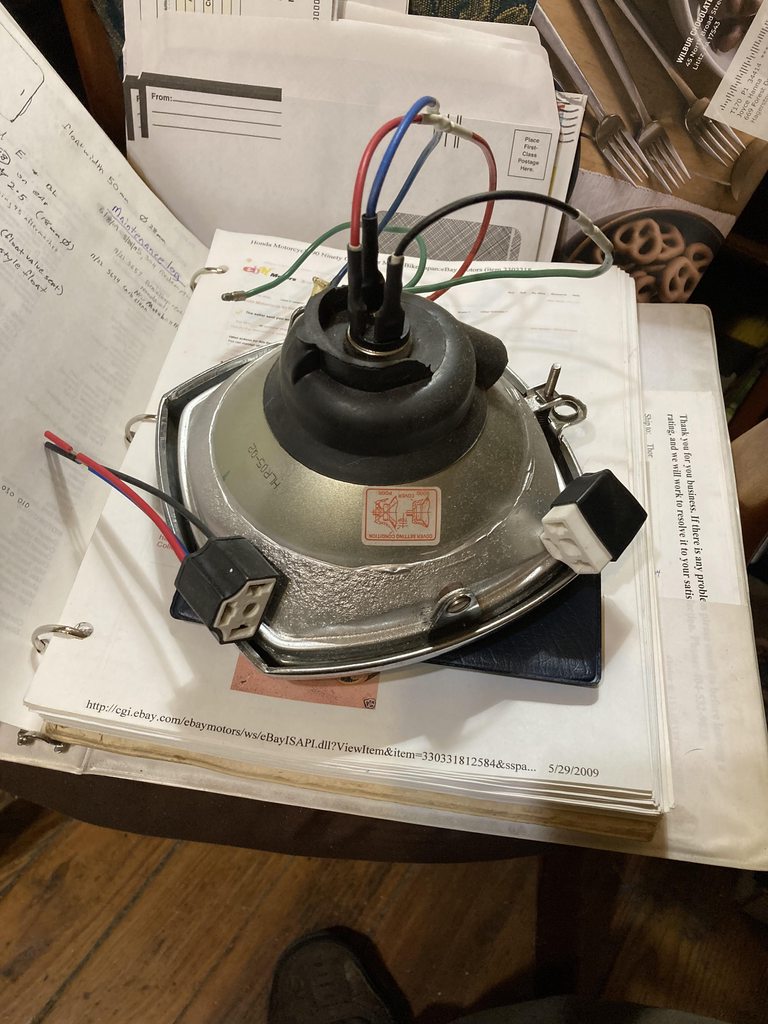
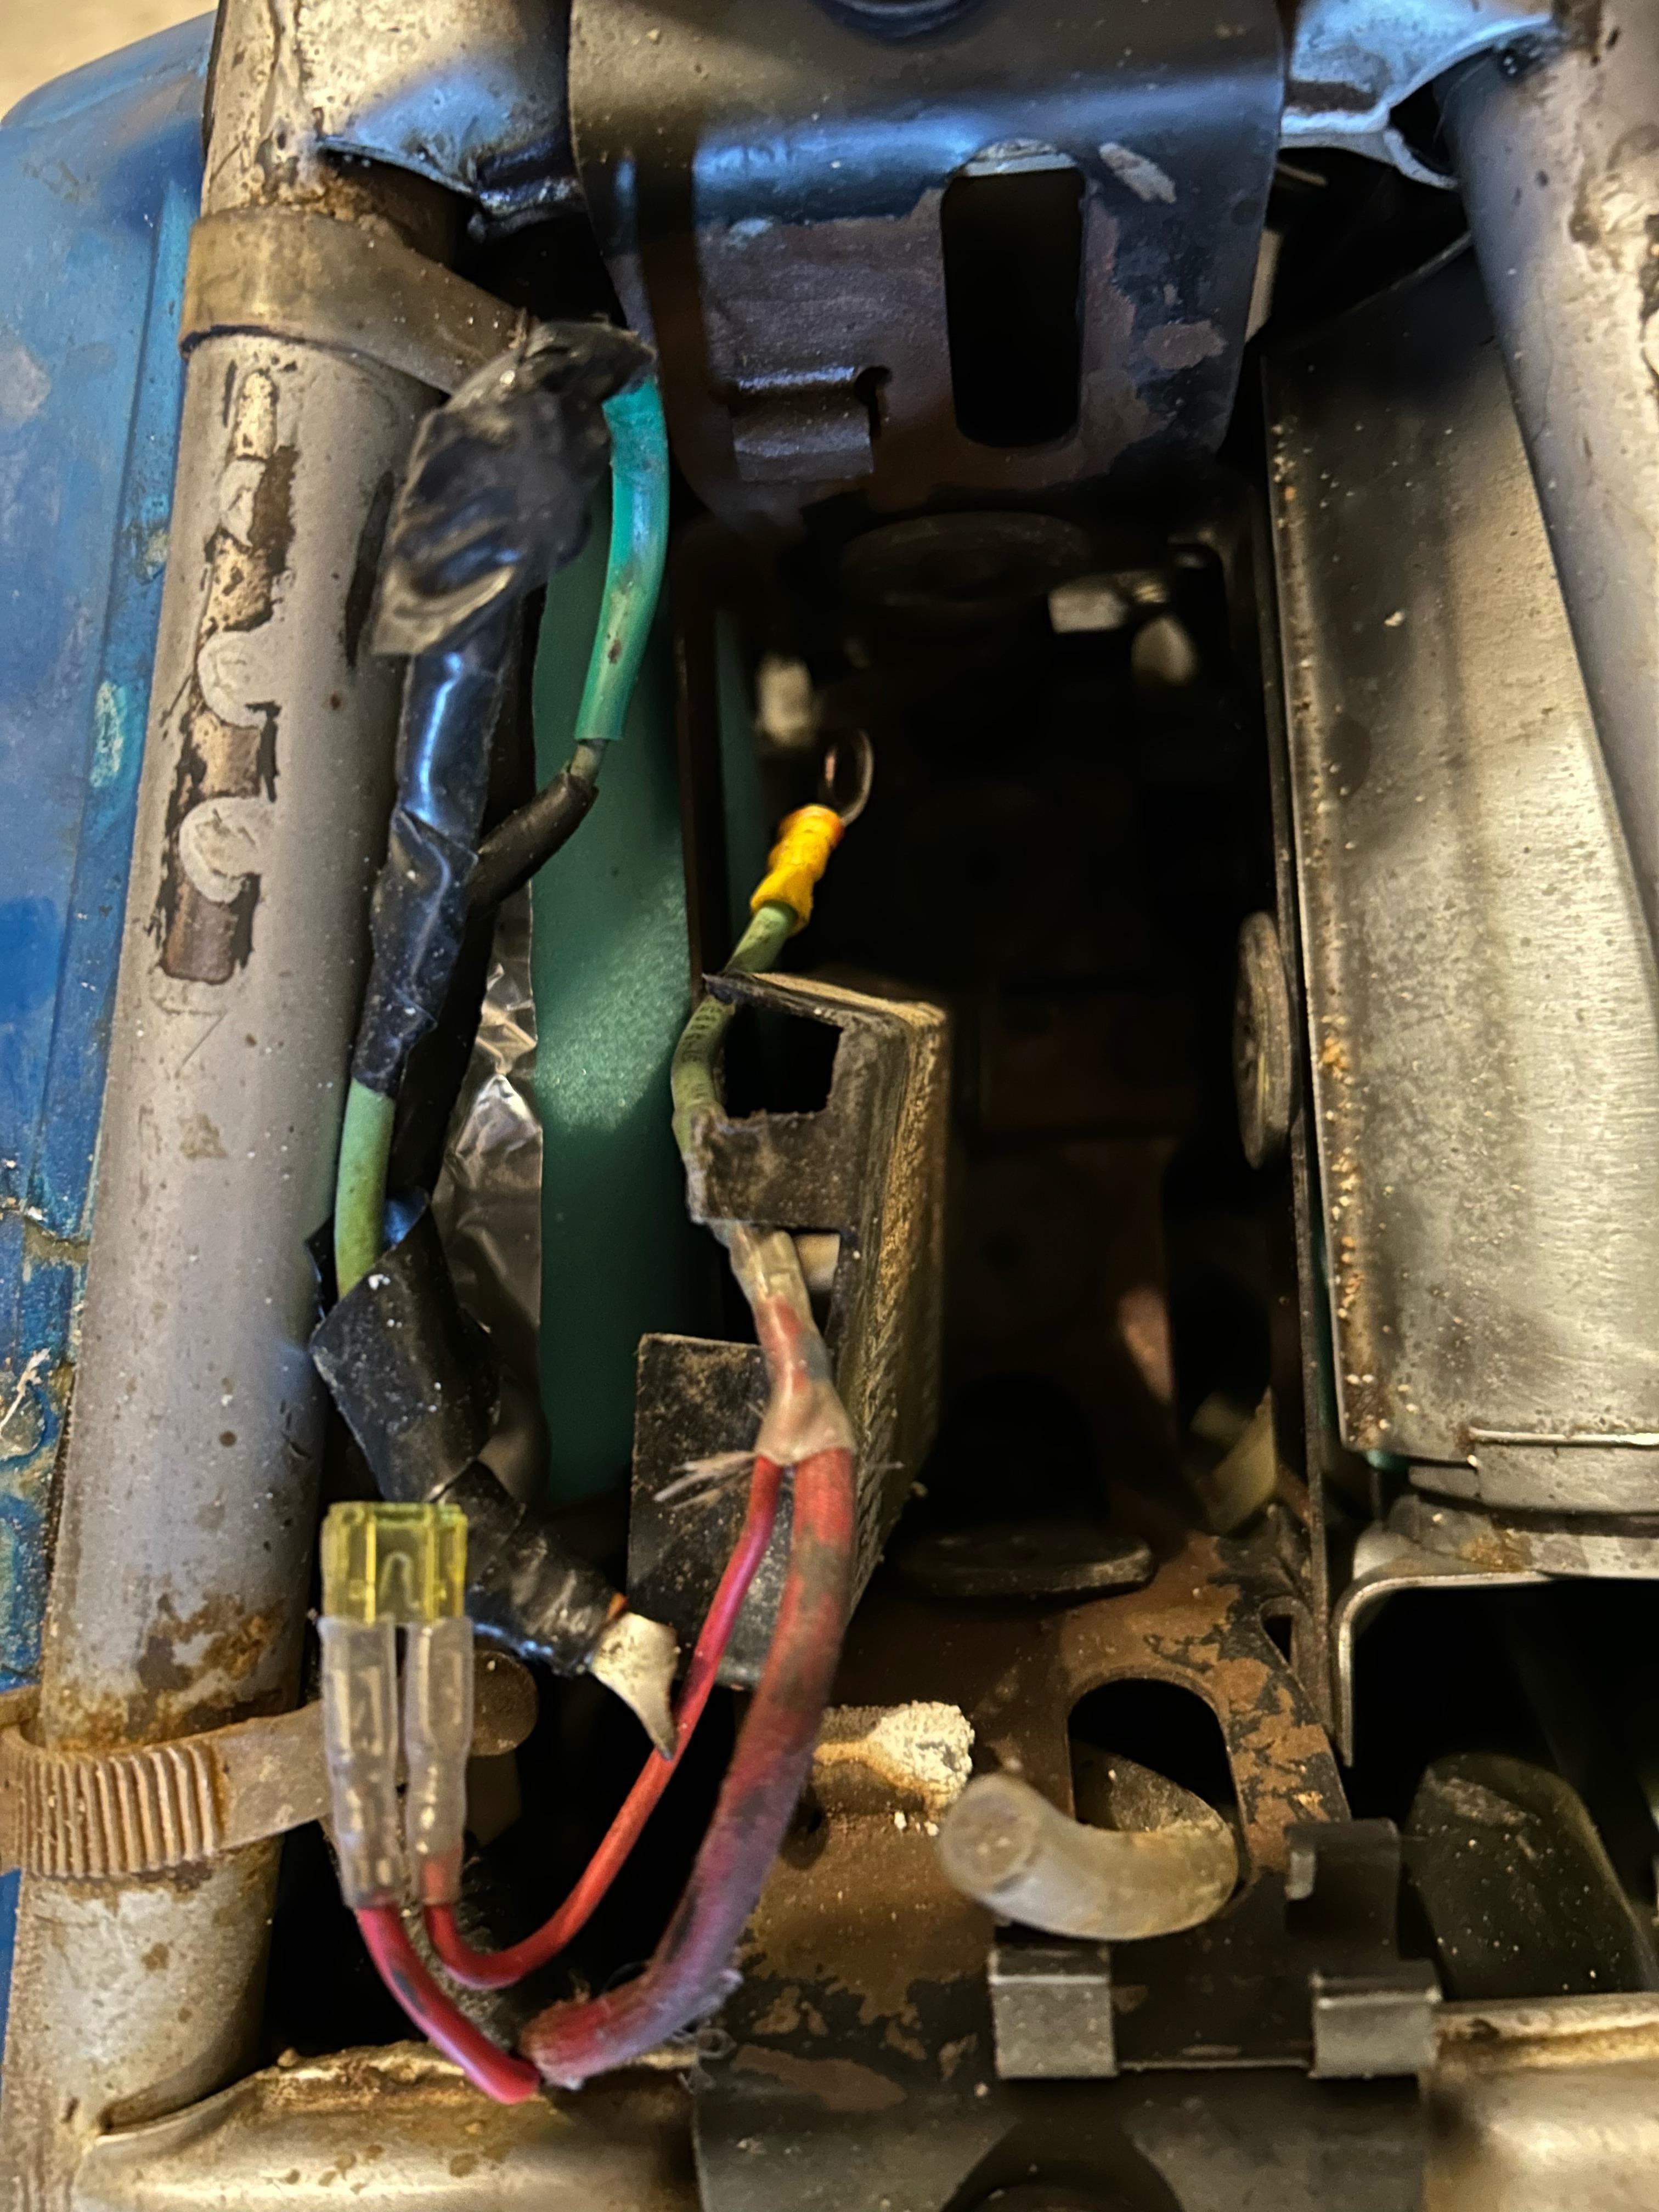
I did the same for my Dream and it's cramped for space too. the male spades are wider and hard to find so I bought cheap pig tails and ditched the block, added heat shrink sleeves. Now it just barely fits with the wires nestling around the speedo cable.

")
That looks really good. Have you had any issues with heat? I wondered if there would be some sort of heat issues without the ceramic H4 socket....


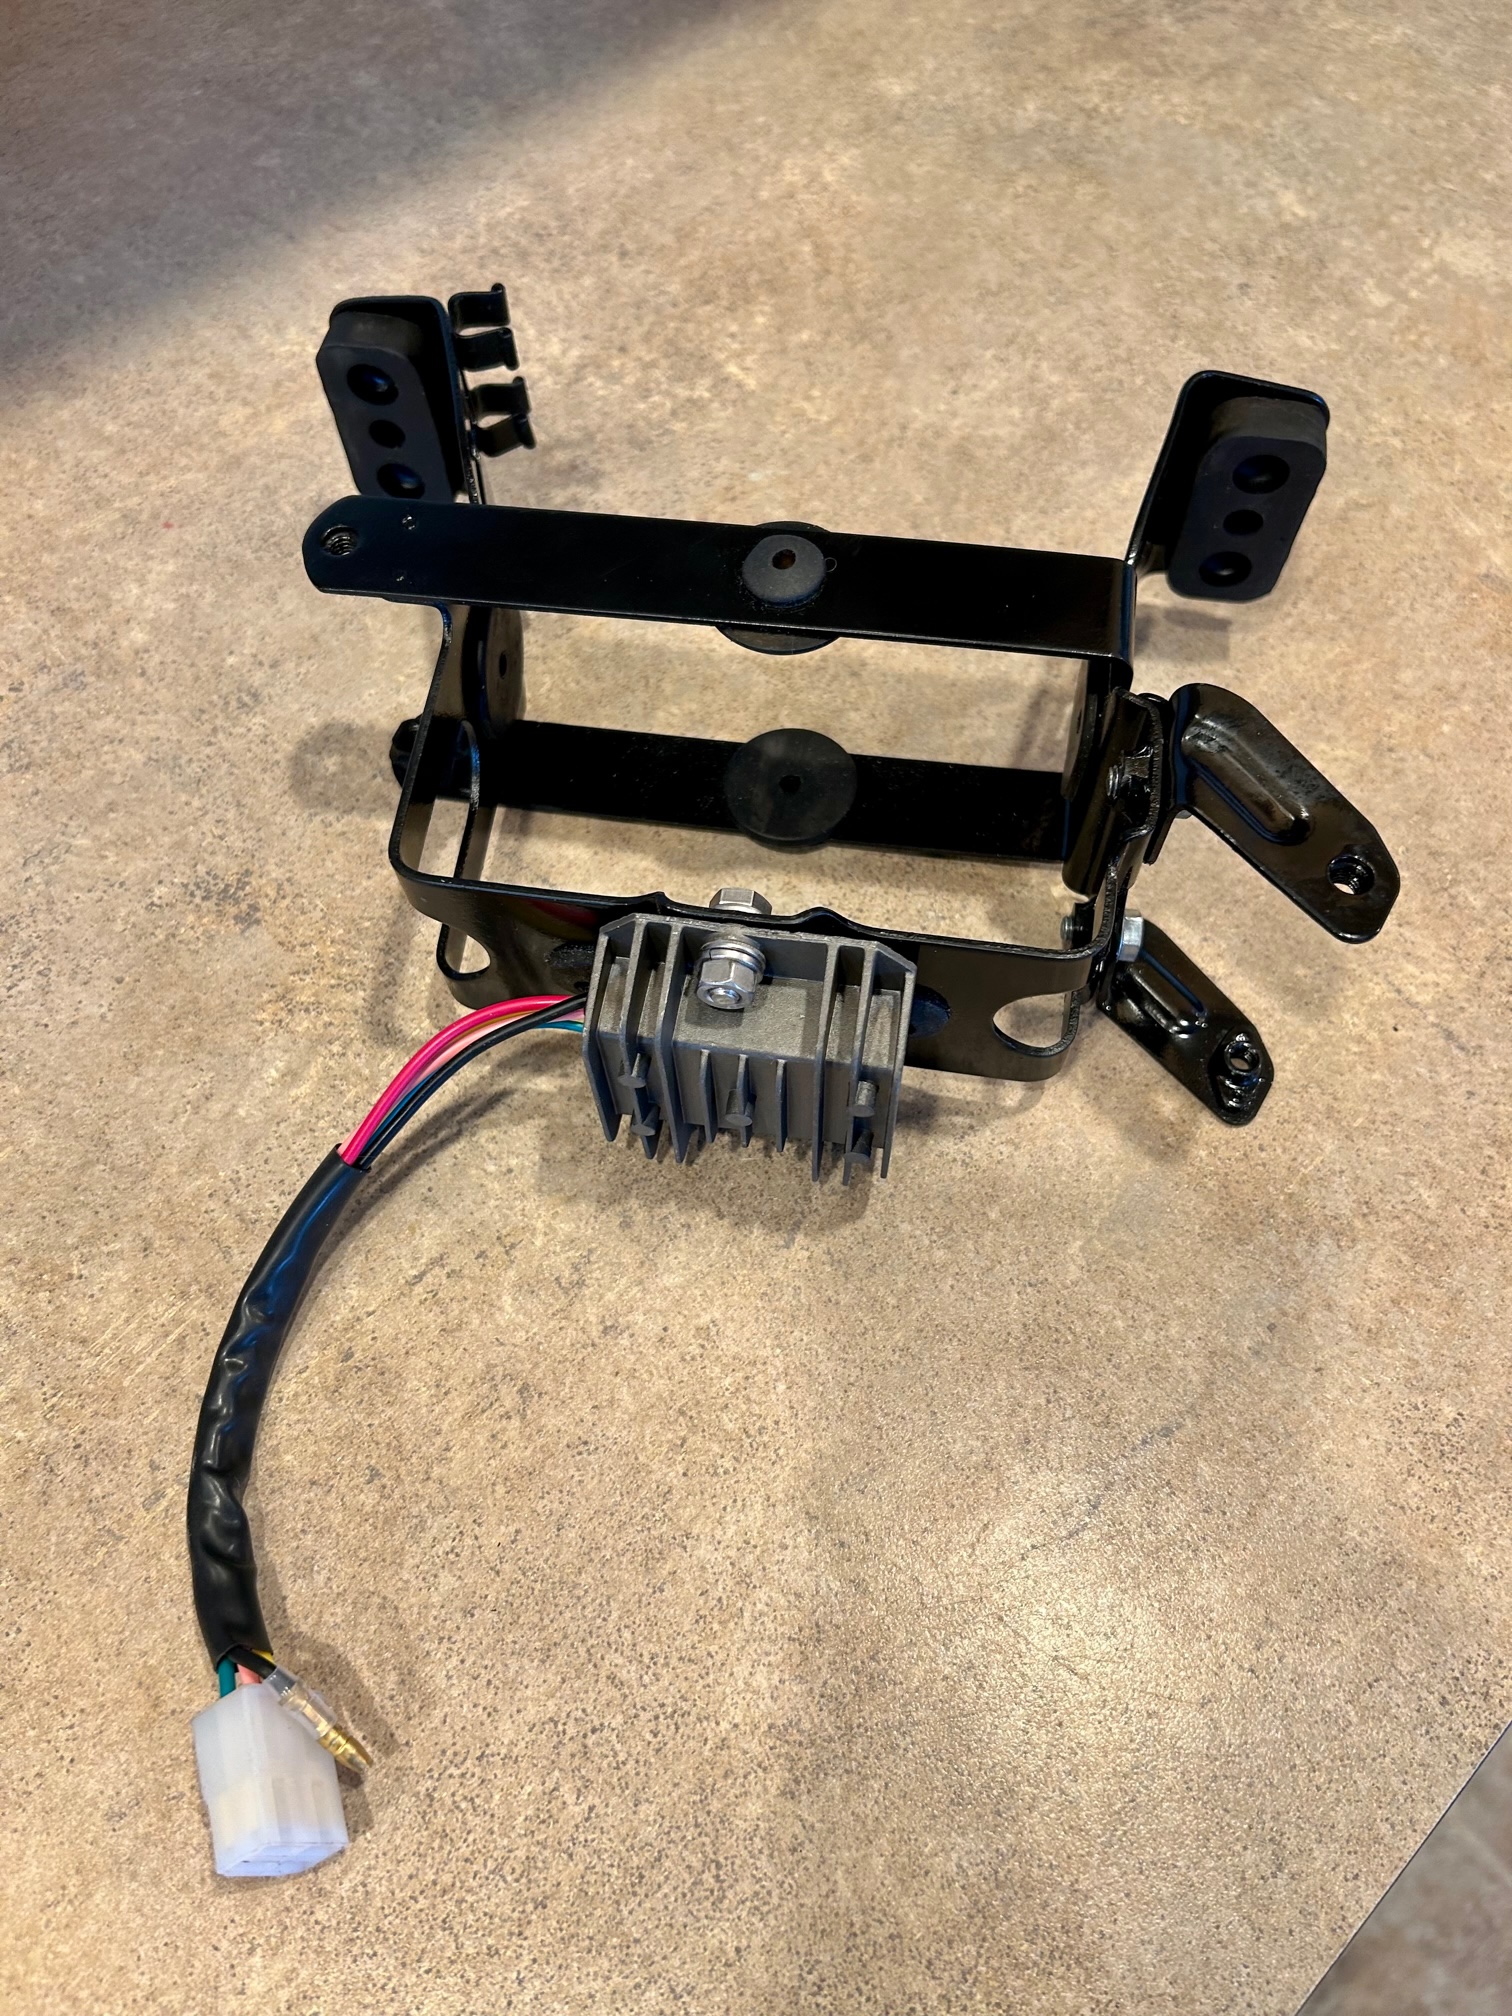

2 voltage regulators? Charlie's and Matt's
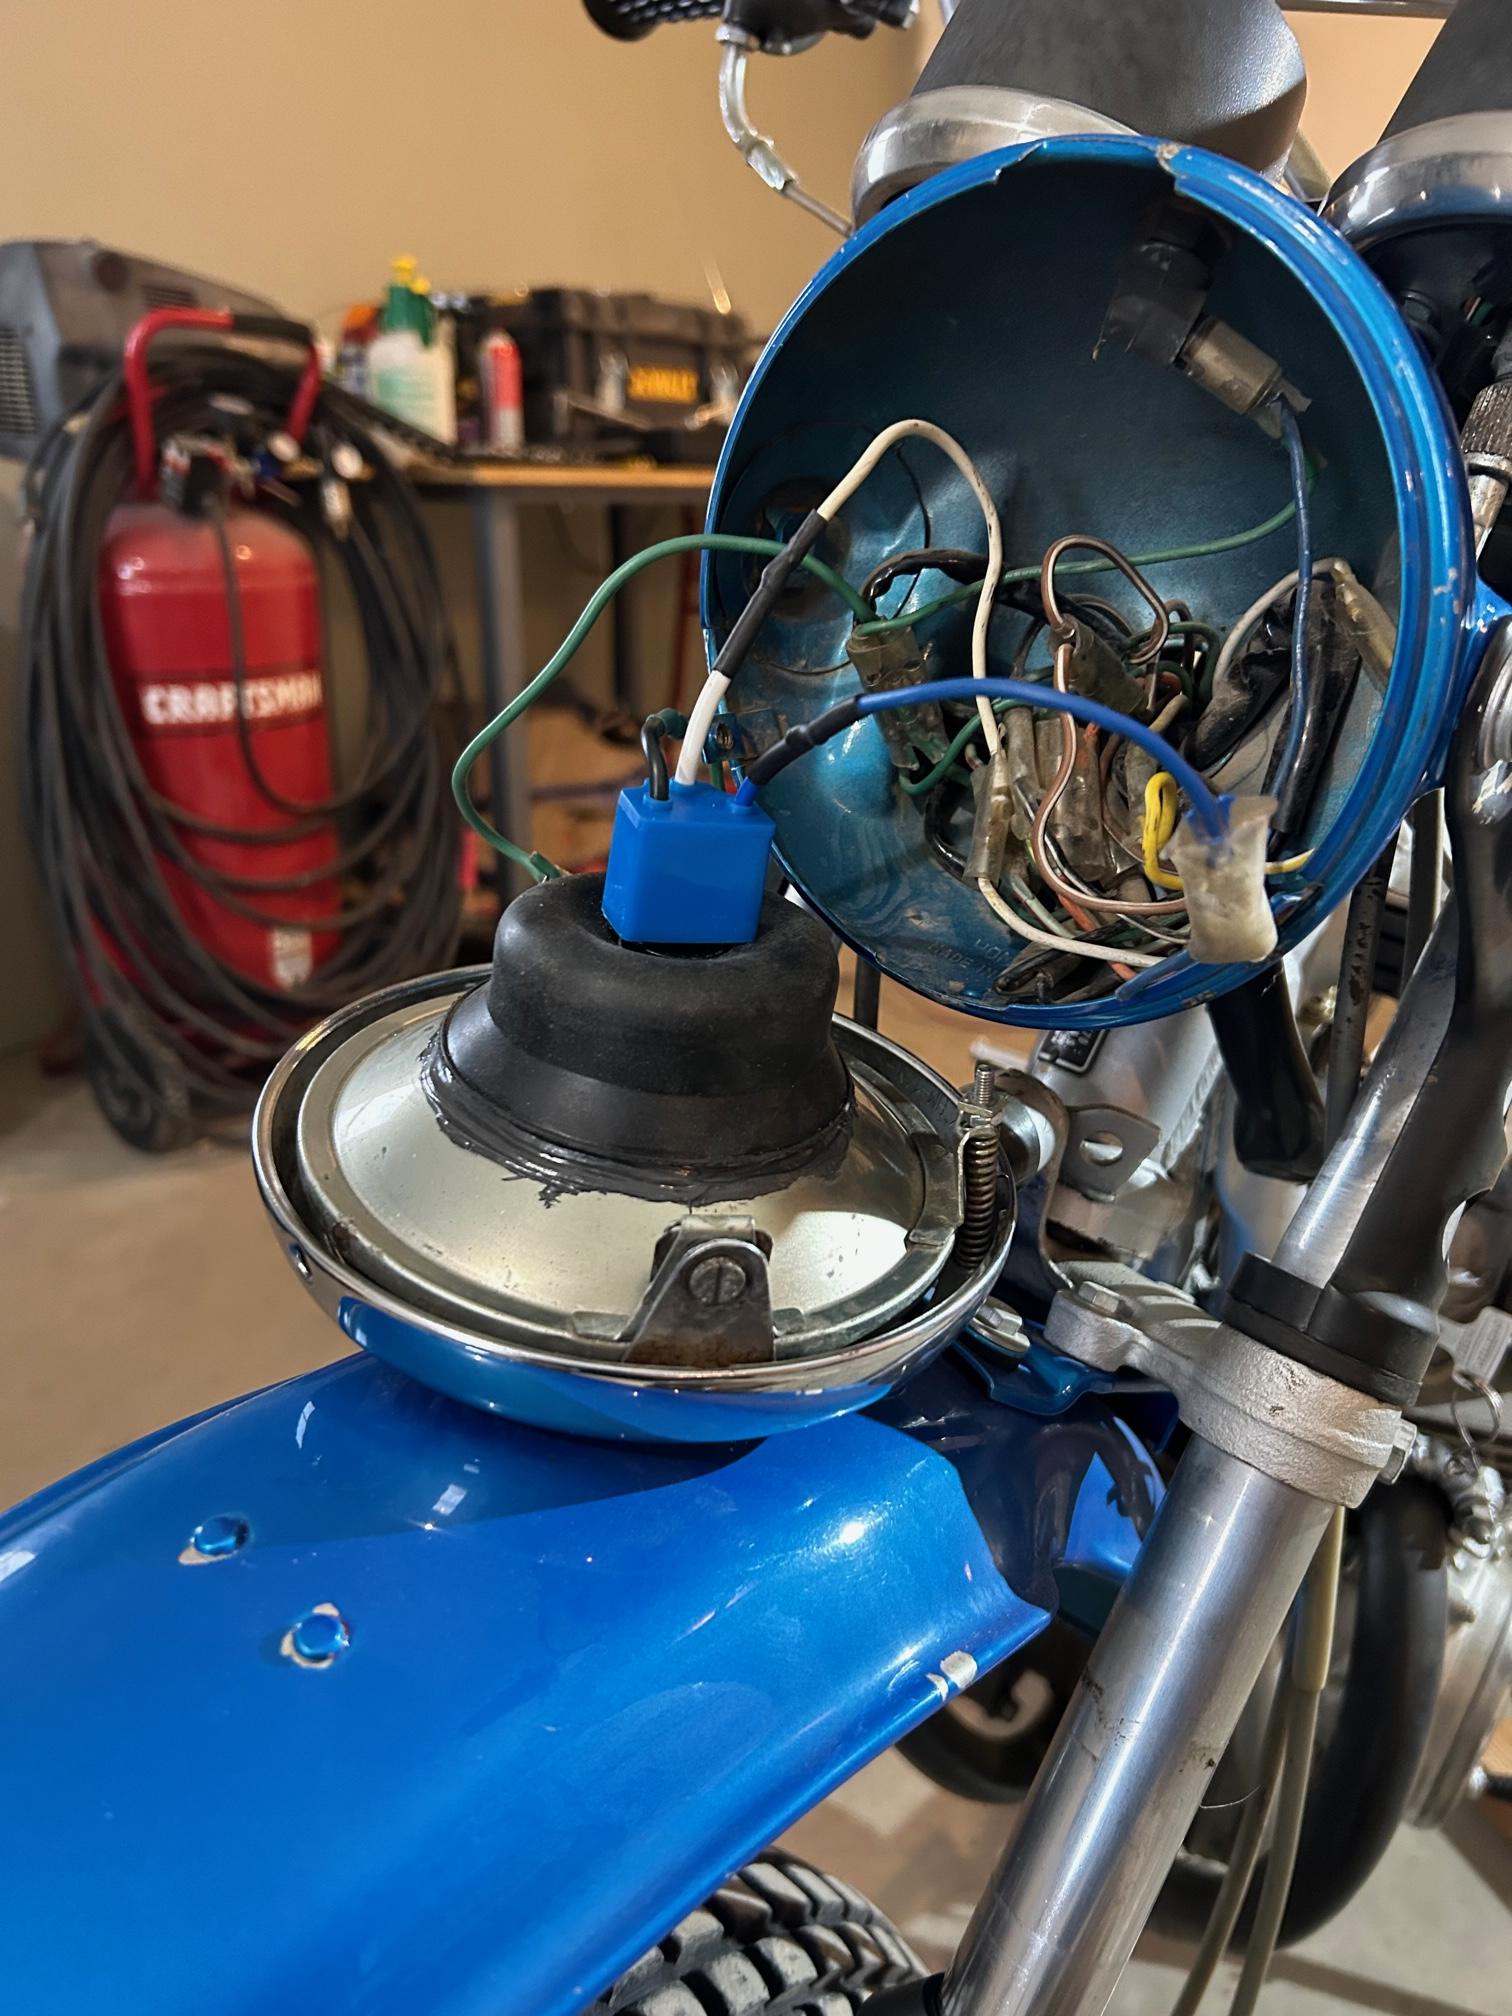
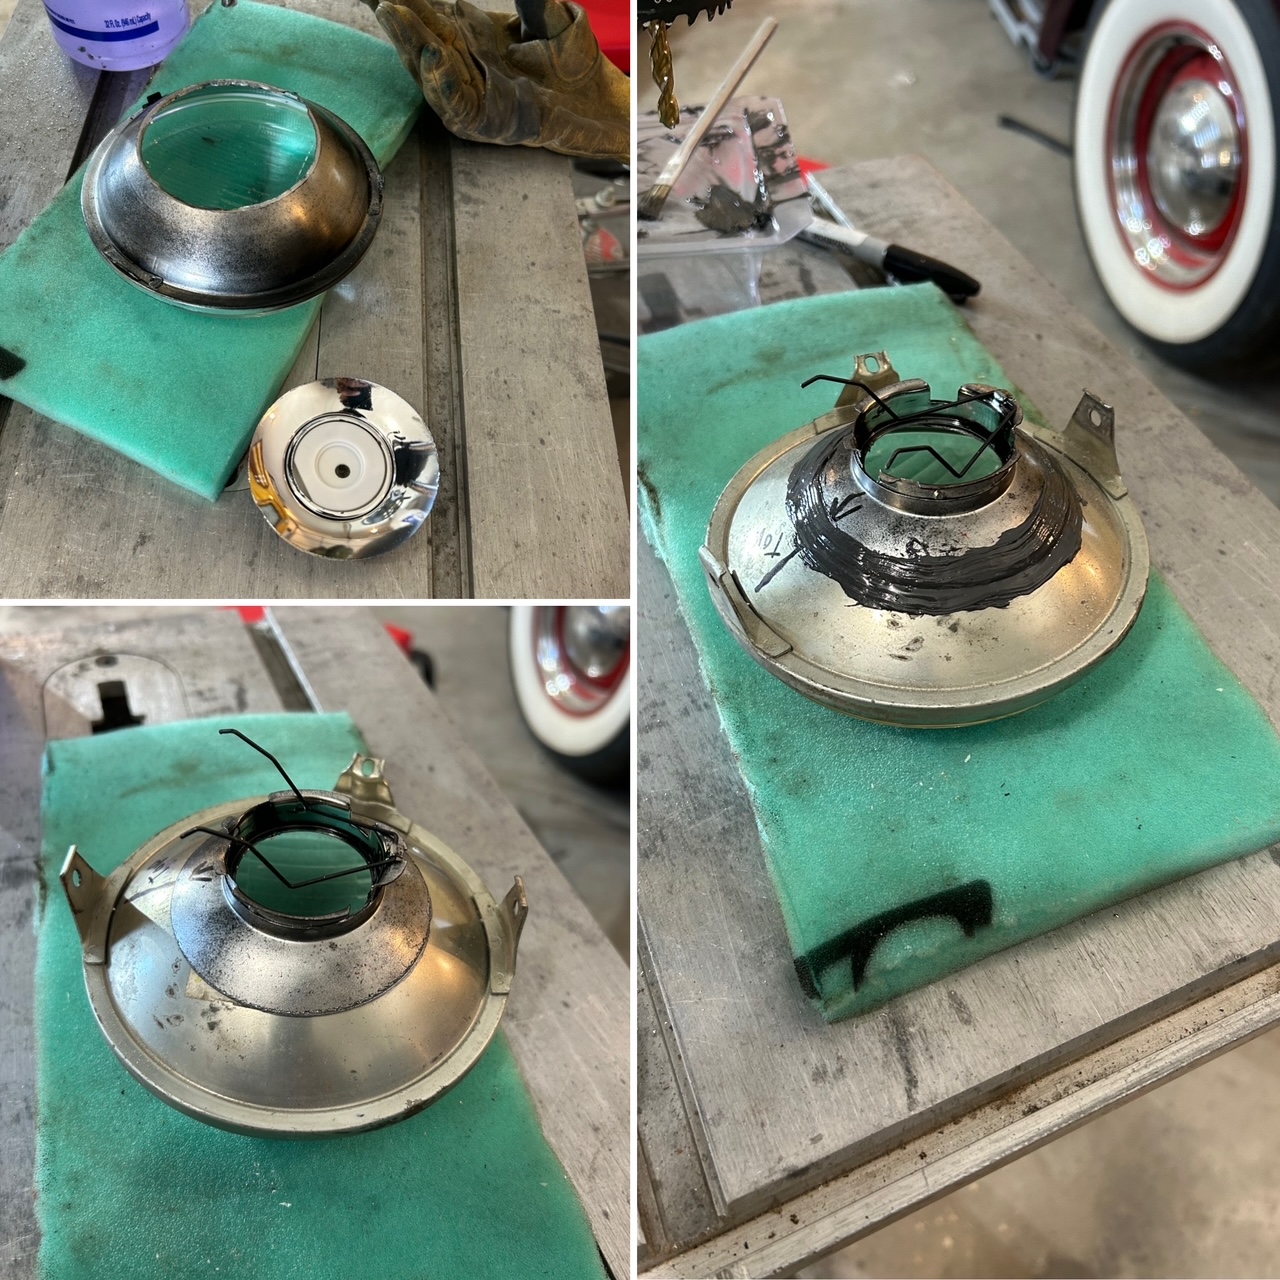
Fit the H4 Halogen 35/35 headlight into the bucket today. Surprisingly enough, it fit ok without any problems...
And wow....the light is alot brighter than the stock light on my CL350. Be interesting to see it at night....and if there are any heat issues....
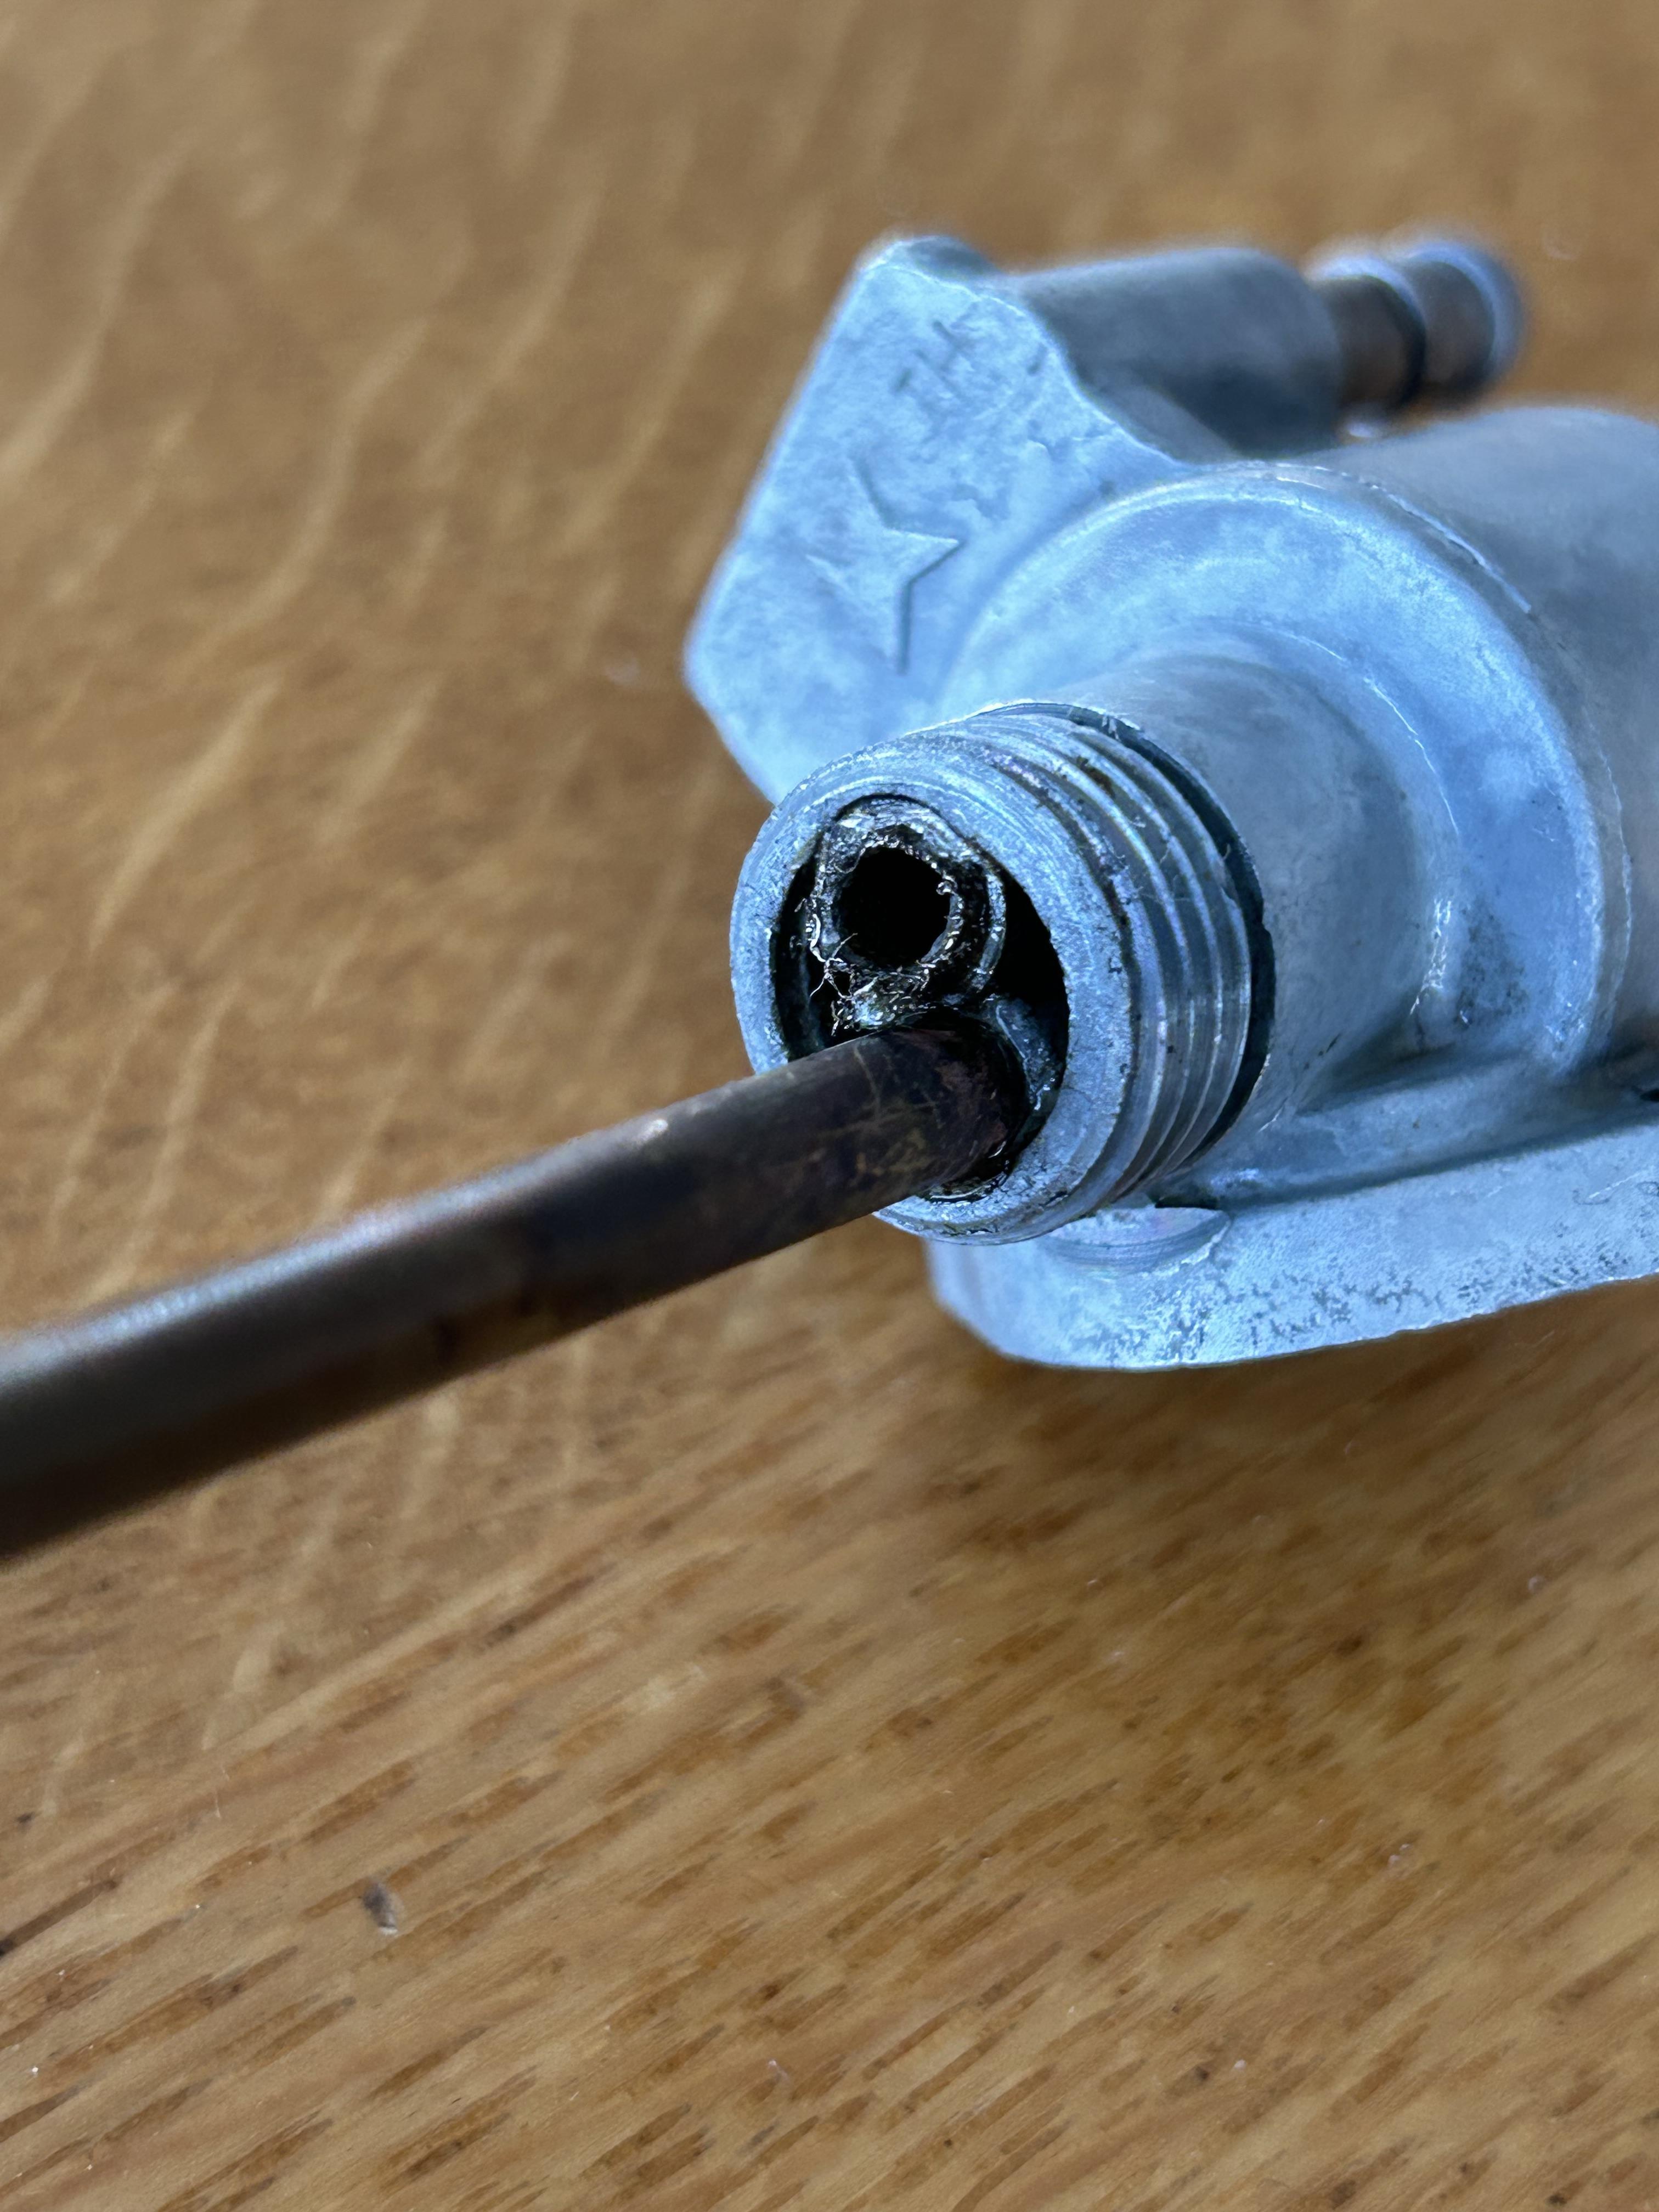
You've got compression and good spark so that leaves the carb on that side as the logical next step.