• Don't overlook our Welcome Package, it contains many links to important and helpful information about functions at VHT like posting pictures and sending PMs (private messages), as well as finding the parts you need.

    AD

Metal in oil?

Chaser

Member
Joined
Nov 8, 2023
Total Posts
18
Total likes
6
Location
Central AL
CL175 K5. I have ridden once for about 20 minutes without issue. After I rode it, it sat for a couple of weeks. I decided that I had turned the petcock the wrong way as when I checked the oil, it smelled of fuel. I thought it would be a good idea to change the oil anyway since it was new to me. I did not have plans to open the side up to look at the filter but maybe now…?
In addition, the starter clutch is basically not good, it was used to start the bike when I bought it. He got it to engage after a couple of times of it releasing and grinding. I decided to just use the kick as I didn’t want to take all the stuff off to change it yet, and it kicked easily. He gave me a new clutch assembly to replace it.
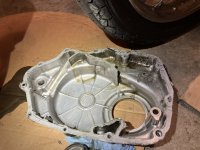
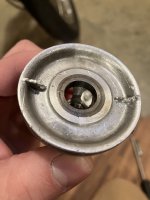
Emptied oil today and found some metal in the little well of the oil plug. I have taken a picture of the big piece. There are other smaller shavings that I could not get a good picture of. There is no way to really tell, but could this metal be from the broken starter clutch? I am including pictures of the oil (not sure if that is helpful) and the big piece. What are y’all’s thoughts on this? Do you think it portends a terminal problem or just ride it until it doesn’t? Thank you. IMG_7083.jpegIMG_7084.jpeg
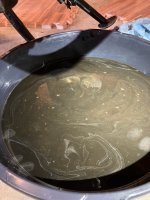
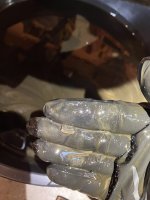
 
IMO that oil looks like it has moisture in it, as well as possibly fuel based on your smell test. The piece of metal in the second picture could be from the alternator rotor if the starter clutch housing is loose enough and moving around while the engine is running. If it was mine, I'd be investigating the starter clutch before running it again and definitely take the time to clean the oil filter. And make sure of which direction the petcock lever should point when the fuel is shut off. These older carbs can allow seepage into the engine past an open intake valve and down into the crankcase, and fuel-diluted oil is the cause for some top end damage when not discovered quickly enough. Also, show us a picture of the starter clutch he gave you with the bike, curious to see what it looks like.
 
Thank you. I will take your advice. I am waiting on some JIS screwdrivers and T handle. Looks like I will need them soon. I will start trying to find the 2 gaskets that I will need for the sides.
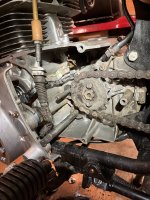
The clutch he gave me turns freely one way and locks when turned the other. I think that is correct. In the picture is a puller that he also gave me. Oh, he also gave me the gasket for that side so I only need the other for checking the oil filter.
I found a thread on here by Richard Pitman that seems relevant to my situation, so I will look at that as well. IMG_7085.jpegIMG_7086.jpeg
 
To do the job right and not put any undue stress on your alternator wiring, you should pull the front sprocket cover at the same time.
 
On my monitor, the oil and gloves appear to have sparkly bits in, aluminium filings caused by a loose cam chain ?

That metal fragment doesn't look quite the right shape to me, to be one of the tangs on the underside of the alternator rotor. As it happens, I've just been in that side of a 175 engine this afternoon. As well as the sprocket cover, there's a metal retaining piece that needs to come out to release the alternator wiring. Which reminds me, I didn't notice the neutral switch wire on my engine, which needs to be unplugged before the stator can be removed.

Is there any evidence of a thread on the internal curve of that piece of metal, I'm thinking about the drain plug threading in the crank case bottom.

EDIT, Just reviewing my photos, I can now see how it could indeed be a broken off piece of alternator rotor. :oops:

rotor.JPG
 
I will review in the manual about the front sprocket cover as well.
Yes, I think there are some filings in there. I did not know that a cam chain could be the culprit. I had read about people having to do maintenance on that but had not dug into how to do it yet.
Wow, things are really picking up on my would be non project bike.
Thanks to both of you.
 
Yes, when the maintenance is neglected on these twins the excess cam chain looseness allows the chain to slap against the sides, front and back of the tunnel and cause sometimes very significant wear. If only mild to moderate, it doesn't affect the parts but if bad enough it can ruin the cam chain tensioner assembly and sometimes rub through the aluminum in places and create an oil leak. This is just one example

qhuCYmu.png
 
I will take care of cam chain as well.

I am trying to get all the things I will need before I start the process. Most of my screws are not in terrible shape. I am considering replacing them with new JIS screws as I go anyway. How important is it to have the exact length shown in the diagram? Ex. 30mm instead of 32 or 35mm instead of 36. I also believe I have read here that get zinc plated instead of SS.

I realize from the drawing that I will also need a dynamo gasket as well as 2 exhaust gaskets.

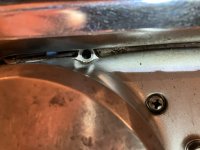
I have been tracking down 2 or more oil leaks. I believe one may be from this screw missing.

Any other pitfalls or things to make sure of will be appreciated. IMG_7087.jpegIMG_7088.jpeg
 
I am trying to get all the things I will need before I start the process. Most of my screws are not in terrible shape. I am considering replacing them with new JIS screws as I go anyway. How important is it to have the exact length shown in the diagram? Ex. 30mm instead of 32 or 35mm instead of 36.
Though 2mm doesn't usually make that much difference in thread depth, there are some locations that won't safely accept longer screws but for the most part you'd be okay keeping it at 2mm difference. However, I wouldn't go 2mm shorter as thread depth is part of the strength of fasteners in these aluminum engine parts and you don't want to risk pulling the threads out of the hole using too short a screw.

I realize from the drawing that I will also need a dynamo gasket as well as 2 exhaust gaskets.
Since the price might end up being significantly higher if you just buy gaskets piecemeal, you might compare prices and just buy a lower end gasket set. The small timing cover over the alternator might need a new gasket as well as the left crankcase (dynamo) cover.

I have been tracking down 2 or more oil leaks. I believe one may be from this screw missing.
Anytime you have a missing cover screw it could easily be part of the problem, but gasket surface prep is key on these engines too. No remnants of previous gasket can be present in order to get a proper seal.
 
Stainless fasteners are fine as long as you use a bit of anti-seize when you install them.
If the original screws aren't buggered up or corroded I'd go ahead and reuse them.
Most, if not all, of the original length screws should still be available from Honda as they were used in so many different bikes but as AD says there is a bit of tolerance in length for most of the screws if you get them from another source.
 
I'm not a purist, and like the convenience and availability of stainless fasteners, easier ( for me ) than sourcing original case screws or getting original ones replated etc. CNMSL fiches are my go to place to look up screw sizes and lengths. Easy enough to shorten an over long screw to correct length. Stainless does not have the tensile strength of original bolts, for that reason I only use stainless for cosmetic purposes. Personally never had an issue with stainless seizure, always seems to be enough oil about to get corrosion at bay.

An example:

0SSUJN8.jpg
 
Remember that the pitch number equals millimeters per thread. A 1.0 pitch means 1mm per thread, 1.25 pitch means 1.25mm per thread and so on. So a 2mm shorter screw of 1.0 pitch would have 2 less threads.
 
Thank you all. I got something from every one your posts. I will order what I know I need now, before the Black Friday shipping craziness ensues. If it turns out I need anything else I will deal with it then. Hopefully the repair will go smoothly. I will post pictures as I open everything up.

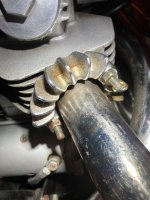
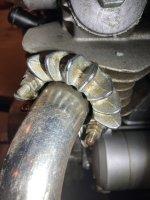
Also, I have been hitting the exhaust bolts with PB every time I walk by the bike. Do you all find that you have trouble with the exhaust bolts, as on other applications, or do these usually work off easily?
 
Also, I have been hitting the exhaust bolts with PB every time I walk by the bike. Do you all find that you have trouble with the exhaust bolts, as on other applications, or do these usually work off easily?
Pictures will help us tell the general condition. If the bike hasn't sat out in the weather for a long time they shouldn't be rusty, which would be your first obstacle.
 
Good trick, loosen, tighten, loosen just a bit until it moves and go back and forth to each stud evenly. Looks fine.
 
Those exhaust nuts look as though they'll easily undo.

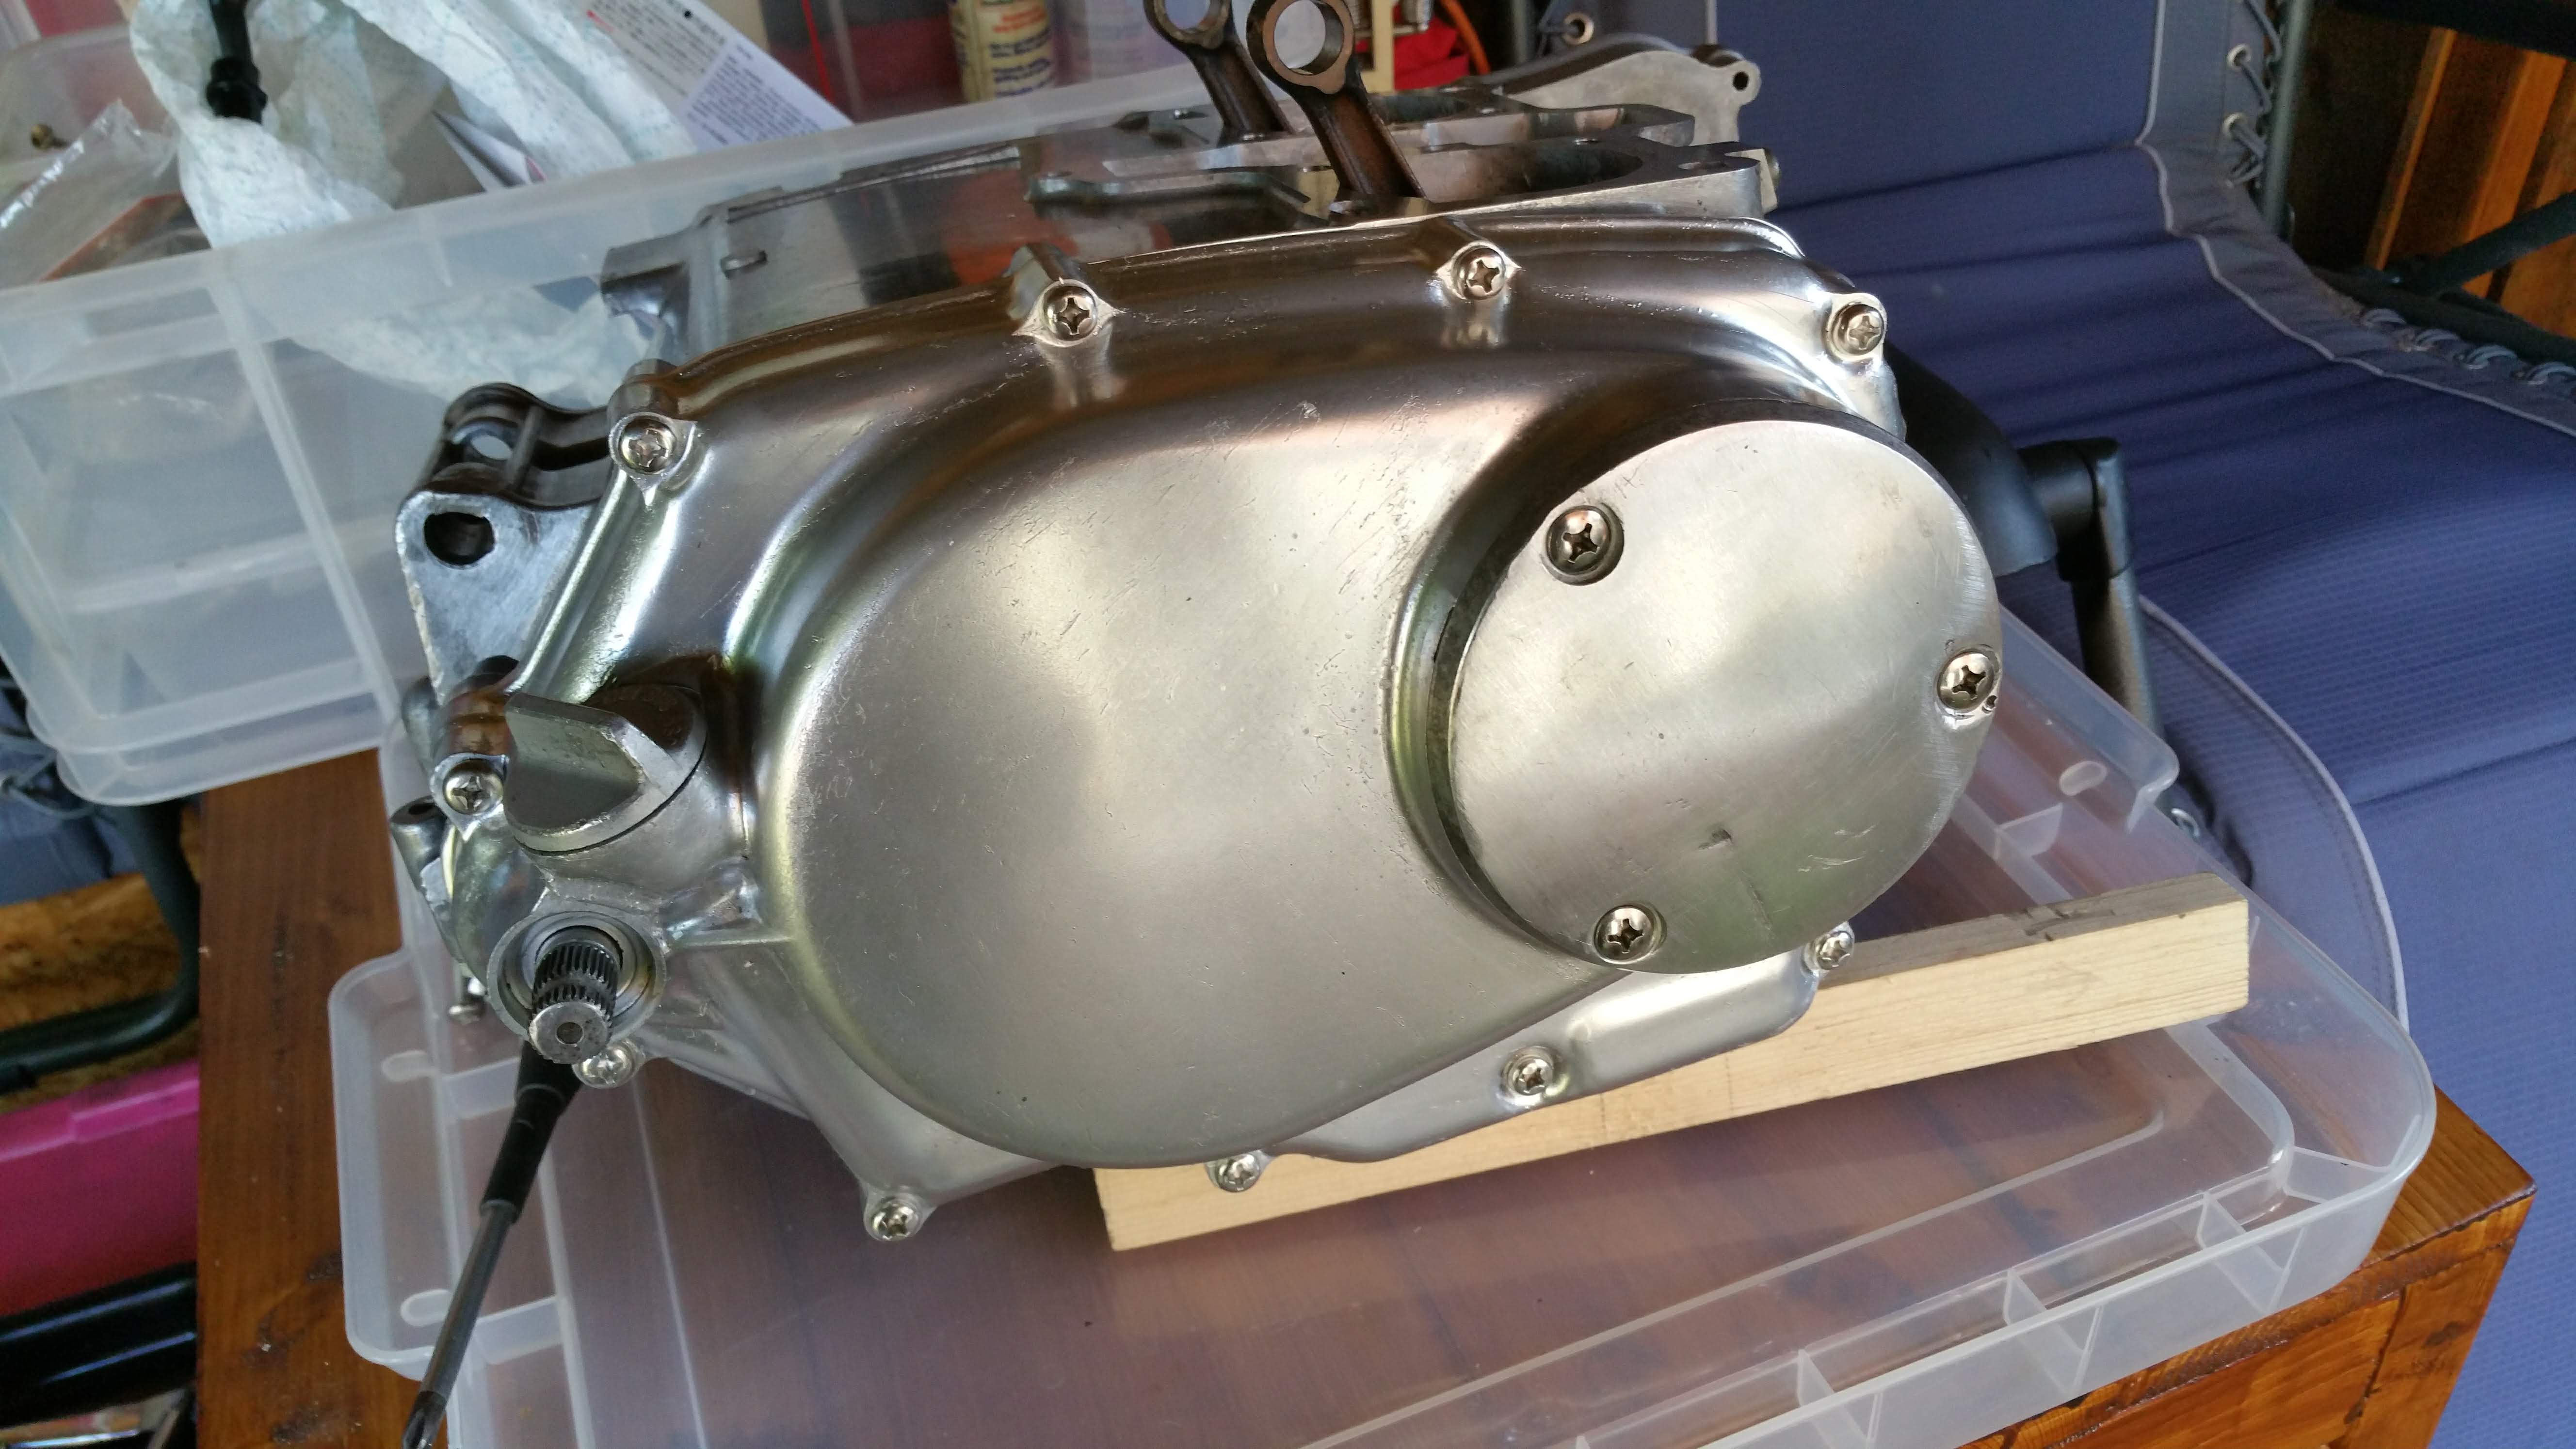
What's going on with that valve adjustment cover, looks like someone has used a sealant on it ?
 
Those exhaust nuts look as though they'll easily undo.
The studs look longer than stock to me, plus they should have a lock washer on each one. But yes, I agree it seems they should loosen just fine.
What's going on with that valve adjustment cover, looks like someone has used a sealant on it ?
I was going to mention the same thing, I hope this isn't an example of copious amounts of sealant use elsewhere too.

And, as we so often see, the starter cable has been routed the 'easy' way.
 
I guess someone could have snapped studs off at some point. Might be able to tell when exhaust is off. Bike has definitely been into multiple times, so who knows. Looks like 2 out of 4 have lock washers currently. I will be sure add those when I put them back on.

Yes, both front valve covers have a sealant on them. As well as the right side cover. The rear valve covers and left side do not appear to have anything on them.
IMG_7107.jpeg
 
Just observations, which can sometimes tell you a bit about what the bike has been through. Hopefully nothing bad has come of any of them, but I'll tell you that's a lot of sealant on the lower part of the right crankcase cover. Hopefully not so much around the oil pump and filter outlets where some might get loose and into the oil galleries.
 
Believe me. The observations are greatly appreciated. Do you think it is worth opening that side cover as well, to put a real gasket on, or leave well enough alone, as it seems to be working?
 
Personally, I'd pull the cover to be sure bits of the excess sealant hasn't found its way into the oil pump screen at the forward bottom area of the cover, or come loose inside the enclosed passages to and from the centrifugal filter, both of which could cause oil flow issues to the top end of the engine. I suspect the PO used a gasket but just thought it wouldn't seal well without adding some sealant, and when you aren't familiar with how these engines are built and the functions of them internally it's easy to do things like you might on an older, far more crude American V-8 engine. Despite their quality of manufacturing over the last 60+ years, unfamiliar Honda twins owners don't realize virtually all gaskets used on these engines can be used dry on a properly clean pair of surfaces with zero leakage. IMO looking into it now is cheap insurance for the long run.
 
Will go ahead and open up the right side cover as well. Good thing you told me to get the whole gasket kit.

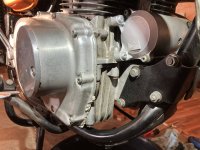
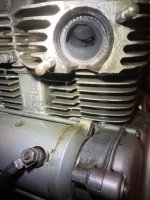
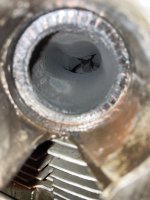
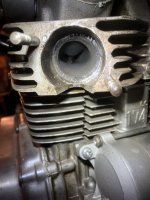
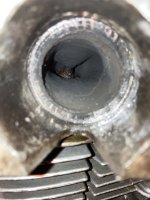
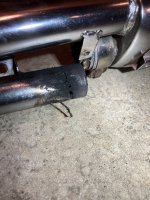
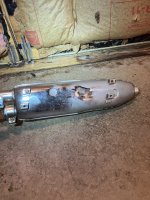
Well, the exhaust is off. Nuts were the easiest part of the job, and no lock washers in sight. I hope I can put it back on. I am including some pictures of the ports and exhaust itself. What are your thoughts on the looks of things?

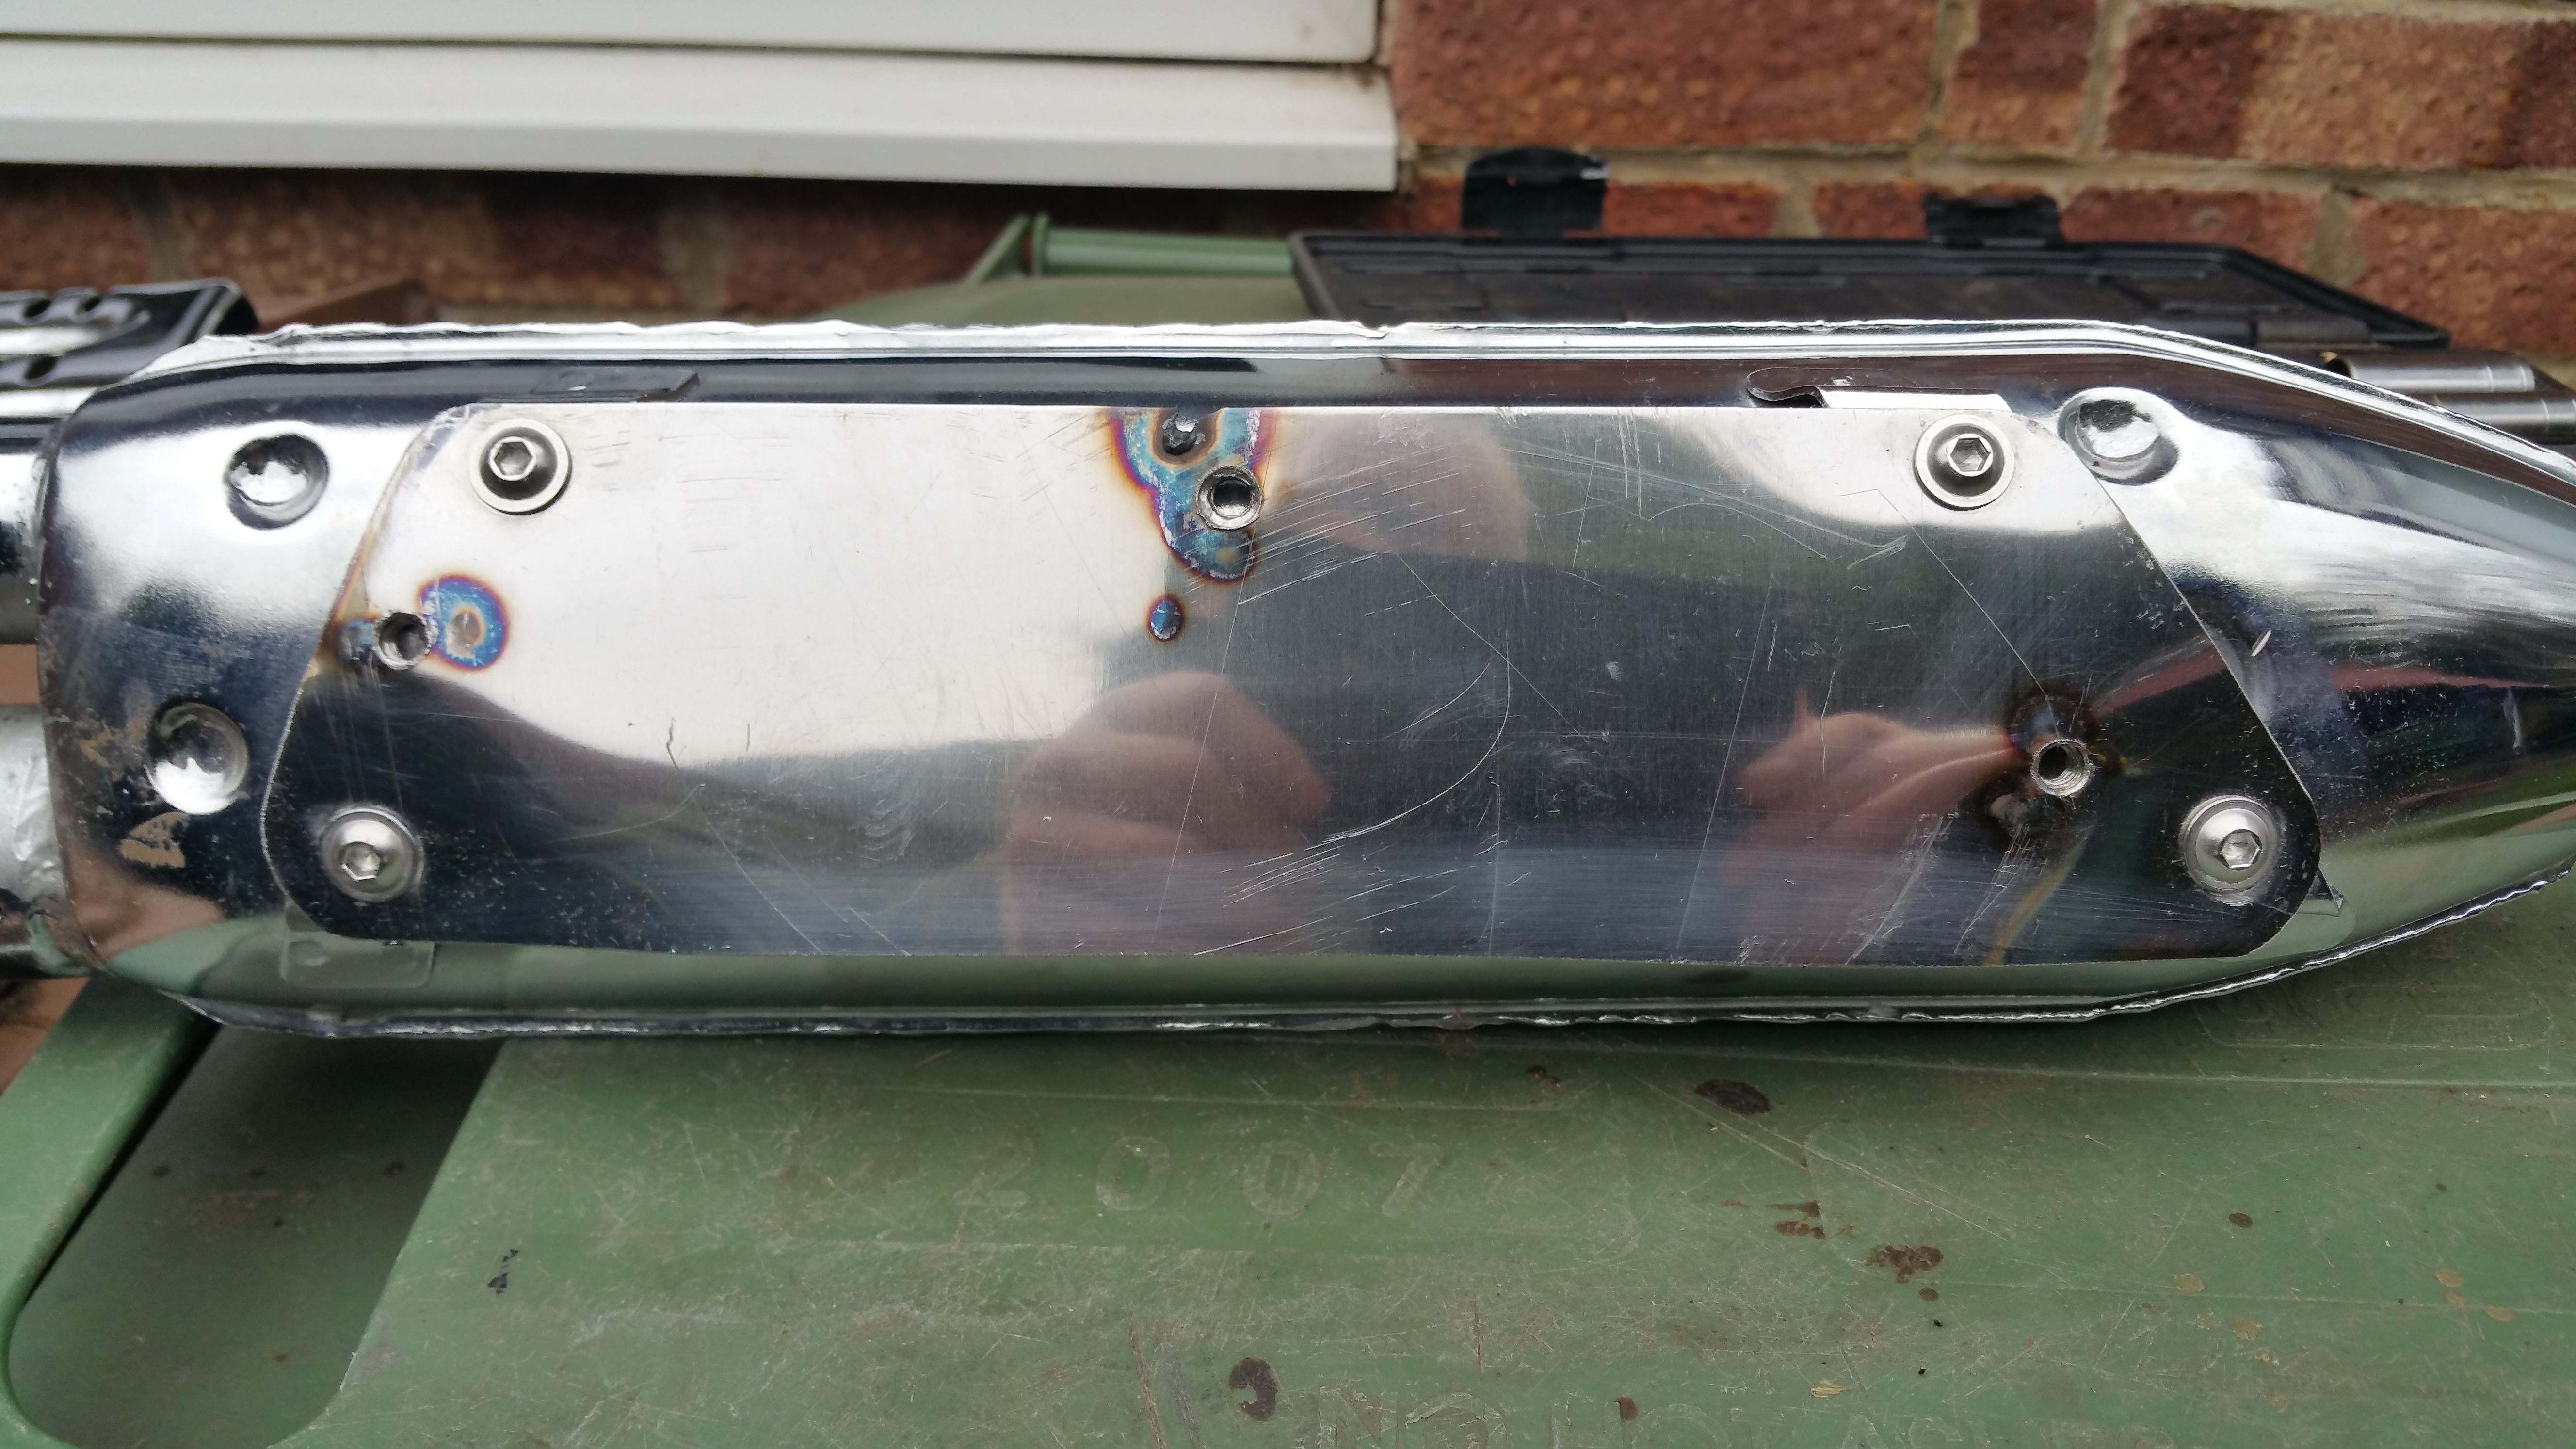
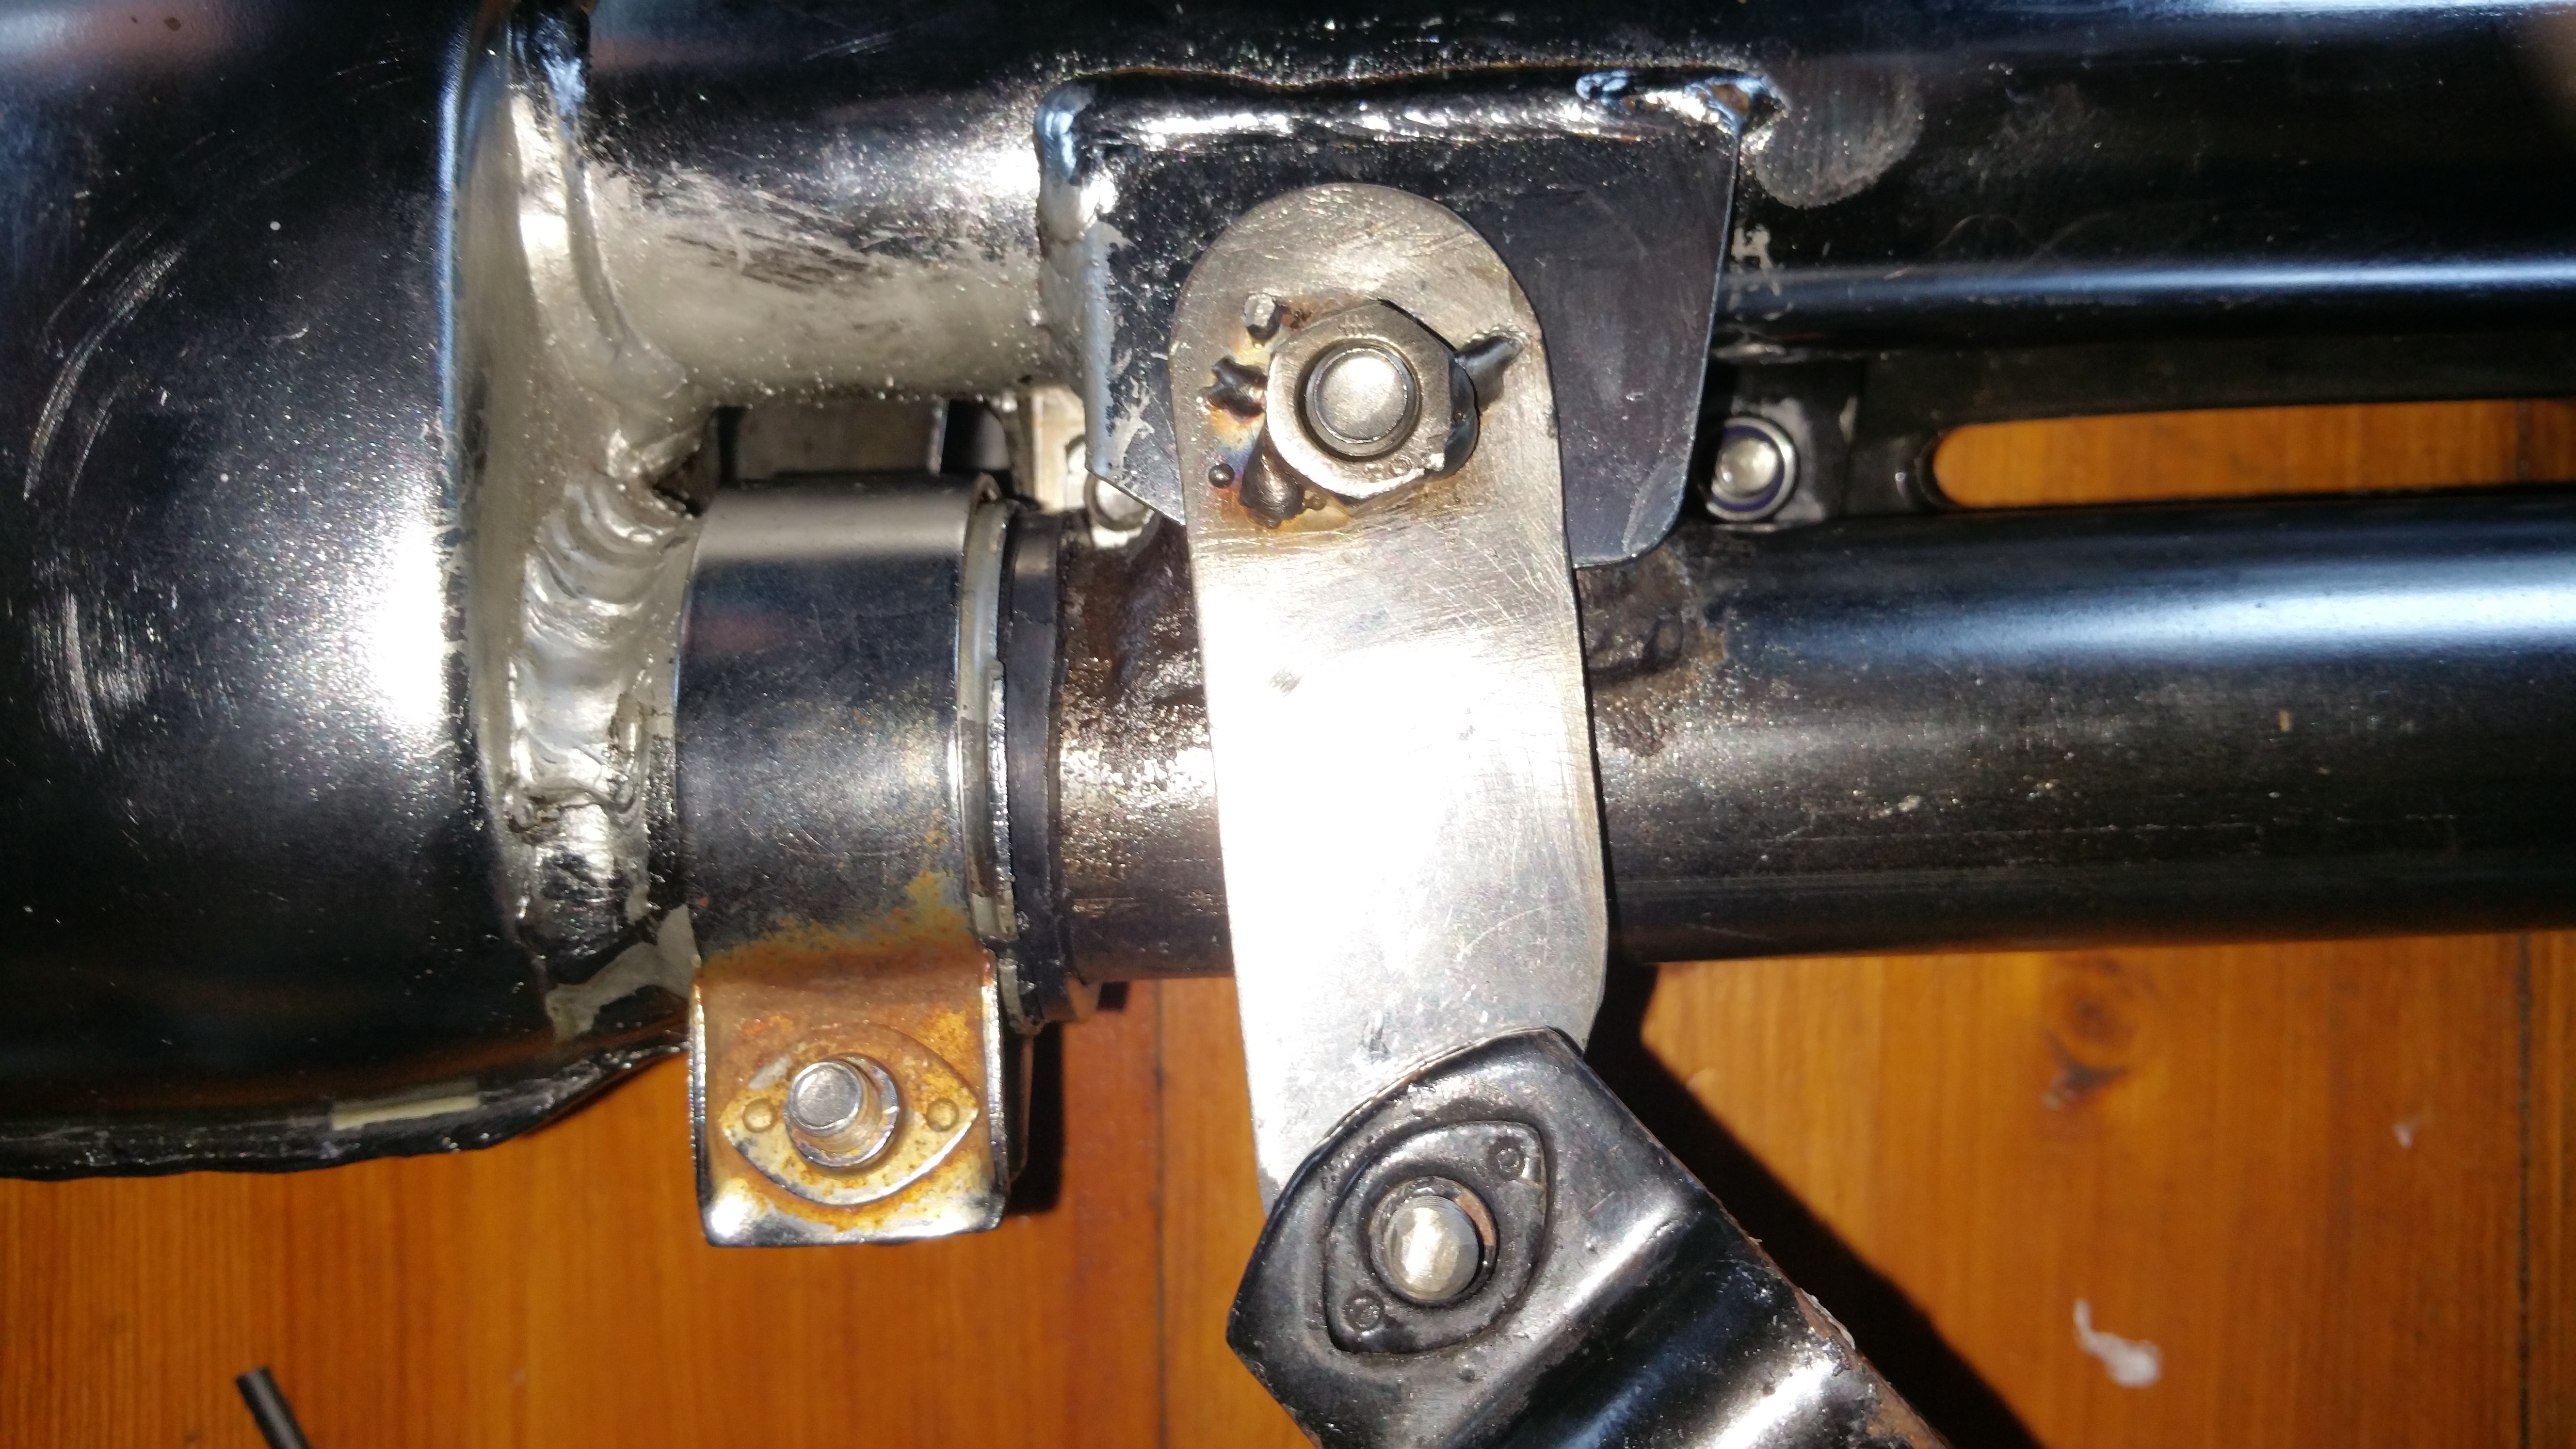
Also, I don’t have a heat shield but I don’t think these are the pipes for my bike, as the attachment points don’t look like the right position for a correct heat shield. IMG_7114.jpegIMG_7112.jpegIMG_7110.jpegIMG_7111.jpegIMG_7115.jpegIMG_7117.jpeg
 
Chaser, the shots of your exhaust ports showing the valve also show the crushable copper/ maybe asbestos washer still in there. If the pipes have been off before with the PO then there may even by two of them in each port. There were two in my CB350 when I stripped it.
Easily dug out with the bent end of a machinists scriber.
Sometimes the header won’t fit far enough into the port if the old washers are still there making the mounts for the rest of the exhaust system hard to line up with the mounting holes.
cheers
 
I see some oil drizzling down the exhaust valve stems, otherwise it looks pretty typical to me. In the 3rd picture it looks like there's a bit of oil, or oil stain (but it looks lighter than an oil stain would be) on the first cylinder fin under the head, and the front of the lower case is somewhat stained there too. Wondering if the head gasket is seeping a bit of oil. Pipes have been attended to previously, I see the 'shim stock' someone used for the lower header pipe because the factory packing is hard to find.
 
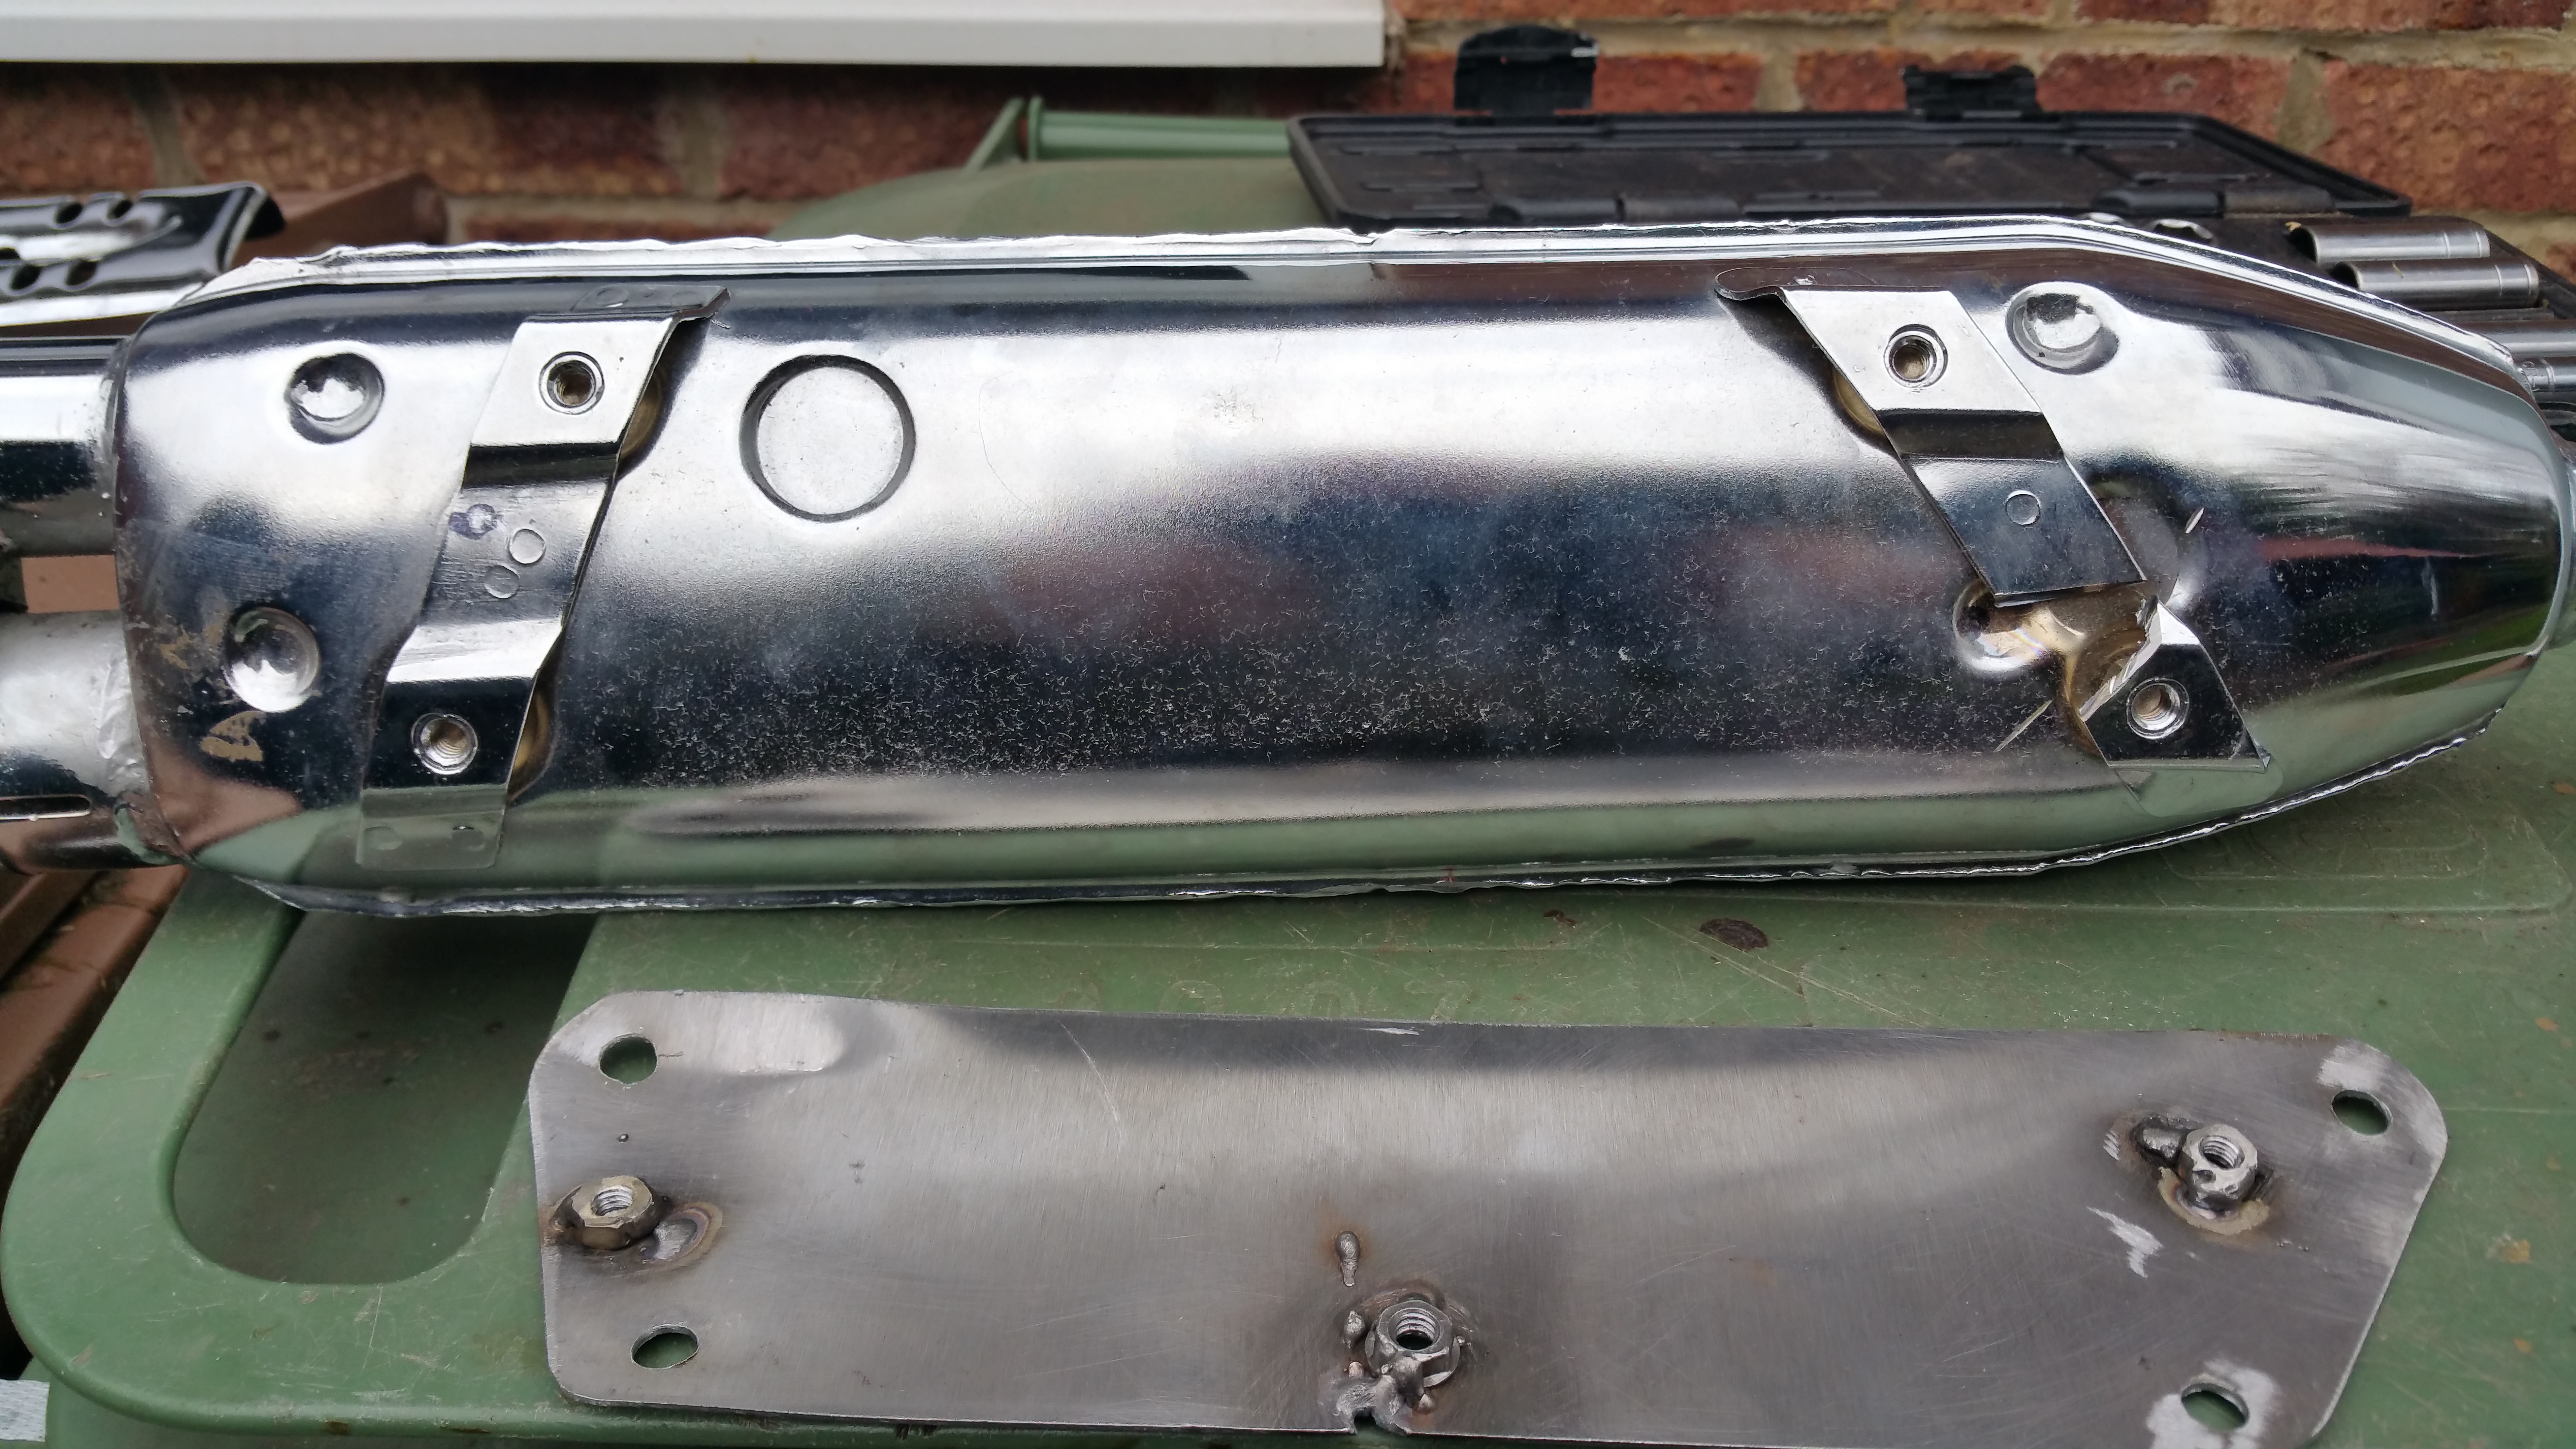
Also, I don’t have a heat shield but I don’t think these are the pipes for my bike, as the attachment points don’t look like the right position for a correct heat shield
For some reason, Honda changed the mounting points for the heat shield on the muffler body year on year. I came across the same thing when I fitted a NOS CL175K3 exhaust to my K7. The front heat shield mounts on the headers lined up the same for both variants.

I made up a simple adaptor plate so that the K7 heat shield fitted the K3 muffler

ICuCTle.jpg


lAp9YYI.jpg
 
Regarding the packing for the lower pipe to muffler joint, Wemoto (and I'm sure many other suppliers ) sell a whole range exhaust packing joints, just a matter of finding the correct size, ( which I've promptly forgotten.) I used a graphite one when I fitted my new exhaust, worked fine.


FiuzQP1.jpg
 
I will try and find the correct size exhaust gasket for these pipes, and get it ordered.

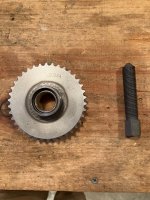
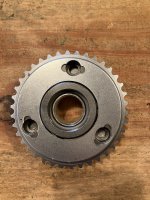
Got the cover and rotor off. Here are what things look like. Three teeth broken off of the rotor, and the others are cracked. Is this the sort of thing you source as best as you can?

All observations are appreciated.
IMG_7123.jpegIMG_7127.jpeg
 
They're not teeth, just locating tabs - but it shows that the PO continued to use it despite the starter clutch needing immediate repair. Look at the flattened threads on the screws, and the locating pin is probably sloppy in the hole in the rotor as well, both of which allowed far too much movement after the screws came loose. The right way to repair it would be replacing the rotor with a good used one, and the screws with new of course. Since you have what looks to be a new outer housing (and hopefully new caps, springs and rollers, can't recall) then finding a serviceable rotor will get you done.
 
Received what seems to be a good rotor and outer housing, along with new screws, caps, springs, and rollers. The outer housing supplied by the PO was too big and clearly not for this application.
From the previous picture you can see that there was a ton of built up dirt and oil behind the chain cover. I have cleaned that up, as well as the old gaskets, and am considering replacing clutch rod seal and shifter seal while things are off, as I don’t know where the oil came from. What are the thoughts on this? If replacing, any pitfalls or challenges that I might encounter?

IMG_7134.jpegIMG_7135.jpegIMG_7136.jpeg
 
Though it doesn't look like it really, I hope you didn't use any kind of solvent or water-type of wash on the open left side of the engine while the alternator and cover is off, any liquids used will get inside the engine in the forward (alternator) area. Safe to do things like that in the front sprocket area because everything there is sealed and speaking of seals, it doesn't look like the clutch rod and shift shaft seals were leaking based on the picture before you cleaned the area. Leaking seals typically leave a 'clean' area where the oil leakage rinses away the dirt and grease in the path. Sometimes it's best to leave things as is, but since you're there it couldn't hurt to replace those seals. It's a lot easier if you remove the front sprocket (remove the two 6mm [10mm headed] bolts on the sprocket retainer plate, rotate the plate until the notches line up with the splines and remove, then the sprocket slides off the shaft).
 
The neutral switch looks pretty mangled, which is typical. You might take a look at that while you're there.
I will take a look at that and see if I can do anything with it.

I hope you didn't use any kind of solvent or water-type of wash on the open left side of the engine while the alternator and cover is off
No cleaners used on the left side. Used a generous amount on the sprocket side.

it doesn't look like the clutch rod and shift shaft seals were leaking based on the picture before you cleaned the area. Leaking seals typically leave a 'clean' area where the oil leakage rinses away the dirt and grease in the path. Sometimes it's best to leave things as is
Good tip. With everything clean I should be able to tell what has been going on. I think I can access that area with the exhaust back on, so I can always go back in if need be, rather than keep digging around.


We brought up cam chain adjustment earlier in this thread. I have read the manual and looked at several threads here in relation to cam chain adjustment. I also watched a video on youtube but who knows about that. Is it fine to make the adjustment with the valves in any position, or is the consensus that I need try to put things in a certain position?

I really do appreciate everyone's help.
 
No cleaners used on the left side. Used a generous amount on the sprocket side.
But they are the same side. The left side of the bike is referred to as if sitting on the bike. There are numerous openings in the forward portion of the engine crankcase inside the boundaries of the alternator cover (left crankcase cover) where water or other cleaners can get into the bottom end. The blue arrow closest to the red line upper right is an oil gallery. Any washing forward of that red line potentially can get into the bottom end of the engine at any of the blue arrows.

open.jpg

We brought up cam chain adjustment earlier in this thread. I have read the manual and looked at several threads here in relation to cam chain adjustment. I also watched a video on youtube but who knows about that. Is it fine to make the adjustment with the valves in any position, or is the consensus that I need try to put things in a certain position?
Do NOT take any YT videos as correct without verification, no matter who they're done by including the king of videos, CMC.

Because the cam chain can be influenced by valve spring tension pushing on a cam lobe by way of a rocker arm on the downside of a lobe, you need to have all the valve caps off and watch all the valves open and close to find the spot in rotation where no intake valves are open or opening. The tensioner roller tensions the intake side slack and if the camshaft is opening an intake valve in the engine's position of rotation when you release the tensioner lock bolt, it will not have the spring strength to overcome that tension and the chain will not be adjusted (in fact, that tension might actually push the tensioner backwards)
 
We are on the same page ancientdad, my terminology was off. The graphic was helpful as I did not know what those holes were for.

The video I watched did have CMC initials and was farrrr different than the process you describe. Thank you for the detailed instructions. I will go with yours.


One obvious source of engine oil in the sprocket area is leakage via the rubber grommet that the stator wires emerge through. The rubber shrinks and hardens with age, a dab of sealant around it when refitting is advised.

Will do Richard. Thank you.
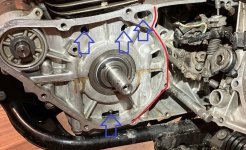
 
We are on the same page ancientdad, my terminology was off. The graphic was helpful as I did not know what those holes were for.

The video I watched did have CMC initials and was farrrr different than the process you describe. Thank you for the detailed instructions. I will go with yours.
They have a million videos out there, it makes me wonder if they ever actually do any real work. Look, I haven't seen anything they've done for the 175 but based on some of the things they recommend - ignoring the FSM for valve settings, points gaps and other stuff, plus the backyard style work they do on some of the bikes (lapping valves with a drill after using precision measuring tools to check the guides, it reminds me of Fred Flintstone using a micrometer as a hammer) I wouldn't trust anything they show. I mean, they sell points for the 350s that they know won't fit right and they provide a file with each purchase to file out the mounting holes to make them fit... and they still suck. The FSM, which was written decades ago with often poor translation and typos, doesn't describe the cam chain adjustment procedure very well for most models. The 175 is a 360° crankshaft engine which means the camshaft position for best adjustment will not be the same as on a 350 (180° crankshaft), so if that's how they described it then they are not taking into account the difference in crankshaft orientation and the camshafts that go with them.

I just watched the cam chain adjustment portion of their 175 video and they say that at 90° past TDC, 3 of the 4 valves will be 'relaxed' which I know they mean 'not open' but I do not have a 360° twin to verify that fact. That's why I always look for intake valves to be closed so there's no tension on the intake side of the cam chain where the tensioner roller will adjust the chain. Since the 360° crankshaft engines fire both plugs each time the pistons reach TDC, then when the one side is on compression stroke (intake valve closed) the other side is on exhaust stroke (intake valve closed), so I would watch for one intake valve to open, then close, and the other intake valve should be closed. Based on that I'd suggest 90° before TDC after watching the intake valves and confirming both are closed.
 
All of this makes sense to me and I should not have any trouble. Is is possible for me to loosen the tensioner bolt too much? Will I know that the tensioner worked as anticipated or do you just loosen and then tighten back down?
 
All of this makes sense to me and I should not have any trouble. Is is possible for me to loosen the tensioner bolt too much? Will I know that the tensioner worked as anticipated or do you just loosen and then tighten back down?
You're right in that you can't see when the tensioner moves or how far it moves because the moving parts are internal and nothing is visible on the 175/200/350 engines using that style roller tensioner (the DOHC 450 uses a roller tensioner too, but at least the cam chain can be viewed with both valve covers off and you could see the adjustment tension change in the intake side of the chain). Though their video shows him unscrewing the tensioner lock bolt about 10 turns or so, it is not necessary. Literally, the lock bolt only needs to be loosened about 1 turn, maybe 1.5 turns at most, to allow free movement of the tensioner push bar. The movement happens immediately so as soon as you loosen the lock bolt a turn or so, you can tighten it back up right away. The lock bolts in the 175 and 200 are slightly smaller diameter threaded area in the head than the threaded area for the lock nut, so you want to be cautious and use good 'feel' when tightening it to avoid breaking it off in the head, then snug the lock nut down to secure things. Once you're finished with the adjustment, you can check the chain tension ( or lack of slack, actually) by rotating the crankshaft back and forth at the 14mm bolt head on the alternator rotor (under the 3 screw stator cover) while watching the advancer on the camshaft. If the camshaft does not move at exactly the same time as you move the crankshaft, then the cam chain has some amount of slack remaining in it.
 
Took care of most everything this weekend. Also took off the right side cover to check/clean oil screen and remove all of the excess rtv. As you can see there was a pretty good bit squeezed out. Found this situation with the oil filter cap. Will this cause a problem with function?IMG_7157.jpegIMG_7165.jpeg
 
The oil filter cover tabs are broken because the PO tried to use the tabs to remove it, didn't know about using an 8mm bolt to push it out of the filter cup. Not going to cause any trouble. On the cover, notice how the RTV squeezed into the oil passages a bit? This is where the trouble starts, when pieces of RTV come loose from excess like that and get circulated around the oil galleries or into the pump screen. Was there even a gasket on the cover, or did the PO just use RTV to seal it?
 
No gasket used. There were some remnants of an old gasket on the motor side, but it may have been from the original.
I tried to be very careful and blew everything out of the cover after scraping. Good call on taking the right side cover off.
 
When in doubt, never trust the PO's work. Or really, just never trust the PO's work.

Oh, and get a new gasket for the cover, and if the surfaces are properly clean you won't need any sealer.
 
Between the oil and the metal chunk and now this, I'd want to pull the lower case too for a total clean out. Too many unknowns to just smoke hopium.
 
Back
Top Bottom