• Don't overlook our Welcome Package, it contains many links to important and helpful information about functions at VHT like posting pictures and sending PMs (private messages), as well as finding the parts you need.

    AD

78 CB400A From Columbia, MD

Maraakate

Veteran Member
Joined
Jun 7, 2022
Total Posts
2,514
Total likes
645
Location
Lancaster, PA, USA
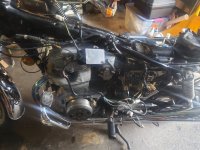
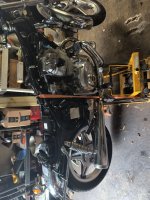
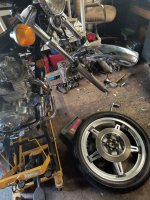
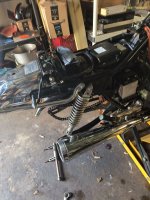
Got another one to work on! This time a 78 CB400A. Originally, a customer bought the DC2-11 ignition coil kit from me and he did a carb clean and had it running for 10 minutes then electronics went out. They came back on later but no spark. This is his first bike and first time working on one.

Initially, I tried a prototype CDI in the driveway for him but still no spark. Guessing rotor or stator at this point but haven't had time to look.

It needs other stuff ill be doing such as:

* Carb sync/tune.
* Balancer chain adjustment.
* New front fork seals, dust caps and fork oil.
* DOT5/Silicone conversion.
* Chains and sprocket.
* Emgo rear brakes.
* New kickstater and gear shift seals.
* Valve and cam chain adjustment.
* Check swingarm bushings, might replace.
* Fix corroded charging wiring.
* New tires and tubes.
* New carb insulators, bands.

Should be another fun one for me. Guess I'm the "Hondamatic guy" now 😄
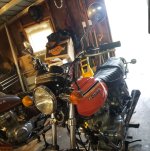
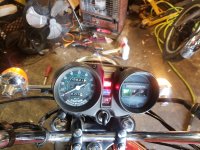
SmartSelect_20240322-193022_Gallery.jpg
 
Thanks Maraakate for sharing all your tips! I'll be able to use them, I have neglected my CM400T for much too long. Now that I've got a 2nd one I have no excuses.
 
Updates! Stator is bad, but funny enough passes a bench test. With a PVA/Oscilloscope/Analog Meter you would discover that the blue voltage wire was giving intermittent voltage. It would read ~100-200V for a revolution or so then dip down to 5-10V. Put a spare in, fired right up.

20240326_113215.jpg

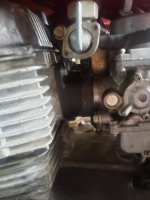
Adjusted the cam chain and drive chain. Took it for a spin. A bit lean so not much power like it should have. New bands are coming and I will be pulling the carbs off to double check. For what it's worth, the pilot mixture screws DO respond so that circuit is clean. The insulators are not fully on there either, probably causing a minor vacuum leak.
20240326_115707.jpg

Some corrosion from the 2-pin canon plug to where it leads to the reg/rec. Very common, will be trimmed back and cleaned.
20240326_115713.jpg

Rear has been off before, incorrect routing.
20240326_115718.jpg

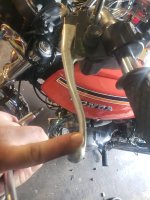
Parking brake lever was bent which was causing it to not work at all.
20240326_120943.jpg

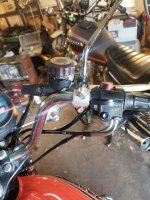
Wrong grips and mirror, on order.
20240326_120948.jpg

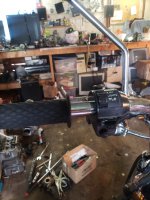
Throttle assembly not oriented properly on the bars. Since fixed.
20240326_120950.jpg

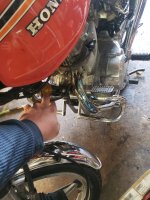
Wire harness clip holder under tank is missing, subsequently letting the oil cooler wire hang. Found a used one on the way.
20240326_122659.jpg

Brake line and throttle cables not routed in the holder. Will fix when it's time for the forks to come out.
20240326_122706.jpg

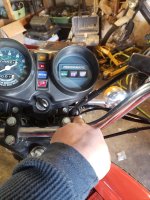
Wrong bulb on the right and turn signal relay weak. Ordered.
20240326_122713.jpg

Amazingly the swingarm bushings are still good and greased with ease.

Sprockets and chain ordered. Will look up tire sizes for this bike and get them on order. I noticed 78 year is totally different size. I believe it's 100/90/19 for the Front and 110/90/18 for the rear, yes @LongDistanceRider ?

At some point I'll do the balancer chain adjustment probably soon because it will give me something to do while waiting on parts.
 
Hey @Maraakate, nice work. About the blue wire from stator, I speculate that is a tap on stator coil from for high voltage supply to CDI. That based on resistance reading and some probing while running. So white wire would be from top of stator coil, grounded on other side, then blue wire somewhere inbetween(maybe 3/4th the way up). And somehow that is used in the analog CDI to help with this advance and/or limit work. Do you concur?
 
What a nicely cared for and good looking bike! There’s something very satisfying about seeing and hearing a machine that’s still like new after almost a half a century. Brings back wonderful memories of those innovative and well-made Japanese bikes. Kudos to you for the work you’re doing to keep those memories alive.
I’m trying hard to reverse time on my ‘78 CB400T II and gently bring it back to life but the elements and careless previous overs are sure making it tough.
 
Hey @Maraakate, nice work. About the blue wire from stator, I speculate that is a tap on stator coil from for high voltage supply to CDI. That based on resistance reading and some probing while running. So white wire would be from top of stator coil, grounded on other side, then blue wire somewhere inbetween(maybe 3/4th the way up). And somehow that is used in the analog CDI to help with this advance and/or limit work. Do you concur?
I don't know how it limits RPM, but I do know one is low RPM voltage the other is high RPM voltage. One needs the other and at some RPM range they overlap. My guess is a solder joint that is intermittent when there is movement/vibration and thus not generating voltage reliably and stable and that's why it won't spark.
 
What a nicely cared for and good looking bike! There’s something very satisfying about seeing and hearing a machine that’s still like new after almost a half a century. Brings back wonderful memories of those innovative and well-made Japanese bikes. Kudos to you for the work you’re doing to keep those memories alive.
I’m trying hard to reverse time on my ‘78 CB400T II and gently bring it back to life but the elements and careless previous overs are sure making it tough.
Yeah it can be tough. This one is in pretty good shape. Some black on the sidecovers starting to lift off and a few small dings in the tank, but otherwise pretty good. Some rust on the handlebars that should go away with some steel wool and polish.
 
I just got done doing the DOT5 conversion, went pretty well. Not much to say there. One thing I did do was check the air cleaner. It appears to be new and had no oil on it. Oiled it. Might be part of the lean issue besides the band clamps being at the end of their range and not fully seated on the insulators.

Rain tomorrow so won't be able to do much besides electrical work, which it needs.
 
Sprockets and chain ordered. Will look up tire sizes for this bike and get them on order. I noticed 78 year is totally different size. I believe it's 100/90/19 for the Front and 110/90/18 for the rear, yes @LongDistanceRider ?

What size sprockets are you running. mine has a 17 tooth, but I live in a mountainous area and a heard you get a little better hill climbing by going down 1 or 2 teeth. Wondering if it is worth it.

That is a nice specimen too. It has surely been garaged for a good part of its life. Thanks for the pics, even tho I have the manual version its fun to look at the photos for comparison. this one is Cinderella, @Slofun and I have the ugly stepsisters.
1711481536169.png
 
What size sprockets are you running. mine has a 17 tooth, but I live in a mountainous area and a heard you get a little better hill climbing by going down 1 or 2 teeth. Wondering if it is worth it.

That is a nice specimen too. It has surely been garaged for a good part of its life. Thanks for the pics, even tho I have the manual version its fun to look at the photos for comparison. this one is Cinderella, @Slofun and I have the ugly stepsisters.
View attachment 31029
I believe its a 17T and 37T. Its different from 79 and later.
 
Sprockets and chain ordered. Will look up tire sizes for this bike and get them on order. I noticed 78 year is totally different size. I believe it's 100/90/19 for the Front and 110/90/18 for the rear, yes @LongDistanceRider ?
Waiting on LDR, Not sure if it is stock or not but those are the same tire sizes I have. Mine is a 78
 
What size sprockets are you running. mine has a 17 tooth, but I live in a mountainous area and a heard you get a little better hill climbing by going down 1 or 2 teeth. Wondering if it is worth it.

That is a nice specimen too. It has surely been garaged for a good part of its life. Thanks for the pics, even tho I have the manual version its fun to look at the photos for comparison. this one is Cinderella, @Slofun and I have the ugly stepsisters.
Which sprocket? Basic ratio math. Minus 1 tooth in front = lower gearing, or add 2 teeth in back = lower gearing.
 
Yeah, nice looking shiny tank and chrome, and sleuthing work !
Every time I see (elsewhere) a Vetter WindJammer (or the like), I recall that final *warning* on the rear fender decal...
..speaking of decals :
No decal with the original tire sizes anywhere on this HawkaMatic ?
 
Last edited:
Both rims are 1.85 width. Maraakate had the correct original sizes. I've got 3.50-19 and 4.00-18 on mine, only because I already had a rear tire for it. The first year or two they were all tube type tires (the rims will not hold tubeless to seal correctly). You can run tubeless tires with tubes, no problem.
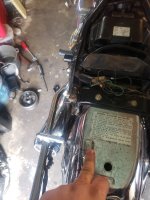
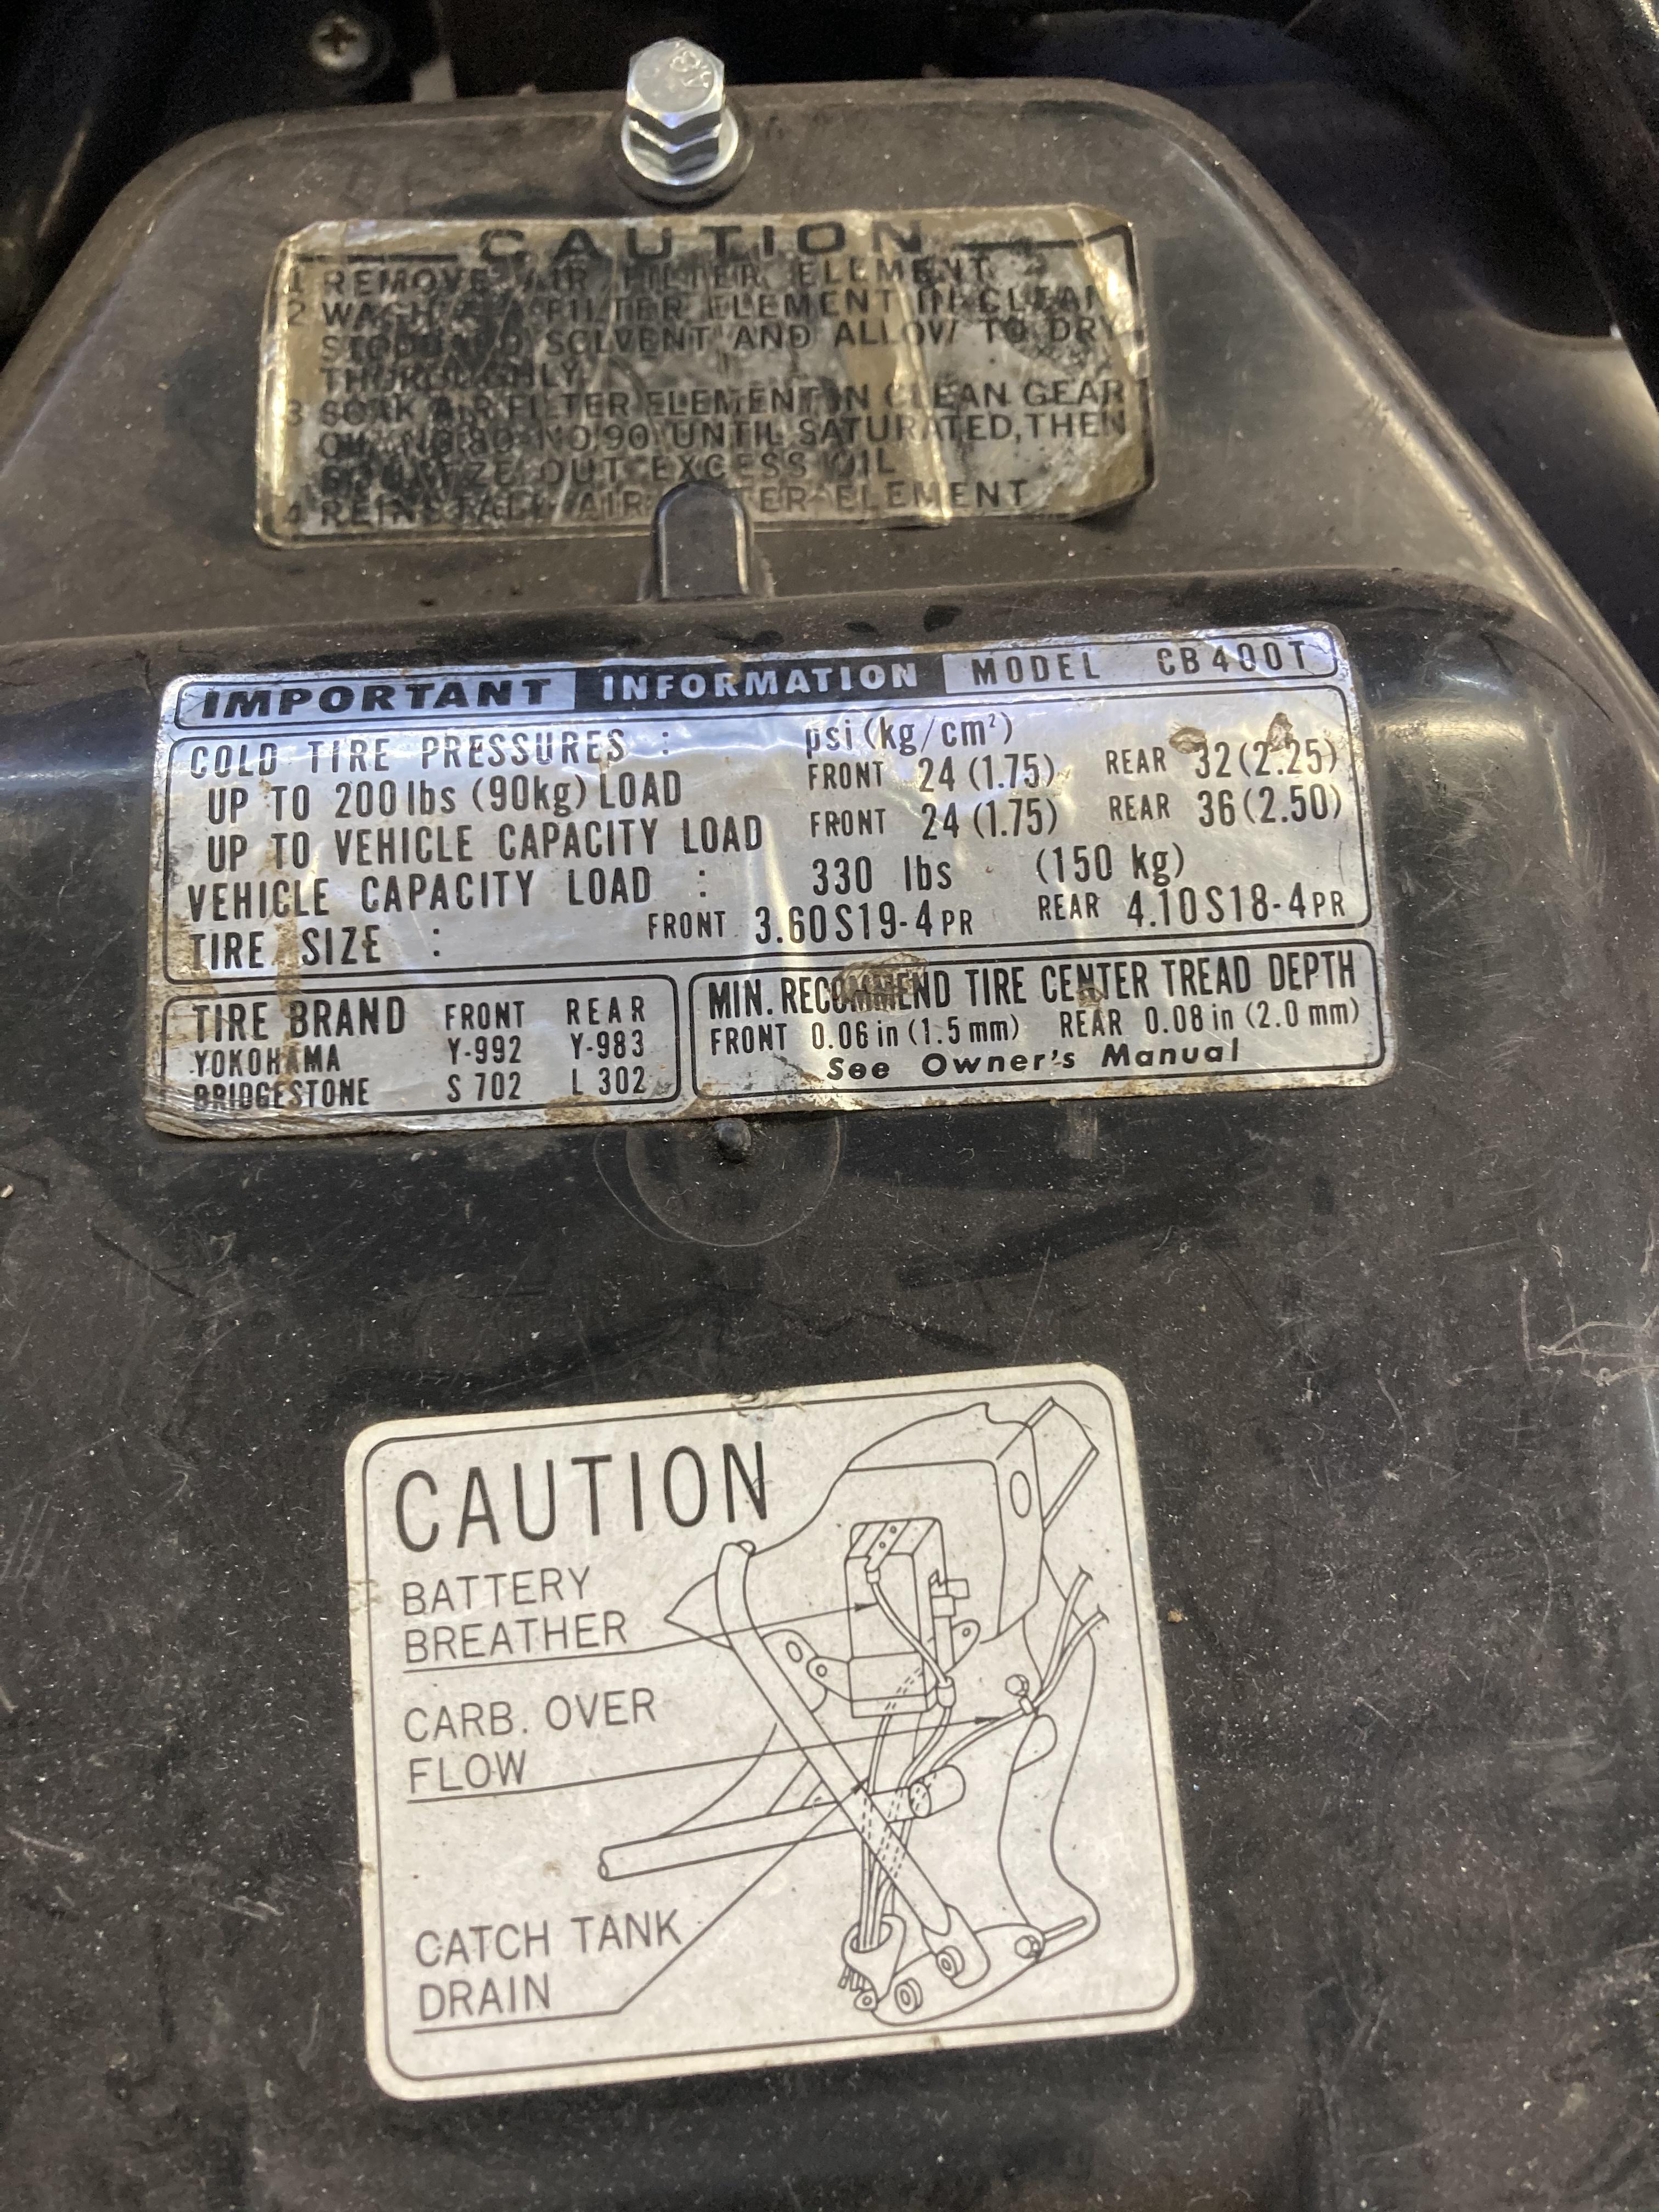
Sticker is on the airbox lid. They used an unusual tire size convention that has pretty much disappeared.
spEshtf.jpg
OK, so I can tell the parts guy 100/90/19 for the Front and 110/90/18 for the rear?
 
Waiting on LDR, Not sure if it is stock or not but those are the same tire sizes I have. Mine is a 78
Stock sizing for the tires would be a 90/80/19 front and a 100/80/18 rear. The 3.60 and 4.10 numbers mean the tires are 3.50 and 4.00 respectively with an 80 profile instead of the normal 90 profile.
There'll be no problem running a 100/90/19 and 110/90/18 combination.
 
I'd get Jim's take first. Maybe 80 profile might be better, mine are just a bit pudgy. Get tubes but no rim strips needed.

Edit: Aspect ratio not profile.
Yes, they will look a bit pudgy being oversized. Personally I would try to stick with the original sizing. Heidenau offers the tires in inches if you want to stick to inch measurements, no 80 aspect tires though.
If you can't find 80 tires then you can run a 3.50/19 and 4.00/18 combination.
One downside to oversized tires is the center stand may become useless if the sidewall it way taller.
 
I had the parts guy come up with a combo. I believe 100 on one and 110 for the other. Its their responsibility so well see fitment.

In other news, neighbor kid wants to learn so we did the valves today and good thing we did! I noticed the head was loud but figured tolerances way too loose. It was more than that! 2 nuts completely off and floating around in there and one tappet adjuster with nut also floating around in there! Good thing I checked early on before I put real miles on it!

I'm amazed it even ran like this. Might explain why it had no power at 35mph and up. It cruised but didn't pull like it should.

Tomorrow well do compression and leak down and electrical work.
 
Neighbor kid not here yet, but took a drive around. It can finally hit the powerband at 30-50mph. Before it was just a slog. Choke needs to be partially engaged because band clamps are worn, but also because there is "futt-futt-futt" coming out of the left boot. Boots are in good shape, so a new band clamp and o-rings should take care of that.
 
Wiring fixed and good thing I took a look it was pretty nasty on both ends. Trimmed it back and new canon plugs, good to go.
IMG_20240328_131019163.jpg
IMG_20240328_131026851.jpg

When removing the battery we found that he had the wrong screws. Random misc hardware. I have some old batteries that need to get recycled so pulled the correct hardware off those batteries.

Put a new turn signal relay on it as the old one wasn't working. Just one of those CEC Industries EF32's that I always use. Their pretty robust, used them many times in bikes and cars. Never had one go bad on me in over 10+ years. Best of all, they are cheap... about $10.

Neighbor kid followed me on it at 15mph up and down the block a few times while I was on my 79. He loves it, has the bug now! 😂
 
Thanks for the kind words! I have fun on every 400A that comes my way. Such a fun bike.

Stator showed up from Kirk today and Lancaster Honda called Saturday to let me know the tires are ready. Will be stopping out tomorrow and hopefully some time to mount them.
 
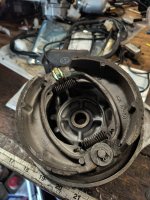
Tires and rims received, seems to fit fine but have to put new chain on and see what we got. In the meantime I did regrease the brake cam and got a little guide here.

IMG_20240409_123804080_HDR.jpg
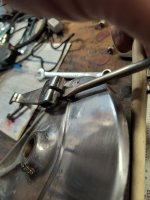
Remove the arm with a 10mm wrench on the nut and 10mm socket with ratchet on the bolt.
IMG_20240409_123914367_HDR.jpg
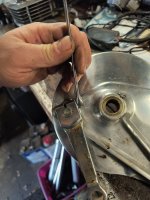
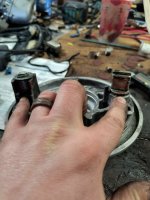
Remove the arm. You'll have to use a flathead, panel tool, or small prybar to get it off if it hasn't been enough in quite a long time.
IMG_20240409_124018159_HDR.jpg
Remove the wear indicator.
IMG_20240409_124043884_HDR.jpg
Remove the dust seal.
IMG_20240409_124057418_HDR.jpg
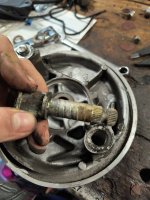
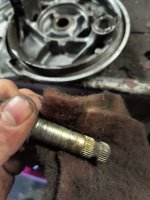
Remove the cam.
IMG_20240409_124108545.jpg
Clean up the cam with red scotch Brite and/or a brass wire wheel.
IMG_20240409_124136585_PORTRAIT.jpg
With the cam out now is a good time to use compressed air to get rid of the old brake dust.
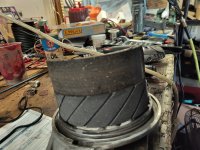
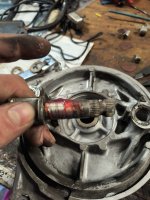
IMG_20240409_124215912_MF_PORTRAIT.jpg
Grease the cam with wheel bearing grease and reinstall.
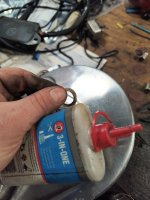
IMG_20240409_124248208.jpg
Lube the felt with some light oil and reinstall.
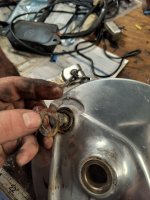
IMG_20240409_124312013_HDR.jpg
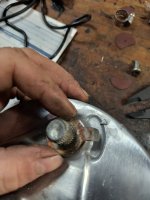
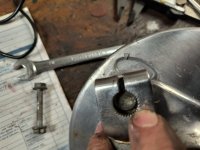
Install the wear indicator. Notice that it is "keyed" there is a large notch cut out so it aligns properly.
IMG_20240409_124344206_HDR.jpg

Install the arm. Notice the notch, make sure they align.
IMG_20240409_124457164_HDR.jpg

Seat the arm, check the alignment dots. If good then reinstall the bolt and nut. Be sure to use a socket and wrench to get it on there securely. Finally, grease the pivot points then check action by pushing on the arm and making sure it snaps back smoothly and reinstall the brakes.
IMG_20240409_124656514_HDR.jpg

He also had new Emgo brakes that fit fine I'll post a brief guide on this and a guide for swapping the sprockets over the upcoming days. I still have to break the endless chain before I can be done with the rear.
 
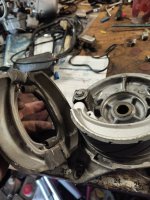
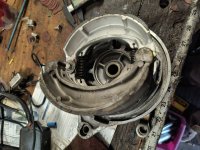
I got time to do the Emgo brakes pictures. Pretty simple. Start by removing the old pads.
IMG_20240409_124724458.jpg
IMG_20240409_124859378_HDR.jpgIMG_20240409_124902328_HDR.jpg

Remove the springs on the old pads and transfer them to the new pads and reinstall. Be sure to grease pivot points and check the action for smoothness and that it snaps back correctly.IMG_20240409_124915766_HDR.jpg
 
Those are the soft rubber grips I can't seem to keep from slipping.
I like those grips. Maybe when they get old they're slippy. New they're fairly grippy.

I got around to getting the front forks off, however this has a 13 or 14mm allen inside so it'll have to wait. Did the seals, but have to get that out so I can do the oil. In the meantime, got the new band clamps on, new insulator o-rings and started it up. Still a bit of "futt-futt-futt" and found when I pushed on the left carbs air cut off valve cover the noise went away and idle got stable. Took the cover off and the o-ring was missing. I have some of these in stock so replaced the assembly and no more air leaks or leanness when the choke is fully open.

Once the allen socket arrives I can do the forks then onto the balancer chain and oil change and I think it should be done.

HOWEVER, the front tire may be slightly too fat for the fender. We will see once it's all buttoned up. If it's too fat it'll have to go back and they'll have to go down a width.
 
Even when those grips were new they would slip off the handlebars. They do feel good though. I had glued them with gasket cinch and contact cement but I'll try that golf club grip tape.
 
Slip off? Do you mean they slip off the handlebars themselves or your hands slip off them? I just use 3M Super 77 and they won't go anywhere once the glue setups on the handelbars.
 
Yeah, only on the left side. The chrome is so nice and slick and the rubber pretty soft. Gasket cinch and some heavy duty flooring contact cement is about the same as Super 77. I haven't had trouble except on the Hawk before but I think I do have some 77 left and will try that again, maybe rough up the chrome some too.
 
I love the pics and updates and the knowledge being passed to everyone ! I told Maraakate that he needs his own TV show !! Wow very knowledgeable. Now all I need is to get my Motorcycle Classification. I can’t wait.
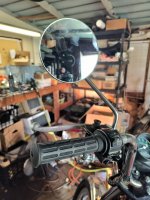
 
Front tire too fat for rim, unfortunately. Took it for a brief spin and its dragging. If you hit a pot hole then it bottoms out on the fender.
 
I had some new grips for my dual sport that I had to get on last minute to go on a trip. The instructions actually said to spray the inside of the grip with enamel paint. I thought, 'What the heck, I have some on hand.' They slid on incredibly smoothly and easily, but became very secure in about 15 seconds. Short window of working time. A bit rednecky and YMMV.
 
I like those grips. Maybe when they get old they're slippy. New they're fairly grippy.

I got around to getting the front forks off, however this has a 13 or 14mm allen inside so it'll have to wait. Did the seals, but have to get that out so I can do the oil. In the meantime, got the new band clamps on, new insulator o-rings and started it up. Still a bit of "futt-futt-futt" and found when I pushed on the left carbs air cut off valve cover the noise went away and idle got stable. Took the cover off and the o-ring was missing. I have some of these in stock so replaced the assembly and no more air leaks or leanness when the choke is fully open.

Once the allen socket arrives I can do the forks then onto the balancer chain and oil change and I think it should be done.

HOWEVER, the front tire may be slightly too fat for the fender. We will see once it's all buttoned up. If it's too fat it'll have to go back and they'll have to go down a width.
in a video somewhere I saw a guy use a 14mm bolt with two nuts (NO LAUGHING) locked together to remove that 14mm allen bolt. I'm going with it being a 14 mm since that's what he said it was and he must be right, he looked like an expert.. :D

See @Slofun I told you I saw it somewhere that there was a 14mm in there somewhere. I was going to change the seals on mine this weekend, so I better get some of those allen sockets,

I could see that potentially working. The hex head of the bolt would go into the hex socket, then lock the two nuts on the threads. Necessity is the mother of invention.
 
A bit rednecky and YMMV.
Well, I live in the land of rednecky and I just used clear spray paint to install my new grips. One of them did get stuck 3/4 of the way on and I had to use the old screwdriver and air pressure trick to get it back off again so I could do it over. Works though. (y)
 
Do you mean they slip off the handlebars themselves ? I just use 3M Super 77 and they won't go anywhere once the glue sets up on the handlebars.
I've got a can of that 3M Super77 spray adhesive. IIRC, I got it to do a carpet and door panel vinyl reupholstering in an old classic roadster. It's got multiple purposes as seen on can's label.

I first learned about "Grip Glue" from an old Harley-Davidson technician buddy of mine
 
So remember I said that front tire was too fat for the fender? Called Lancaster Honda. The current tire is a 110/90/19 for those curious. We're going to go with 100/90/19 this time. I should have realized on the CM400A I have a 100 and not a 110. Oh well. He'll take the tire back it's not like I put 50 miles on it. Tire is a Kenda Challenger K657 and it's back ordered until May 1st so will be about 3 weeks until it's on the road. In the meantime I can get all the other stuff done like the front forks, balancer chain, oil change, new CDI.
 
Back
Top Bottom